Scanning
196
8
Click
OK
.
9
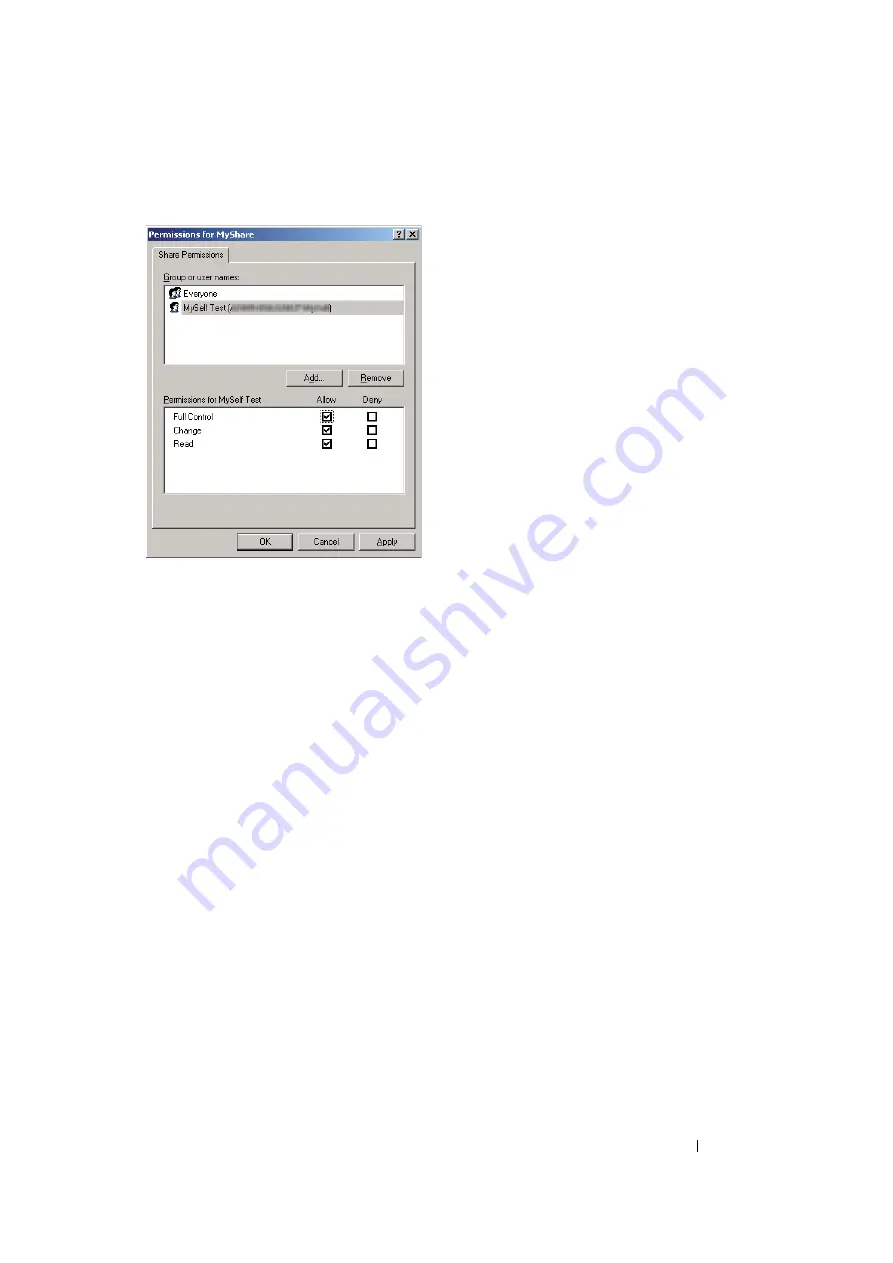
Click the user login name that you have just entered. Select the
Full Control
check box. This will
grant you permission to send the document to this folder.
10
Click
OK
.
11
Configure other settings as necessary, and then click
Apply
and click
OK
.
NOTE:
•
To add sub-folders, create new folders in the shared folder you have created.
Example: Folder name:
MyShare
, Second-level folder name:
MyPic
, Third-level folder name:
John
You should now see
MyShare\MyPic\John
in your directory.
After you created a folder, go to
Содержание DocuPrint M105 ab
Страница 9: ...8...
Страница 13: ...Using This Guide 12 Using This Guide This section includes Organization on page 13 Conventions on page 14...
Страница 39: ...Specifications 38...
Страница 55: ...Basic Operation 54...
Страница 67: ...Printer Management Software 66...
Страница 180: ...179 Scanning See also Express Scan Manager on page 64...
Страница 207: ...Scanning 206 After you configured settings go to Sending the Scanned File to the Network on page 207...
Страница 277: ...Faxing DocuPrint M105 f Only 276...
Страница 323: ...Using the Operator Panel Menus and Keypad 322...
Страница 331: ...Troubleshooting 330...
Страница 381: ...Troubleshooting 380...
Страница 385: ...Maintenance 384 5 Close the document cover...
Страница 390: ...389 Maintenance 6 Place the toner cartridge slowly on the sheets of paper spread in step 3...
Страница 411: ...Contacting Fuji Xerox 410...


