3.3 Configuring Scan Settings
180
Scanning With
Mailbox
3
3.3.9
Border Erase
When scanning bound documents or documents with the document cover open,
black marks may appear around the edges or at the center binding area of the
scanned result. For such cases, you can erase these marks.
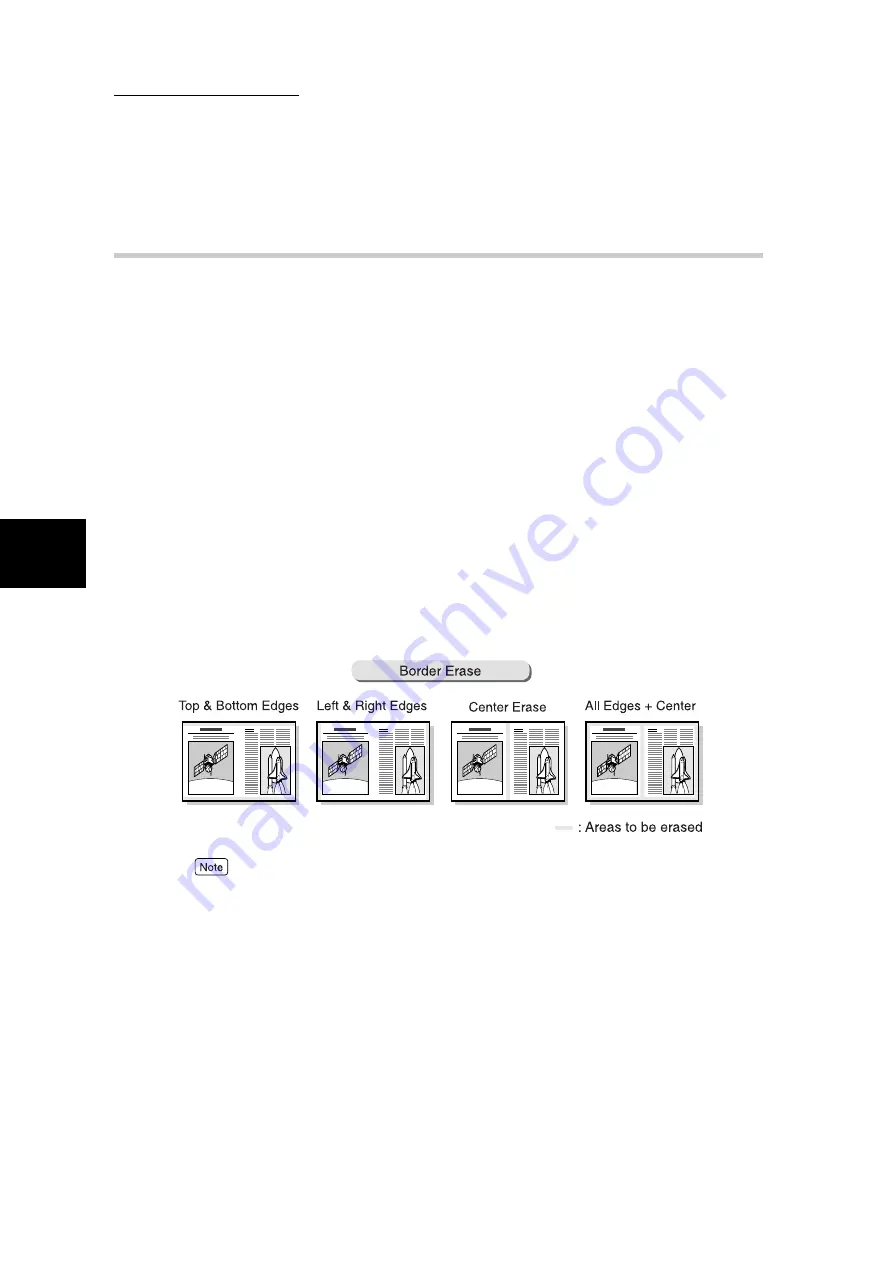
Options available for erasing these marks are as follows:
●
Top & Bottom Edges
Select this to erase marks at the top and bottom edges of the document. Erases the marks at the top/
bottom edges based on the orientation of the document loaded.
The width of the edges to be erased can be set within 0 to 50 mm and in units of 1 mm. Default value
is 2 mm.
●
Left & Right Edges
Select this to erase marks at the left and right edges of the document. Erases the marks at the left/
right edges based on the orientation of the document loaded.
The width of the edges to be erased can be set within 0 to 50 mm and in units of 1 mm. Default value
is 2 mm.
●
Center Erase
Select this to erase marks at the center of bound documents. The width of the edges to be erased can
be set within 0 to 50 mm and in units of 1 mm. Default value is 0 mm.
●
As the Top & Bottom Edges and Left & Right Edges in the Normal setting have been set as 2 mm,
you need to go to the Variable Erase setting to change these values to 0 mm if no border erase is
required.
●
For 2-sided documents, you can set the same border erase value for both sides of the document.
●
When Reduce/Enlarge has been set, the border erase value will be decreased/increased proportion-
ately to the scan %.
●
The settings for Top & Bottom Edges and Left & Right Edges can be changed in the System Admin-
istration Mode. For details on the way to change, see “5.8 Scan Mode Settings” in “Part 1 Hard-
ware” of the User Guide (Copier).
Содержание DocumentCentre C240 Series
Страница 16: ...Part 1 Printer ...
Страница 116: ...4 10 File Upload Printing 103 4 Special Printing 5 Click Start to start printing ...
Страница 127: ...Part 2 Scanner ...
Страница 238: ...Part 3 Appendix ...


