4.7 E-mail Printing
93
4
Sp
ec
ia
l Pri
n
ti
n
g
: Must set
—
: No need to set
3
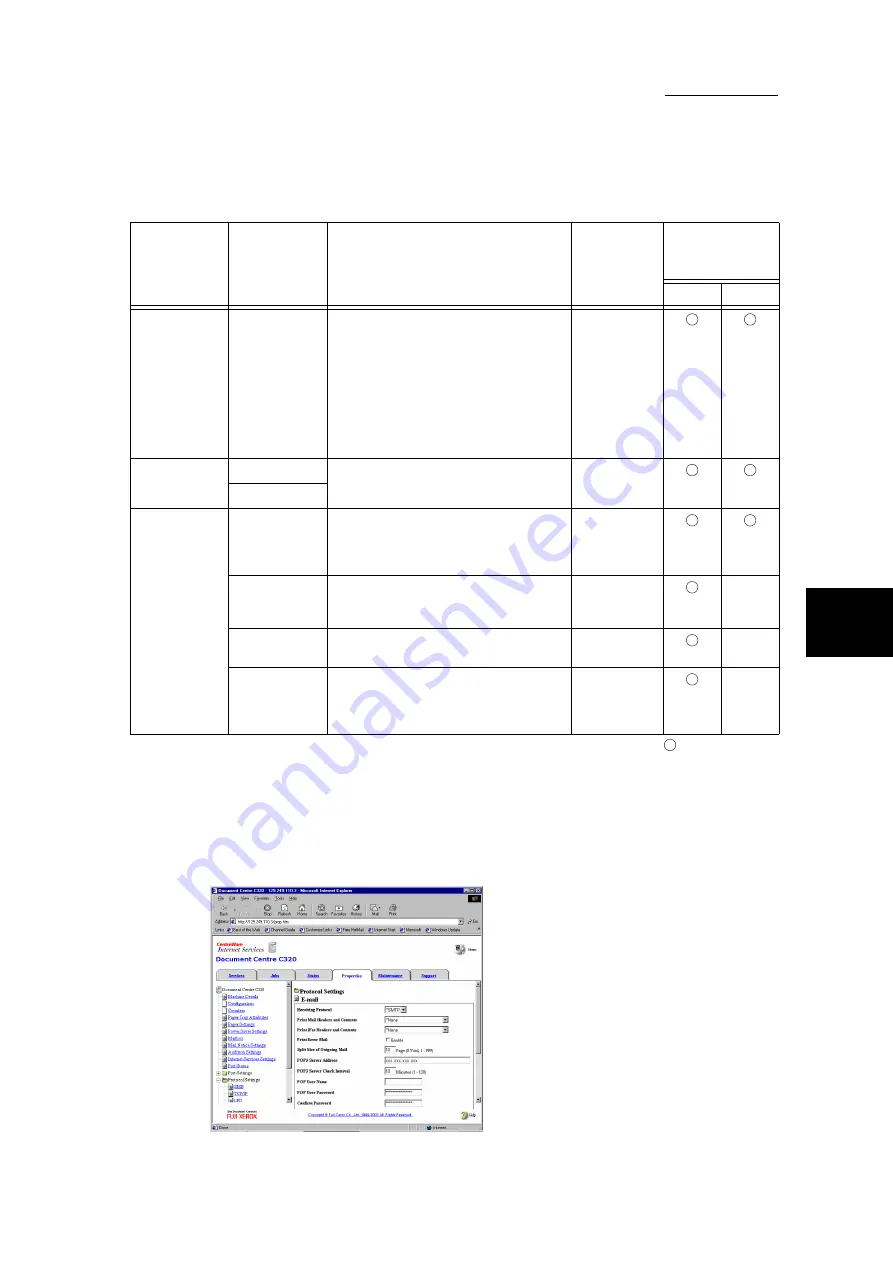
Scroll down the frame and click Apply New Settings, and then on the
displayed screen, click
Reboot
.
4
Configure the setting of the items in the following table to match the E-
mail Printing environment.
Machine
Details
Machine E-
mail Address
●
When receiving E-mails via POP3
Enter the POP user name (on the
left side of @) and incoming POP3
mail server name in the address
section (on the right side of @).
You can set an alias, such as
[email protected].
<Example>
[email protected]
Account name: ifax
Enter an
address
within 127
characters.
Port Status
Receive E-mail
Select the check box.
Send E-mail
TCP/IP under
Protocol Set-
tings
Host Name
Sets the host name of this machine.
Enter an
address
within 32
characters.
Get DNS
Address
Select the check box if you want to
get the DNS server address automat-
ically from the DHCP server.
—
DNS
Address1-3
Enter the DNS server address.
xxx.xxx.xxx.
xxx
—
Domain
Name
Enter the DNS domain name.
Enter an
address
within 255
characters.
—
Item in the
frame
Item
Description
Value
Settings to
define based
on the protocol
SMTP
POP3
Содержание DocumentCentre C240 Series
Страница 16: ...Part 1 Printer ...
Страница 116: ...4 10 File Upload Printing 103 4 Special Printing 5 Click Start to start printing ...
Страница 127: ...Part 2 Scanner ...
Страница 238: ...Part 3 Appendix ...


