3.1 How to Scan
155
Scanning With
Mailbox
3
4
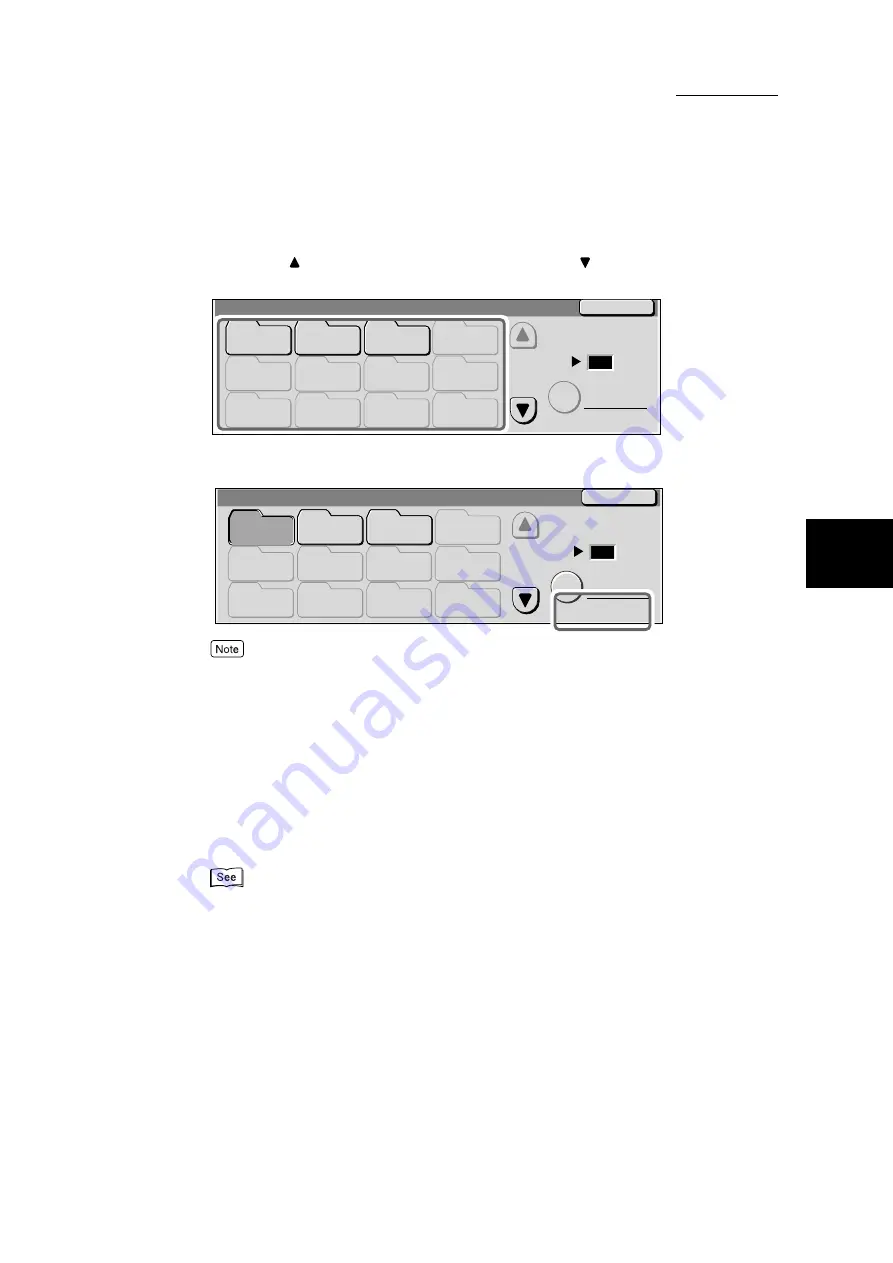
Select the mailbox for saving the scanned data.
Selecting the
button will display the previous screen and the
button the next screen. You can
use the numeric keypad on the control panel to enter the mailbox number directly at Go to.
If there are documents in the mailbox, the number of documents saved in the mailbox will be dis-
played on the bottom right of the screen in No. of Docs: once the mailbox is selected.
●
If the password has been set, the screen to enter the password will appear. Enter the password and
then select the Confirm button. If you have forgotten the mailbox password, reset it in the System
Administration Mode.
●
Selecting the mailbox and the Document List button will enable you to check documents saved in
the mailbox. After checking, select the Close button.
5
Select
Close
.
The display will return to the Basic Scanning screen.
6
If necessary, configure the scan settings.
“3.3 Configuring Scan Settings” (P. 160) for details on configuring the scan settings.
7
Press
Start
.
Scanning of the document will begin and the scanned data will be saved in the specified mailbox.
Mailbox
Close
(001 - 200)
Go to
Document List
001
002
003
004
006
007
009
010
011
012
K Mailbox
H Mailbox
H Mailbox
(Not in Use)
(Not in Use)
(Not in Use)
(Not in Use)
(Not in Use)
005
008
(Not in Use)
(Not in Use)
(Not in Use)
(Not in Use)
Mailbox
Close
(001 - 200)
Go to
No. of Docs: 10
Document List
001
002
003
004
005
006
007
009
010
011
012
K Mailbox
H Mailbox
H Mailbox
(Not in Use)
(Not in Use)
(Not in Use)
(Not in Use)
(Not in Use)
(Not in Use)
(Not in Use)
(Not in Use)
008
(Not in Use)
Содержание DocumentCentre C240 Series
Страница 16: ...Part 1 Printer ...
Страница 116: ...4 10 File Upload Printing 103 4 Special Printing 5 Click Start to start printing ...
Страница 127: ...Part 2 Scanner ...
Страница 238: ...Part 3 Appendix ...


