2680A/2686A
Users Manual
4-12
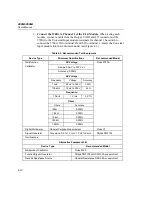
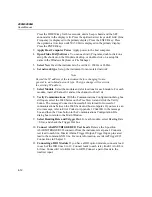
Press the COMM key for three seconds, until a beep is heard and the SET
annunciator in the display is lit. Press the up/down arrow keys until LinE (Line
Frequency) is displayed in the primary display. Press the ENTER key. Press
the up/down arrow keys until 50 (50 Hz) is displayed in the primary display.
Press the ENTER key.
3.
Apply Host Computer Power
Apply power to the host computer.
4.
Open Fluke DAQ
Software
You can use Start | Programs, double-click on a
setup file shortcut on the Windows desktop, or double-click on a setup file
name in the Windows Explorer or File Manager.
5.
Select New
Insert the instrument to be verified – 2680A or 2686A.
6.
Set network type
Set up the instrument for an isolated network.
Note
Record the IP address of the instrument before changing from a
general to an isolated network type. The type change will overwrite
the existing IP address.
7.
Select Module
Select the module and slot locations for each module. For each
module, insert a Channel 01 and set the channel to 90 mV dc.
8.
Verify Communications
With the Communications Configuration dialog box
still open, select the 2680 Series on the TreeView list and click the Verify
button. The message Connection Successful! is returned for successful
communications between the 2680 Series and host computer. If you receive an
error message, refer to Error Codes in Appendix I. Click OK in the message
box and then the Close button in the Communications Configuration File
dialog box to return to the Main Window.
9.
Select Reading Rate and Trigger Out
For each module, select Reading Rate
= Slow, and check the Trigger Out box.
10.
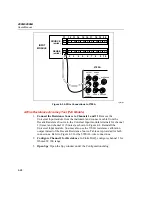
Connect ALARM/TRIGGER I/O Test Leads
Remove the 8-position
ALARM/TRIGGER I/O connector from the instrument rear panel. Connect a
test lead to each line, Master Alarm, Trigger Output, Trigger Input, plus a test
lead to the common GND line. For more information, see Alarm/Trigger I/O
Connections in Chapter 2.
11.
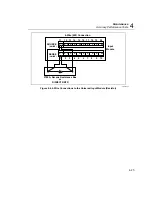
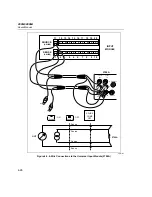
Connecting a DIO Module
If you have a DIO option module, connect a lead
to each of the DIO lines 0 to 19. Connect leads to each relay line K1A to K8A
hi lines. Connect K1A to K8A low to GRD. Connect a pair of leads to the
totalizer input.
Содержание 2680A
Страница 8: ......
Страница 14: ...2680A 2686A Users Manual vi ...
Страница 20: ...2680A 2686A Users Manual 1 2 ...
Страница 98: ...2680A 2686A Users Manual 2 62 ...
Страница 196: ......
Страница 228: ...2680A 2686A Users Manual A 32 ...
Страница 236: ...2680A 2686A Users Manual C 4 ...
Страница 242: ...2680A 2686A Users Manual D 6 ...
Страница 274: ...2680A 2686A Users Manual 6 ...


