Using Fluke DAQ Software
Understanding the User Interface
3
3-9
Configuration Dialogs
The Configuration dialog that appears depends on the node (instrument, module,
or channel) you select in the TreeView panel.
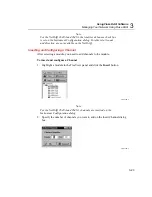
You can also use copy and paste functionality to save configuration time. Channel
settings can be copied from one channel to another in the same instrument, or you
can copy a whole module or a group of channel settings from one instrument to
another. To copy a channel, highlight the channel you want to copy, then click the
right mouse button and select Copy. Next, highlight the module where you want to
add the channel, then click the right mouse button and select Paste. A new channel
with the same configuration will be added to the module.
You can also use the same method to change channel settings. Highlight a channel,
then click the right mouse button and select Copy. Next, highlight the channel you
want to change, click the right mouse button and select Paste to paste the
configuration information.
Note
As you move from a Configuration dialog to a Communication
dialog, the instrument that was previously selected in the dialog is
still selected. For example, if instrument 01 is selected in the
Configuration dialog and you move to a Communication dialog, the
instrument will only be highlighted if it was selected the last time you
were in the Communication dialog. Dialog selections are
remembered and are independent.
Fluke DAQ uses the following Configuration dialogs:
Main Configuration Dialog
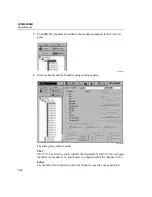
You can use the Main Configuration dialog to select the network type (General or
Isolated), Port Number, Data Simulation, and access Data File Configuration and
Advanced Settings. The Main Configuration dialog appears when you click on the
root node in the TreeView.
Instrument Configuration Dialog
You can configure your 2680 Series or NetDAQ instruments using the Fluke DAQ
Instrument Configuration dialog. This dialog appears when you select an
instrument in the TreeView. You can use the Configuration dialogs to:
•
Set up the instrument network settings (IP address and Port number)
•
Verify the IP Address and the connection
•
Upload and download the configuration from/to the instrument
•
Save and load the configuration to and from the PC card (2686A only)
Содержание 2680A
Страница 8: ......
Страница 14: ...2680A 2686A Users Manual vi ...
Страница 20: ...2680A 2686A Users Manual 1 2 ...
Страница 98: ...2680A 2686A Users Manual 2 62 ...
Страница 196: ......
Страница 228: ...2680A 2686A Users Manual A 32 ...
Страница 236: ...2680A 2686A Users Manual C 4 ...
Страница 242: ...2680A 2686A Users Manual D 6 ...
Страница 274: ...2680A 2686A Users Manual 6 ...

