32
CHAPTER 8
LIGHT BULB
CHANGING
32
X
Y
Z
WORKSHOP MANUAL
TL 250
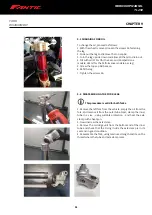
8.1 CHANGING THE HEADLIGHT BULB ON THE
CARBURETTOR MODEL
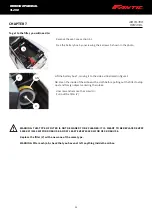
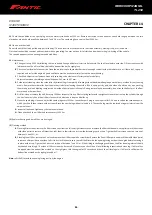
• Unplug light X from the connector
• Remove the rubber cover Y installed to protect the bulb.
• Turn the light assembly anticlockwise and remove the blown bulb.
• Insert a new light, being careful not to touch the actual bulb
to avoid compromising efficiency, and turn the assembly
clockwise as far as it will go.
• Refit the rubber cover you removed earlier.
•
The LED headlight is only fitted on electronic injection
models and its lights cannot be replaced: where necessary,
the whole headlight assembly must be replaced
8.2 CHANGING DIRECTION INDICATOR LIGHT BULBS
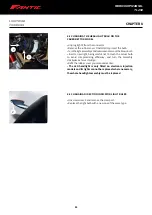
• Unscrew screw Z and remove the clear part.
• Replace the light bulb with a new one of the same type.
Содержание TL 250
Страница 1: ...1 WORKSHOP MANUAL E N...
Страница 3: ...WORKSHOP MANUAL TL 250...
Страница 11: ...11 WORKSHOP MANUAL TL 250...
Страница 30: ...30 WORKSHOP MANUAL TL 250 CHAPTER 6 DASHBOARD 39 GENERAL CONTENT AND CONSULTATION ENGLISH...
Страница 49: ...49 49 WORKSHOP MANUAL TL 250...
Страница 50: ...50 50 CHAPTER 15 ELECTRICAL DEVICES 15 3 WIRING DIAGRAM TL 250 4 STROKE 2016 WORKSHOP MANUAL TL 250...
Страница 51: ...51 CHAPTER 15 ELECTRICAL DEVICES 51 WORKSHOP MANUAL TL 250...
Страница 136: ...136 136 WORKSHOP MANUAL TL 250...

