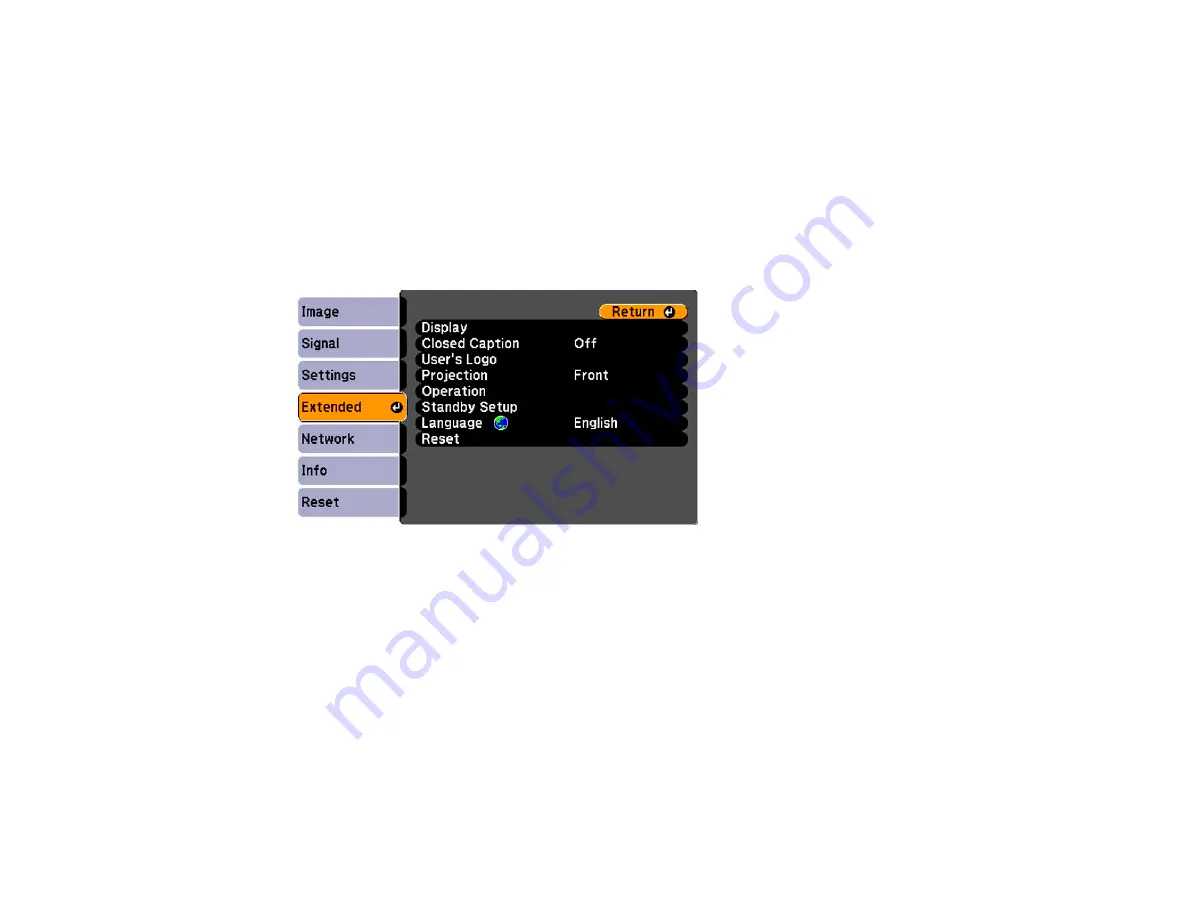
Saving a User's Logo Image to Display
You can transfer an image to the projector and then display it whenever the projector turns on. You can
also display the image when the projector is not receiving an input signal or when you temporarily stop
projection (using the A/V Mute feature). This transferred image is called the User's Logo screen.
The image you select as the User's Logo can be a photo, graphic, or company logo, which is useful in
identifying the projector's owner to help deter theft. You can prevent changes to the User's Logo by
setting up password protection for it.
1.
Display the image you want to project as the User's Logo.
2.
Press the
Menu
button, select the
Extended
menu, and press
Enter
.
3.
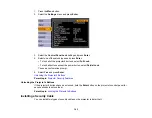
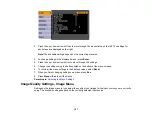
Select the
User's Logo
setting and press
Enter
.
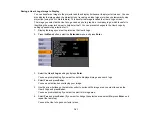
You see a prompt asking if you want to use the displayed image as a user's logo.
4.
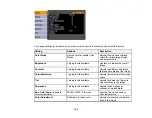
Select
Yes
and press
Enter
.
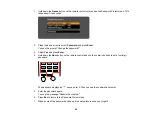
You see a selection box overlaying your image.
5.
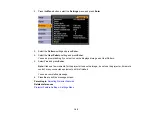
Use the arrow buttons on the remote control to surround the image area you want to use as the
User's Logo and press
Enter
.
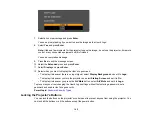
You see a prompt asking if you want to select this image area.
6.
Select
Yes
and press
Enter
. (If you want to change the selected area, select
No
, press
Enter
, and
repeat the last step.)
You see the User's Logo zoom factor menu.
101
Содержание PowerLite 470
Страница 1: ...PowerLite 470 475W 480 485W User s Guide ...
Страница 2: ......
Страница 20: ...Projector Parts Remote Control 1 Power button 20 ...
Страница 44: ...1 Open the battery cover as shown 2 Insert the batteries with the and ends facing as shown 44 ...
Страница 122: ... Network menu items Lamp Hours Password Zoom Image Shift Parent topic Adjusting the Menu Settings 122 ...
Страница 127: ...2 Slide the air filter cover switch and open the air filter cover 127 ...
Страница 129: ...4 Place the new air filter in the projector as shown 129 ...
Страница 130: ...5 Close the air filter cover Parent topic Air Filter and Vent Maintenance 130 ...
Страница 153: ...Parent topic Solving Problems 153 ...


