Additional Components
Depending on how you plan to use the projector, you may need to obtain the following additional
components:
• To receive an S-Video signal, you need an S-Video cable compatible with your device. See your local
computer or electronics dealer for purchase information.
• To receive a component video signal, you need a D-sub, 15-pin, component-to-VGA video cable. You
can purchase one from Epson or an authorized Epson reseller.
• To receive an HDMI signal, you need a compatible HDMI cable. See your local computer or
electronics dealer for purchase information.
Note:
To connect a Mac that includes only a Mini DisplayPort or Mini-DVI port for video output, you
need to obtain an adapter that allows you to connect to the projector's
HDMI
port. Contact Apple for
compatible adapter options. Older Mac computers (2009 and earlier) may not support audio through
the
HDMI
port.
Note:
To connect a Mac that includes only a Mini DisplayPort or Mini-DVI port for video output, you need
to obtain an adapter that allows you to connect to the projector's VGA video port. Contact Apple for
compatible adapter options.
Parent topic:
Projector Features
Optional Equipment and Replacement Parts
You can purchase screens, other optional accessories, and replacement parts from an Epson authorized
reseller. To find the nearest reseller, call 800-GO-EPSON (800-463-7766). Or you can purchase online
at
www.epsonstore.com
(U.S. sales) or
www.epson.ca
(Canadian sales).
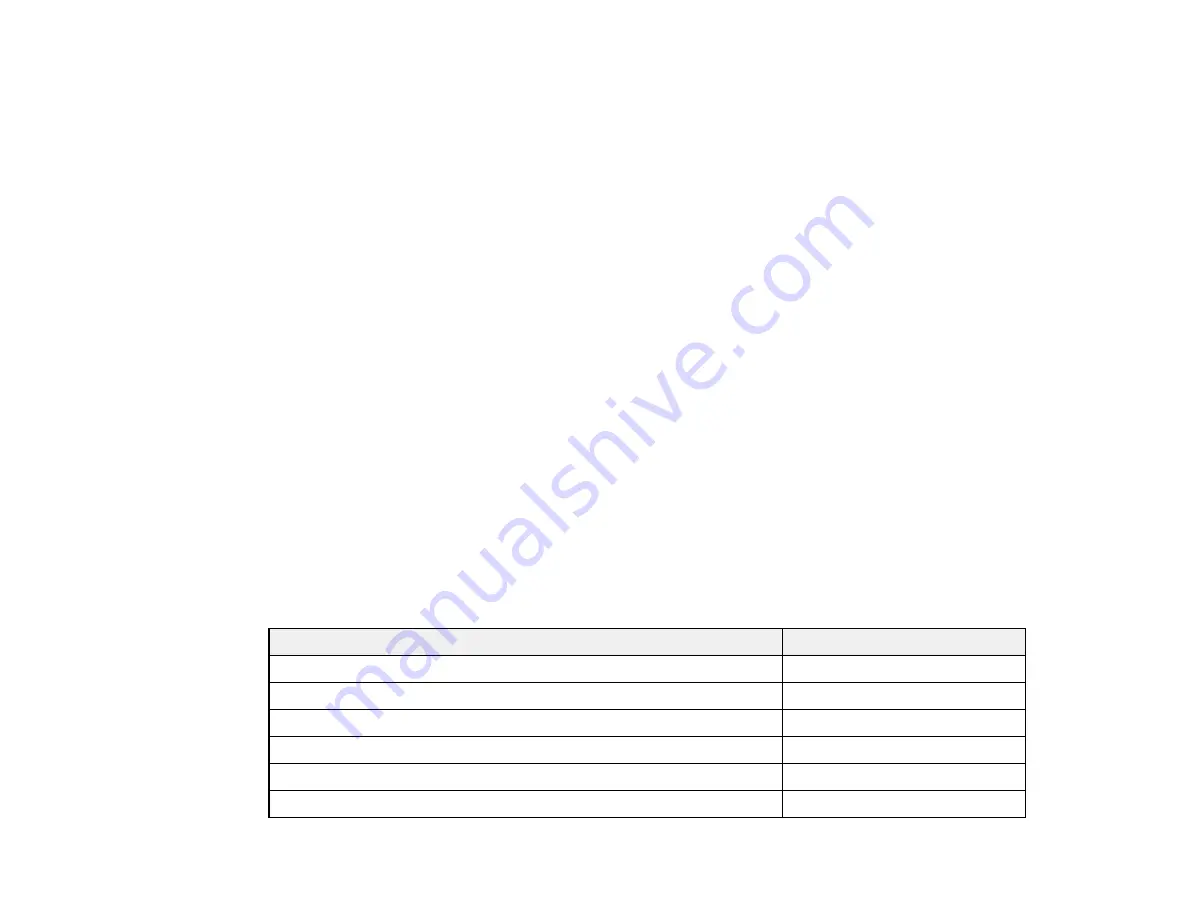
Epson offers the following optional accessories and replacement parts for your projector:
Option or part
Part number
Genuine EPSON replacement lamp (ELPLP71)
V13H010L71
Air filter replacement (ELPAF40)
V13H134A40
Wireless LAN module (ELPAP07)
V12H418P12
Quick Wireless Connection USB key (ELPAP08)
V12H005M08
EPSON DC-11 document camera (ELPDC11)
V12H377020
EPSON DC-06 document camera (ELPDC06)
V12H321005
12
Содержание PowerLite 470
Страница 1: ...PowerLite 470 475W 480 485W User s Guide ...
Страница 2: ......
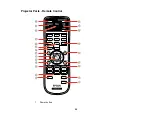
Страница 20: ...Projector Parts Remote Control 1 Power button 20 ...
Страница 44: ...1 Open the battery cover as shown 2 Insert the batteries with the and ends facing as shown 44 ...
Страница 122: ... Network menu items Lamp Hours Password Zoom Image Shift Parent topic Adjusting the Menu Settings 122 ...
Страница 127: ...2 Slide the air filter cover switch and open the air filter cover 127 ...
Страница 129: ...4 Place the new air filter in the projector as shown 129 ...
Страница 130: ...5 Close the air filter cover Parent topic Air Filter and Vent Maintenance 130 ...
Страница 153: ...Parent topic Solving Problems 153 ...


