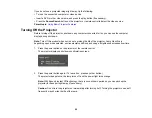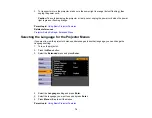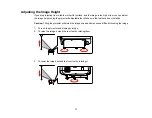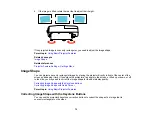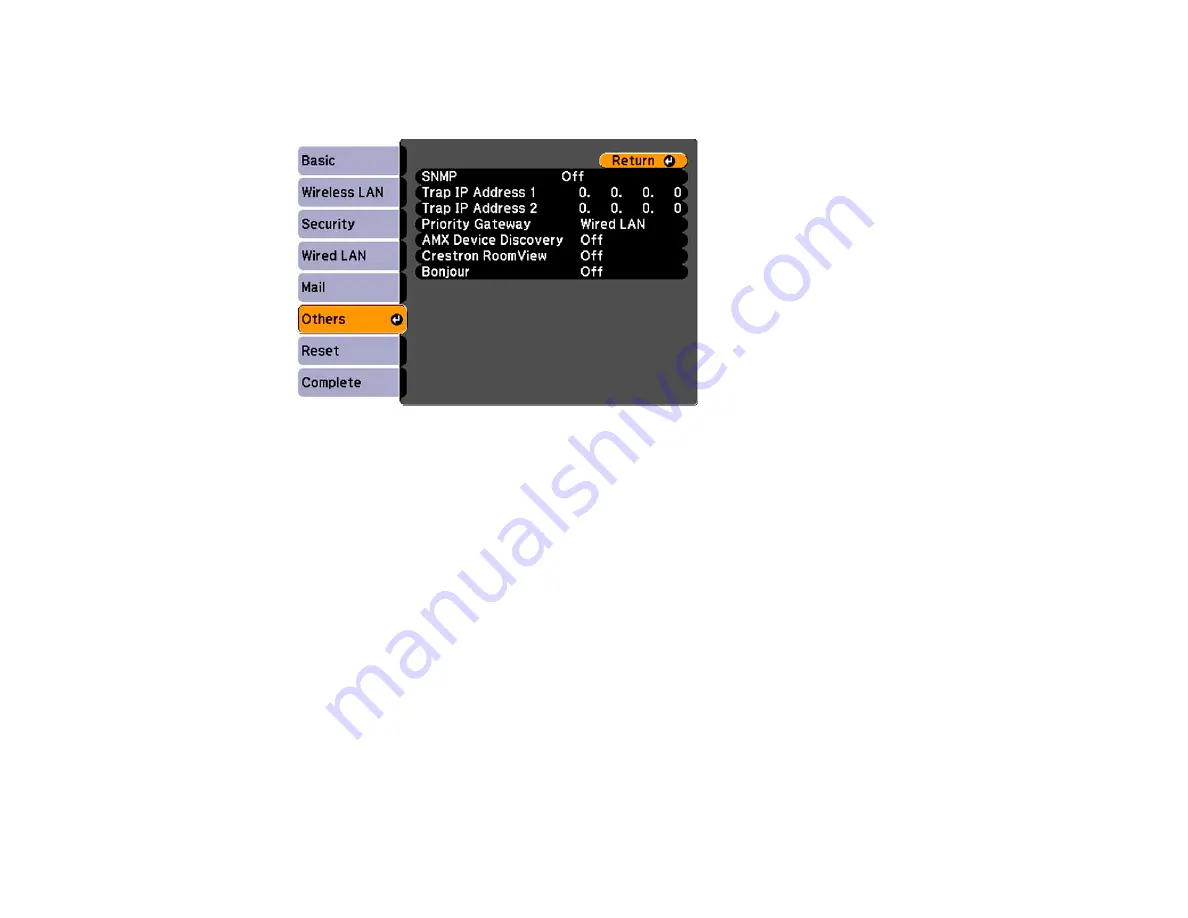
3.
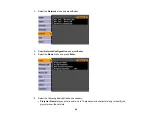
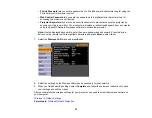
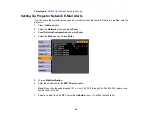
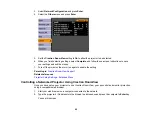
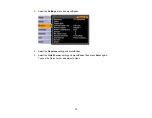
Select
Network Configuration
and press
Enter
.
4.
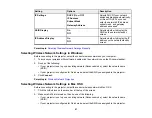
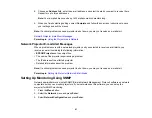
Select the
Others
menu and press
Enter
.
5.
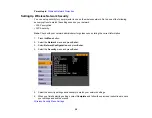
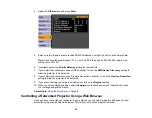
Set the
Crestron RoomView
setting to
On
to allow the projector to be detected.
6.
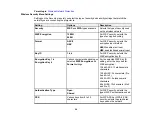
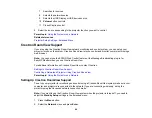
When you finish selecting settings, select
Complete
and follow the on-screen instructions to save
your settings and exit the menus.
7.
Turn off the projector, then turn it on again to enable the setting.
Parent topic:
Crestron RoomView Support
Related references
Projector Setup Settings - Extended Menu
Controlling a Networked Projector Using Crestron RoomView
Once you have set up your projector to use Crestron RoomView, you can control and monitor projection
using a compatible web browser.
1.
Start your web browser on a computer connected to the network.
2.
Type the projector's IP address into the browser's address box and press the computer's
Enter
key.
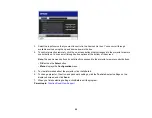
You see this screen:
65
Содержание PowerLite 470
Страница 1: ...PowerLite 470 475W 480 485W User s Guide ...
Страница 2: ......
Страница 20: ...Projector Parts Remote Control 1 Power button 20 ...
Страница 44: ...1 Open the battery cover as shown 2 Insert the batteries with the and ends facing as shown 44 ...
Страница 122: ... Network menu items Lamp Hours Password Zoom Image Shift Parent topic Adjusting the Menu Settings 122 ...
Страница 127: ...2 Slide the air filter cover switch and open the air filter cover 127 ...
Страница 129: ...4 Place the new air filter in the projector as shown 129 ...
Страница 130: ...5 Close the air filter cover Parent topic Air Filter and Vent Maintenance 130 ...
Страница 153: ...Parent topic Solving Problems 153 ...

