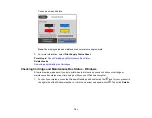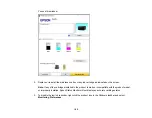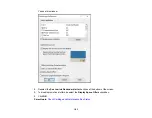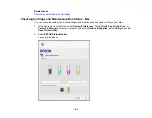
179
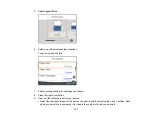
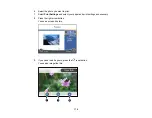
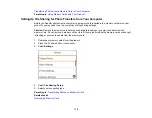
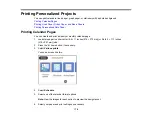
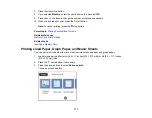
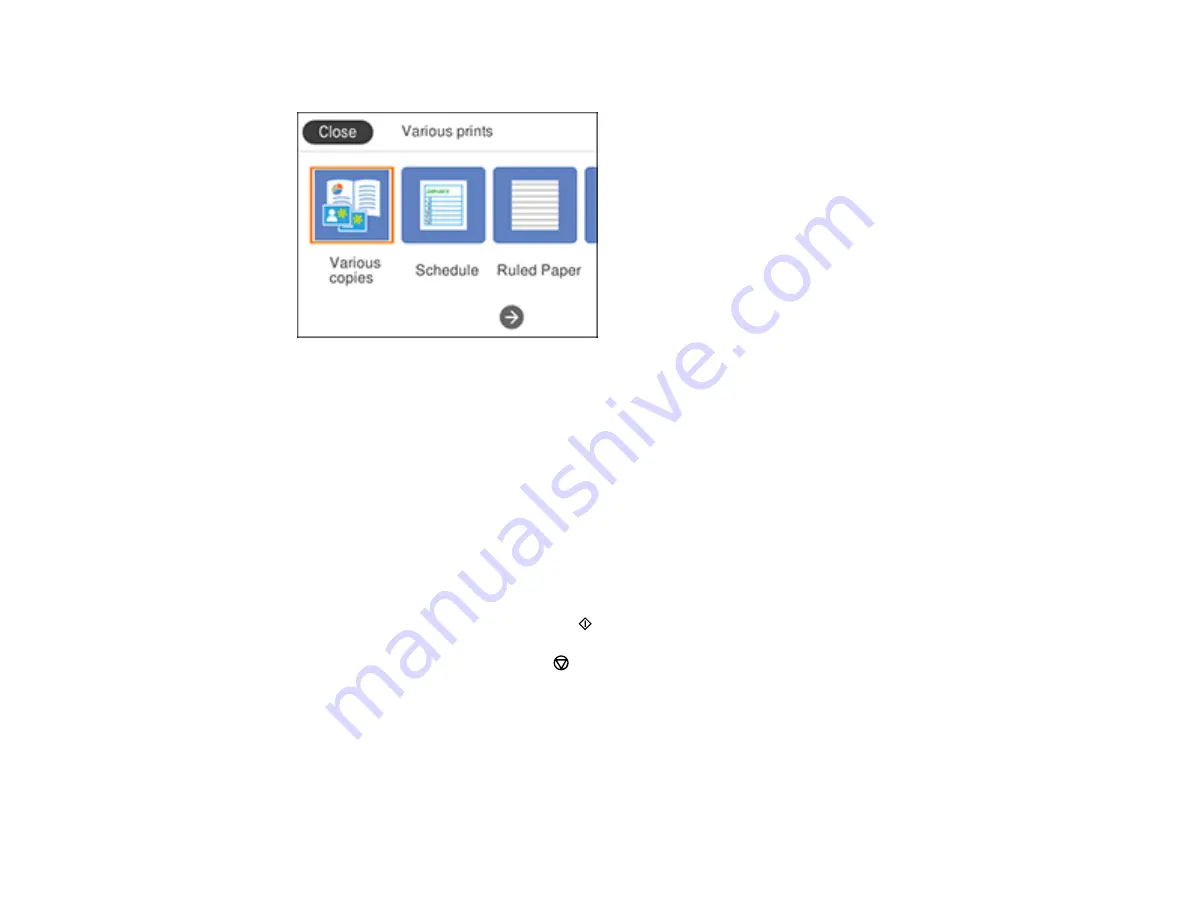
You see a screen like this:
5.
Select
Writing Papers
.
6.
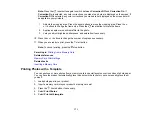
Select one of the layout options.
Note:
View the images for each option to preview the design layout.
7.
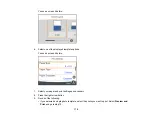
Select your paper and print settings as necessary.
8.
Press the right arrow button.
9.
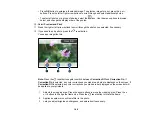
Select the photo you want to include in the background.
10. Select
Preview and Print
or
Use This Photo
.
11. Press the
+
or
–
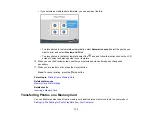
buttons to change the number of copies as necessary.
12. When you are ready to print, press the
start button.
Note:
To cancel printing, press the
stop button.
Parent topic:
Printing Personalized Projects
Related references
Related tasks
Содержание C11CG29501
Страница 1: ...XP 5100 User s Guide ...
Страница 2: ......
Страница 12: ......
Страница 13: ...13 XP 5100 User s Guide Welcome to the XP 5100 User s Guide For a printable PDF copy of this guide click here ...
Страница 26: ...26 Product Parts Inside 1 Document cover 2 Scanner glass 3 Control panel 4 Front cover ...
Страница 102: ...102 10 Select the Layout tab 11 Select the orientation of your document as the Orientation setting ...
Страница 133: ...133 You see an Epson Scan 2 window like this ...
Страница 135: ...135 You see this window ...
Страница 201: ...201 You see a window like this 4 Click Print ...

