4.
Replace the cable cover and tighten the screws.
5.
Plug in and turn on the projector.
Parent topic:
Wireless Network Projection
Using Quick Wireless Connection (Windows Only)
You can use the Quick Wireless Connection USB Key to quickly connect the projector to a Windows
computer wirelessly. Then you can project your presentation and remove the key when you are done.
Note:
The Quick Wireless Connection USB key is not included with your projector.
1.
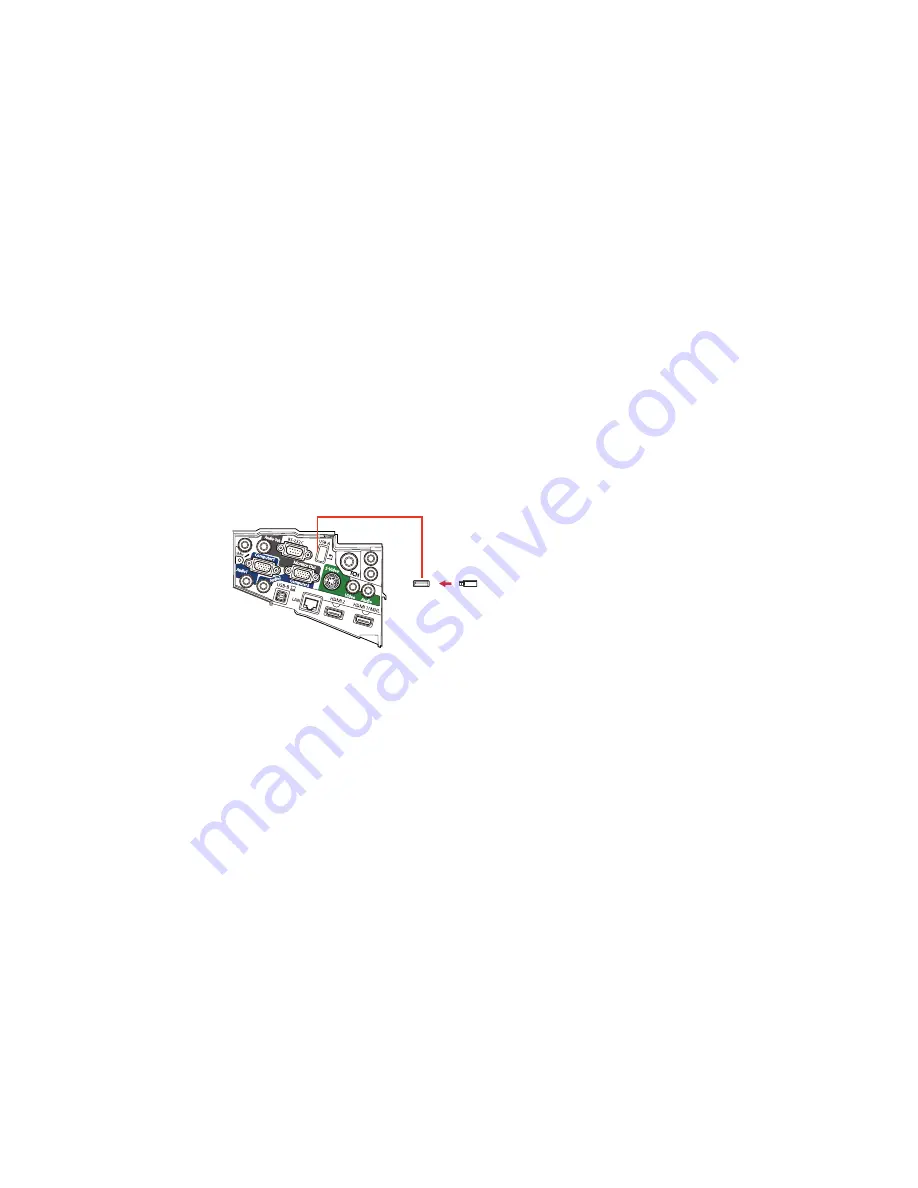
Turn on the projector.
2.
Connect the USB key to the projector's
USB-A
port.
You see a projected message that the network information update is complete.
3.
Remove the USB key.
4.
Now connect the USB key to a USB port on your computer or notebook.
Note:
In Windows Vista, if you see the AutoPlay window, select
Run LaunchU3.exe
, then select
Allow
on the next screen.
5.
Follow the on-screen instructions to install the Quick Wireless Connection driver.
Note:
If you see a Windows Firewall message, click
Yes
to disable the firewall.
62
Содержание BrightLink 575Wi+
Страница 1: ...BrightLink 575Wi 585Wi 595Wi User s Guide ...
Страница 2: ......
Страница 10: ......
Страница 11: ...BrightLink 575Wi 585Wi 595Wi User s Guide Welcome to the BrightLink 575Wi 585Wi 595Wi User s Guide 11 ...
Страница 26: ...1 Installation magnets 2 Mounting holes 3 Security lock hole Parent topic Projector Part Locations 26 ...
Страница 27: ...Projector Parts Remote Control 1 Power button 2 Computer button cycles through connected computer sources 27 ...
Страница 29: ...Front Cover On Front Cover Off 1 Dial cover 2 TCH port 3 Security slot 4 Adjustment dials 5 Power light 29 ...
Страница 132: ...The circle disappears and you see another circle below the first one 132 ...
Страница 137: ...2 Select the Easy Interactive Function setting and press Enter 3 Select Touch Unit Setup and press Enter 137 ...
Страница 145: ...4 Set the Pen Mode setting to PC Interactive 5 Select Advanced in the PC Interactive section and press Enter 145 ...
Страница 185: ...2 Slide the air filter cover latch and open the air filter cover 185 ...
Страница 187: ...5 Place the air filter back in the projector as shown 187 ...
Страница 188: ...6 Close the air filter cover and slide the latch Parent topic Air Filter and Vent Maintenance 188 ...
Страница 190: ...2 Slide the air filter cover latch and open the air filter cover 190 ...
Страница 192: ...4 Place the new air filter in the projector as shown 192 ...
Страница 193: ...5 Close the air filter cover and slide the latch Parent topic Air Filter and Vent Maintenance 193 ...


