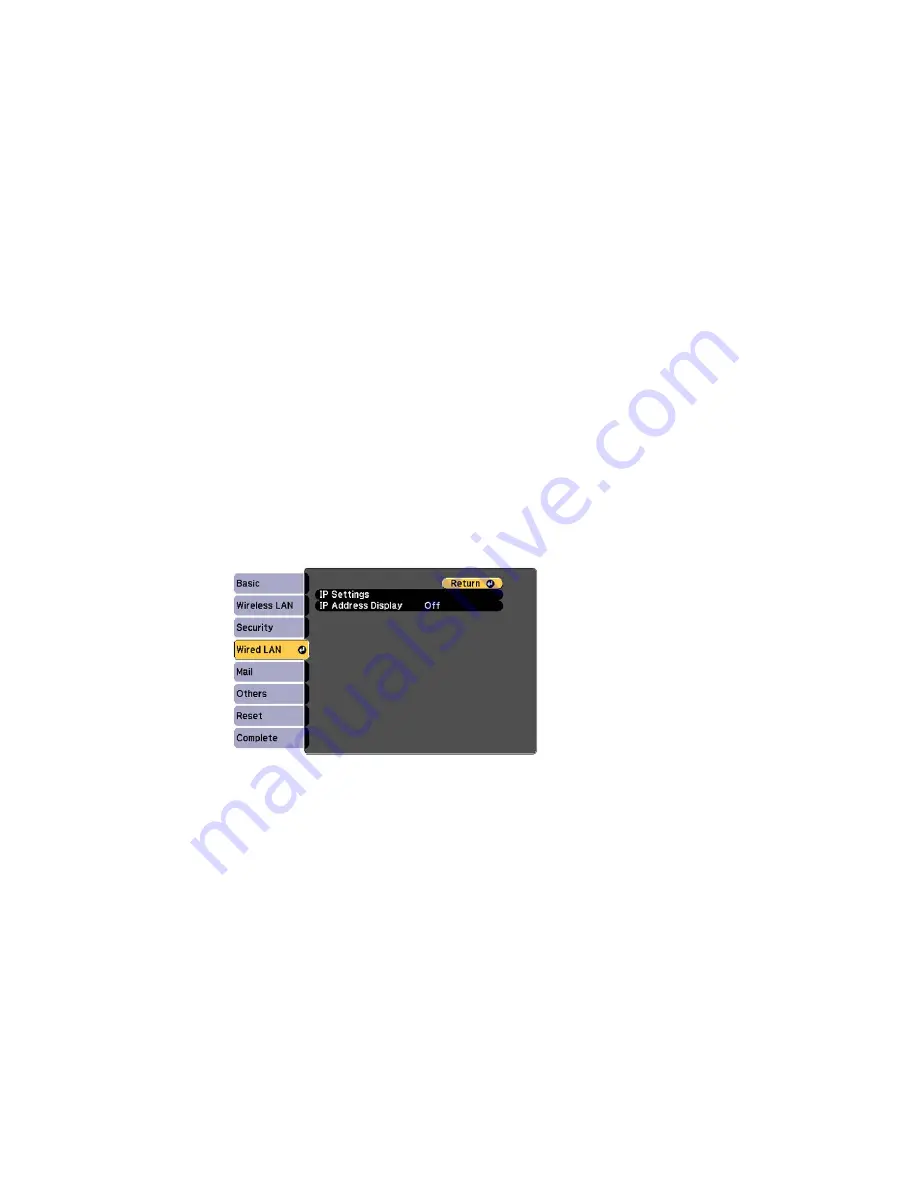
6.
Select the following basic options as necessary:
•
Projector Name
lets you enter a name up to 16 alphanumeric characters long to identify the
projector over the network.
•
PJLink Password
lets you enter a password up to 32 alphanumeric characters long for using the
PJLink protocol for projector control.
•
Web Control Password
lets you enter a password up to 8 alphanumeric characters long for
accessing the projector over the web. (Default user name is
EPSONWEB
; default password is
admin
.)
•
Projector Keyword
lets you turn on a security password to prevent access to the projector by
anyone not in the room with it. You must enter a displayed, randomized keyword from a computer
using the EasyMP Network Projection software to access the projector.
Note:
Use the displayed keyboard to enter the name, passwords and keyword. Press the arrow
buttons on the remote control to highlight characters and press
Enter
to select them.
7.
Select the
Wired LAN
menu and press
Enter
.
8.
If necessary, select
IP Settings
and press
Enter
.
9.
Select your IP Settings as necessary:
• If your network assigns addresses automatically, turn on the
DHCP
setting.
58
Содержание BrightLink 575Wi+
Страница 1: ...BrightLink 575Wi 585Wi 595Wi User s Guide ...
Страница 2: ......
Страница 10: ......
Страница 11: ...BrightLink 575Wi 585Wi 595Wi User s Guide Welcome to the BrightLink 575Wi 585Wi 595Wi User s Guide 11 ...
Страница 26: ...1 Installation magnets 2 Mounting holes 3 Security lock hole Parent topic Projector Part Locations 26 ...
Страница 27: ...Projector Parts Remote Control 1 Power button 2 Computer button cycles through connected computer sources 27 ...
Страница 29: ...Front Cover On Front Cover Off 1 Dial cover 2 TCH port 3 Security slot 4 Adjustment dials 5 Power light 29 ...
Страница 132: ...The circle disappears and you see another circle below the first one 132 ...
Страница 137: ...2 Select the Easy Interactive Function setting and press Enter 3 Select Touch Unit Setup and press Enter 137 ...
Страница 145: ...4 Set the Pen Mode setting to PC Interactive 5 Select Advanced in the PC Interactive section and press Enter 145 ...
Страница 185: ...2 Slide the air filter cover latch and open the air filter cover 185 ...
Страница 187: ...5 Place the air filter back in the projector as shown 187 ...
Страница 188: ...6 Close the air filter cover and slide the latch Parent topic Air Filter and Vent Maintenance 188 ...
Страница 190: ...2 Slide the air filter cover latch and open the air filter cover 190 ...
Страница 192: ...4 Place the new air filter in the projector as shown 192 ...
Страница 193: ...5 Close the air filter cover and slide the latch Parent topic Air Filter and Vent Maintenance 193 ...


