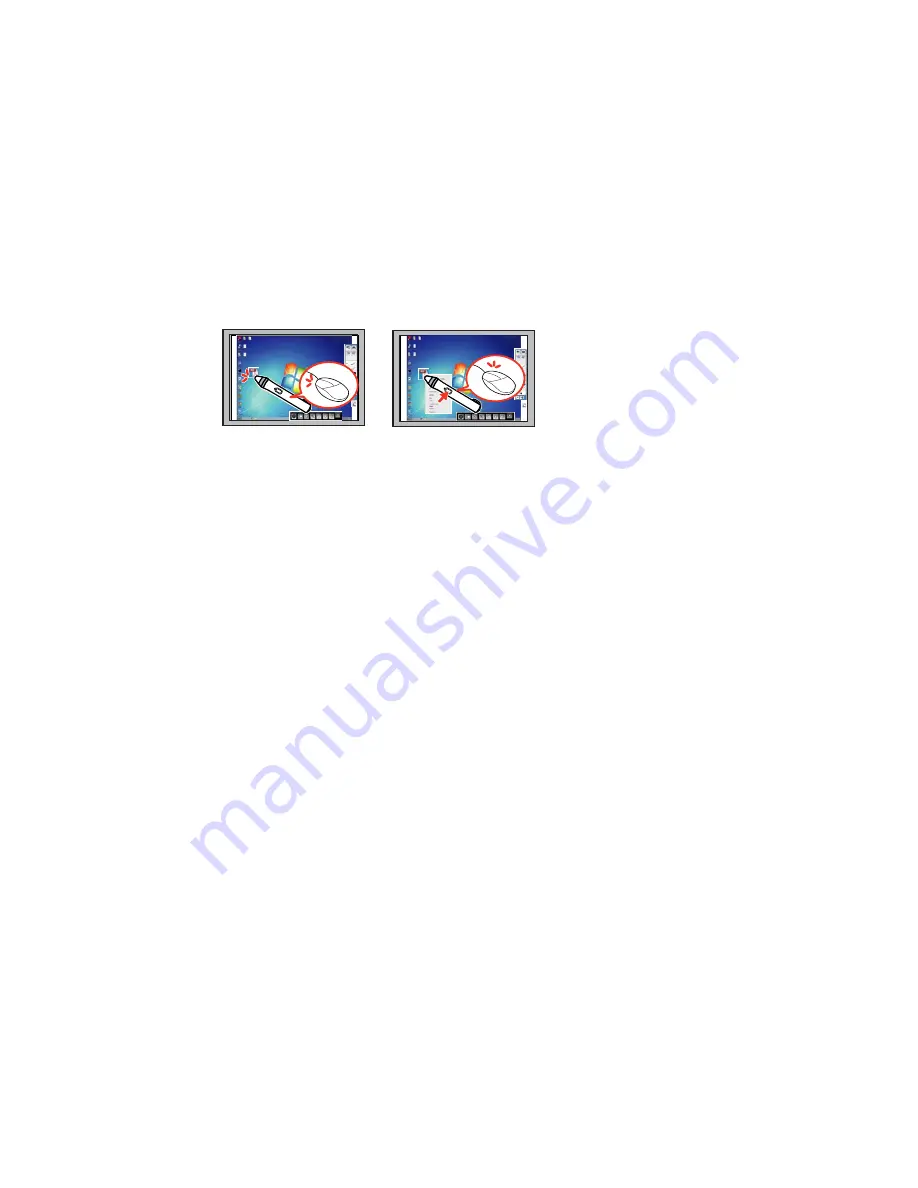
• To use the pen as a mouse in PC Interactive mode, do the following:
• To left-click, tap the board with the pen tip.
• To double-click, tap twice.
• To right-click, press the power/function button on the side.
• To click and drag, tap and drag with the pen.
• To move the cursor, hover over the board without touching it.
Note:
If you do not want to use the hovering feature, you can turn it off using the
Easy Interactive
Function
in the projector's Extended menu.
Parent topic:
Using the Interactive Pens
Related references
Projector Setup Settings - Extended Menu
Related tasks
Installing Batteries in the Pens
Pen Calibration
Calibration coordinates the position of the pen with the location of your cursor. You only need to calibrate
the first time you use your projector's interactive features. Calibration results remain until you calibrate
again.
Be sure to calibrate the pen before performing finger touch calibration (BrightLink 595Wi).
If you notice positioning discrepancies after doing any of the following, calibrate again:
• Performing Keystone correction
• Adjusting the image size
127
Содержание BrightLink 575Wi+
Страница 1: ...BrightLink 575Wi 585Wi 595Wi User s Guide ...
Страница 2: ......
Страница 10: ......
Страница 11: ...BrightLink 575Wi 585Wi 595Wi User s Guide Welcome to the BrightLink 575Wi 585Wi 595Wi User s Guide 11 ...
Страница 26: ...1 Installation magnets 2 Mounting holes 3 Security lock hole Parent topic Projector Part Locations 26 ...
Страница 27: ...Projector Parts Remote Control 1 Power button 2 Computer button cycles through connected computer sources 27 ...
Страница 29: ...Front Cover On Front Cover Off 1 Dial cover 2 TCH port 3 Security slot 4 Adjustment dials 5 Power light 29 ...
Страница 132: ...The circle disappears and you see another circle below the first one 132 ...
Страница 137: ...2 Select the Easy Interactive Function setting and press Enter 3 Select Touch Unit Setup and press Enter 137 ...
Страница 145: ...4 Set the Pen Mode setting to PC Interactive 5 Select Advanced in the PC Interactive section and press Enter 145 ...
Страница 185: ...2 Slide the air filter cover latch and open the air filter cover 185 ...
Страница 187: ...5 Place the air filter back in the projector as shown 187 ...
Страница 188: ...6 Close the air filter cover and slide the latch Parent topic Air Filter and Vent Maintenance 188 ...
Страница 190: ...2 Slide the air filter cover latch and open the air filter cover 190 ...
Страница 192: ...4 Place the new air filter in the projector as shown 192 ...
Страница 193: ...5 Close the air filter cover and slide the latch Parent topic Air Filter and Vent Maintenance 193 ...


