Part 2 - Getting Started
25
4
Select
Scan
to commence scanning.
•
Only cameras that are connected to the NVR
via VIDEO IN ports can be scanned and
registered.
•
Selecting
Auto Scan (LAN)
as the mode
scans for network devices matching the
selected protocol.
•
Setting
IP Address Scan
as the mode
scans for network devices matching the
specified address or falling under the specified
address's range. By specifying an IP address,
you can also specify which port to use with
the Remote Admin feature.
•
If
Auto Scan (LAN)
fails to recognize a
network device, try using
IP Address Scan
instead.
5
Select a camera from the scan list and then
select
Add Camera
. The device login window will
appear.
6
Enter a
User ID
and a
Password
for the selected
camera.
Camera View Buttons
•
ALIGNMENT
Button: Realigns camera screens
displayed on the video display area in the order of
Video In
port connections.
•
RESET
Button: Refreshes the video display area
and the camera list.
Selecting
RESET
clears all scanned devices from
the list.
•
TOOL
Button: The network camera tools
window appears and you will be able to change the
camera protocol.
The camera protocol has to be set to
DirectIP
to register in NVR. Select the camera
Protocol
displayed by
iNEX
to set
DirectIP
.
Changing the protocol restarts the camera and
registers the camera to NVR to use it. For more
information on settings, refer to the network
camera's user manual.
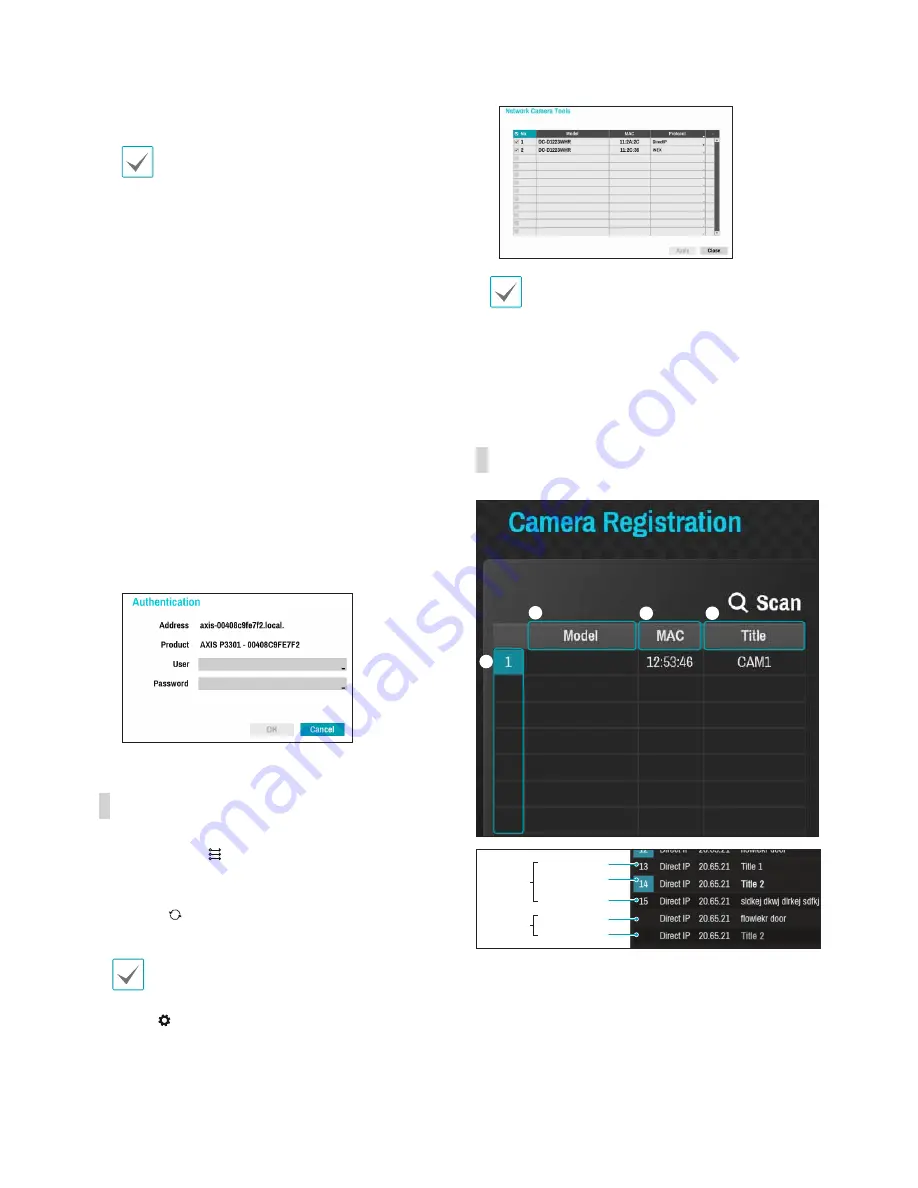
Camera List Area
1
2
3
4
Registered
Screen
No display
Screen
display
Initial registration
Initial registration
other NVRs
(Registration X)
other NVRs
(Registration X)
1
Screen Position/Registration Status
: Identifies
the camera's position in the video display area.
A blue background indicates a camera that is
available for registration. A grey background
indicates an already registered camera.
Other registered cameras are shown in black
background.
Содержание XR408
Страница 1: ...Network Video Recorder Operation Manual XR408 XR616 XR632...
Страница 86: ......


