Part 1 – Introduction
12
1
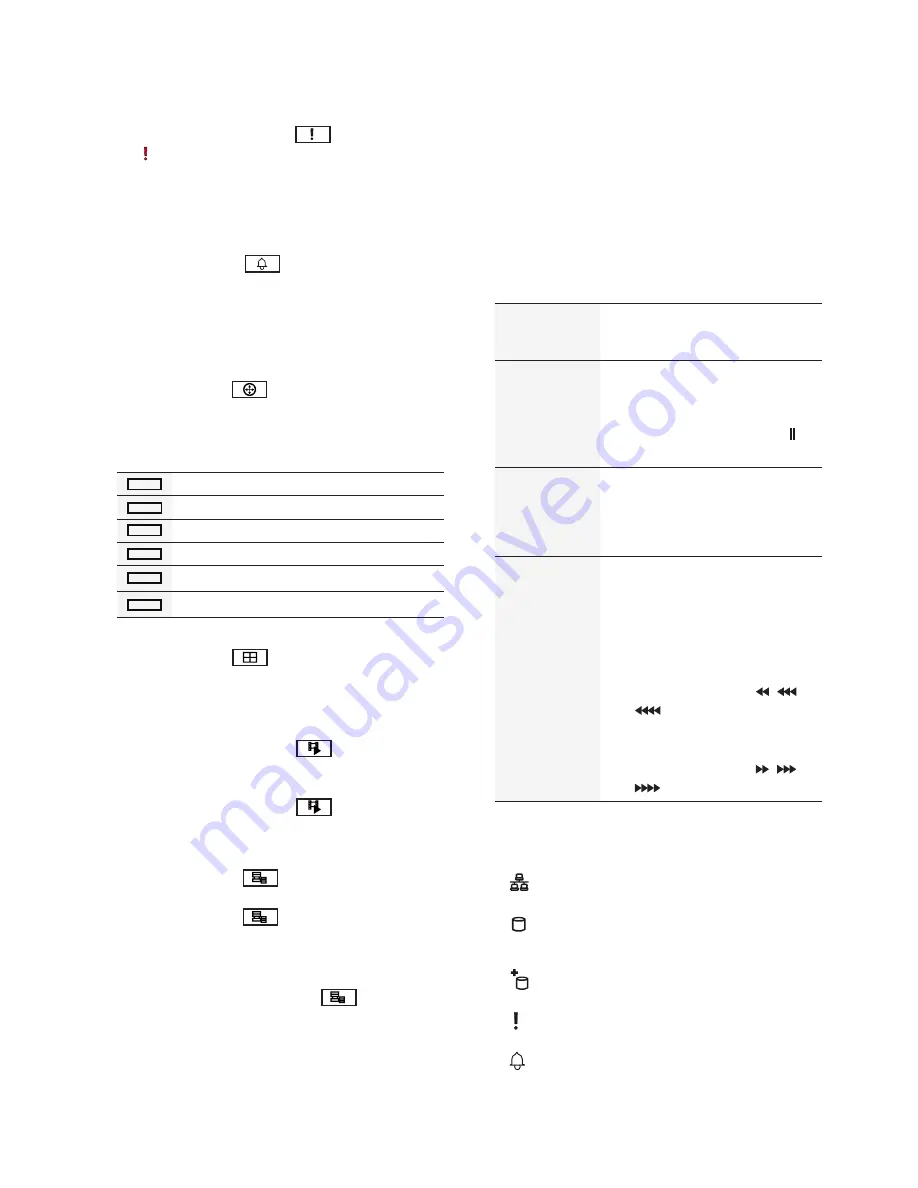
Panic Recording
Button
Pressing
Panic Recording
1
2
3
4
5
6
7
8
9
0
button displays
the icon and commences recording irrespective
of the current schedule.
Press the button again to deactivate Panic
Recording mode.
2
Alarm
Button
Pressing the
Alarm
1
2
3
4
5
6
7
8
9
0
button while the alarm
has been activated resets all NVR outputs,
including the built-in buzzer. Pressing the button
while the alarm is off displays the event log on the
screen.
3
PTZ
Button
Pressing the
PTZ
1
2
3
4
5
6
7
8
9
0
button initiates PTZ mode,
allowing you to control PTZ cameras.
In PTZ mode, use the arrow buttons to move the
camera up, down, left, and right.
1
2
3
4
5
6
Zoom-In
1
2
3
4
5
6
Zoom-Out
1
2
3
4
5
6
Focus Near
1
2
3
4
5
6
Focus Far
1
2
3
4
5
6
Load preset window
1
2
3
4
5
6
Save current position as a preset
4
Layout
Button
Press the
Layout
1
2
3
4
5
6
7
8
9
0
button to cycle through
split screen formats.
2x2 > 3x3 > 4x4 > 5x5 > 6x6
5
Search Mode
Button
Pressing the
Search Mode
1
2
3
4
5
6
7
8
9
0
button initiates
Search mode, which will allow you to search for
and play back video recordings.
Pressing the
Search Mode
1
2
3
4
5
6
7
8
9
0
button while in
Search mode returns the screen to Live mode.
6
Menu
Button
Pressing the
Menu
1
2
3
4
5
6
7
8
9
0
button while in Live mode
displays the Live menu.
Pressing the
Menu
1
2
3
4
5
6
7
8
9
0
button while in Search
mode displays the Search menu on the top of the
screen.
Press the button once more to close the menu.
Pressing and holding the
Menu
1
2
3
4
5
6
7
8
9
0
button for
3 seconds while in Playback mode activates One-
Touch mode and displays the clip copy window.
7
Camera
Button
Pressing the
Camera
button while in Live or
Playback mode displays images from the selected
camera in full screen. To select a camera whose
channel is made up of two digits, enter the digits in
sequence using the number keys.
8
Arrow
and
Playback
Control Buttons
These buttons are used to select menus and
options.
Enter (
$
)
Button
Used to select options or to
register data entries.
Play/Pause
(
"
) Buttons
Plays the video in normal speed
and displays
r
on the screen.
Press again during playback to
pause the video and display
on the screen.
Setup Menu
(
u
/
d
/
l
/
r
) Buttons: Moves the
focus up, down, left, or right.
(
u
/
d
) Buttons: Increases or
decreases values.
Playback
Mode
From paused state:
%
Button: To the previous
screen
&
Button: To the next screen
Button: Scans backward
through the video at a fast rate.
(Press to cycle through ,
,
and
the speed)
!
Button: Scans forward
through the video at a fast rate.
(Press to cycle through ,
,
and
the speed)
9
LEDs
•
Power LED
: Lights up while the main unit is in
operation.
•
Network LED
: Flashes when linked remotely
over an ethernet.
•
HDD LED
: Flashes when data is being
written on the HDD or a video search is in
progress.
•
eSATA LED
: Flashes when connected to an
eSATA device.
•
Panic LED
: Flashes in red when Panic
Recording is in progress.
•
Alarm LED
: Lights up in red when an alarm
event occurs.
Содержание XR408
Страница 1: ...Network Video Recorder Operation Manual XR408 XR616 XR632...
Страница 86: ......


