30
Operational Introduction
Operational Introduction
31
•
The Service Switch is used to view the
scheduled timer program once recording
commences and while watching another
program. If required press the red button to
turn this option On.
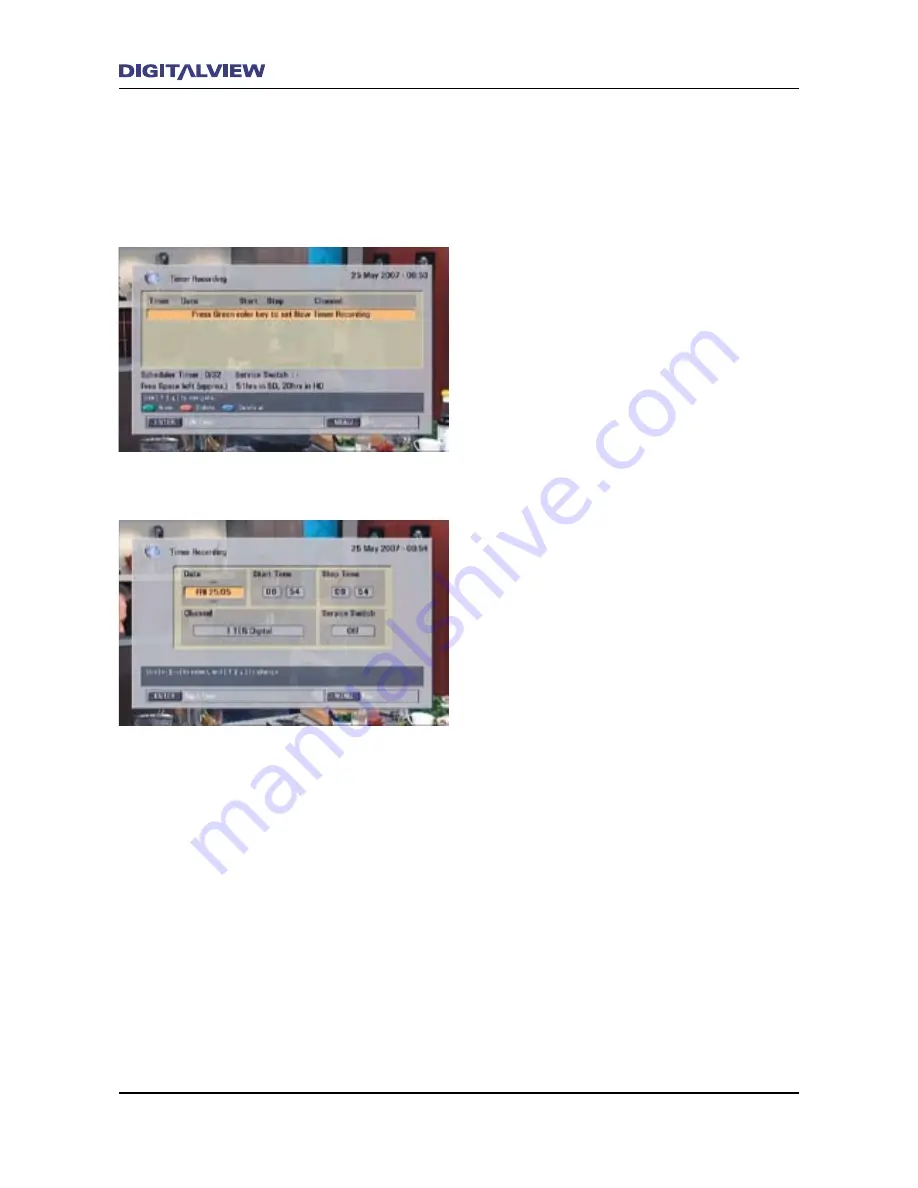
Using the TIMER REC Function for Scheduled
Recordings
1. Press the TIMER REC button. The TIMER REC
main dialogue box is shown.
2. Press the GREEN button on the RCU to start a
new Timer schedule.
3. The Timer Recording dialogue box is
displayed, with the current
Date
highlighted.
Change the calendar
Date
if required using the
Ç
button. To record a program on a regular
basis, select the “extended”
Date
options by
pressing the
È
button. The “extended”
Date
options include
Everyday
, any weekday i.e.
Monday
,
Tuesday
etc.,
Weekends
or
Weekly
.
4. Press the
Æ
button to move to the
Start Time
. The current time in hours is
highlighted.
5. Press the
Ç
or
È
buttons to change the time
in hours.
6. Press the
Æ
button to move to minutes. The
time in minutes is highlighted.
7. Press the
Ç
or
È
buttons to change the time
in minutes.
8. Press the
Æ
button to move to the
Stop
Time
.
9. Use the same procedure for the remaining
entries -
Stop Time
,
Channel
and
Service
Switch
.
10. After completing all the entries, Press ENTER.
11. Using the
Å
or
Æ
buttons, select YES or NO
to confirm the TIMER REC setup
12. Press ENTER. The TIMER REC entries are now
stored. To EXIT the TIMER REC option at any
time, press the EXIT button until all dialogue
screens are cleared. Any TIMER REC entries
will be cancelled.
Note:
•
The calendar
Date
is only applicable for 30
days in advance of the current date.
Содержание DVR-810
Страница 14: ...10 DVR 810 Front and Rear Panel Front Panel Overview...
Страница 17: ...DVR 810 Front and Rear Panel 13 Rear Panel Overview...
Страница 18: ...14 Remote Control Unit Remote Control Unit Button Definitions 1...
Страница 19: ...Remote Control Unit 15 Button Definitions 2...
Страница 20: ...16 Remote Control Unit Button Definitions 3...
Страница 75: ...The Main Menu 71 About Information associated with the DVR 810 hardware and software including contact details...
Страница 77: ...THIS IS THE INSIDE REAR COVER PAGE WHICH IS BLANK NO PRINTING ON THIS PAGE...


