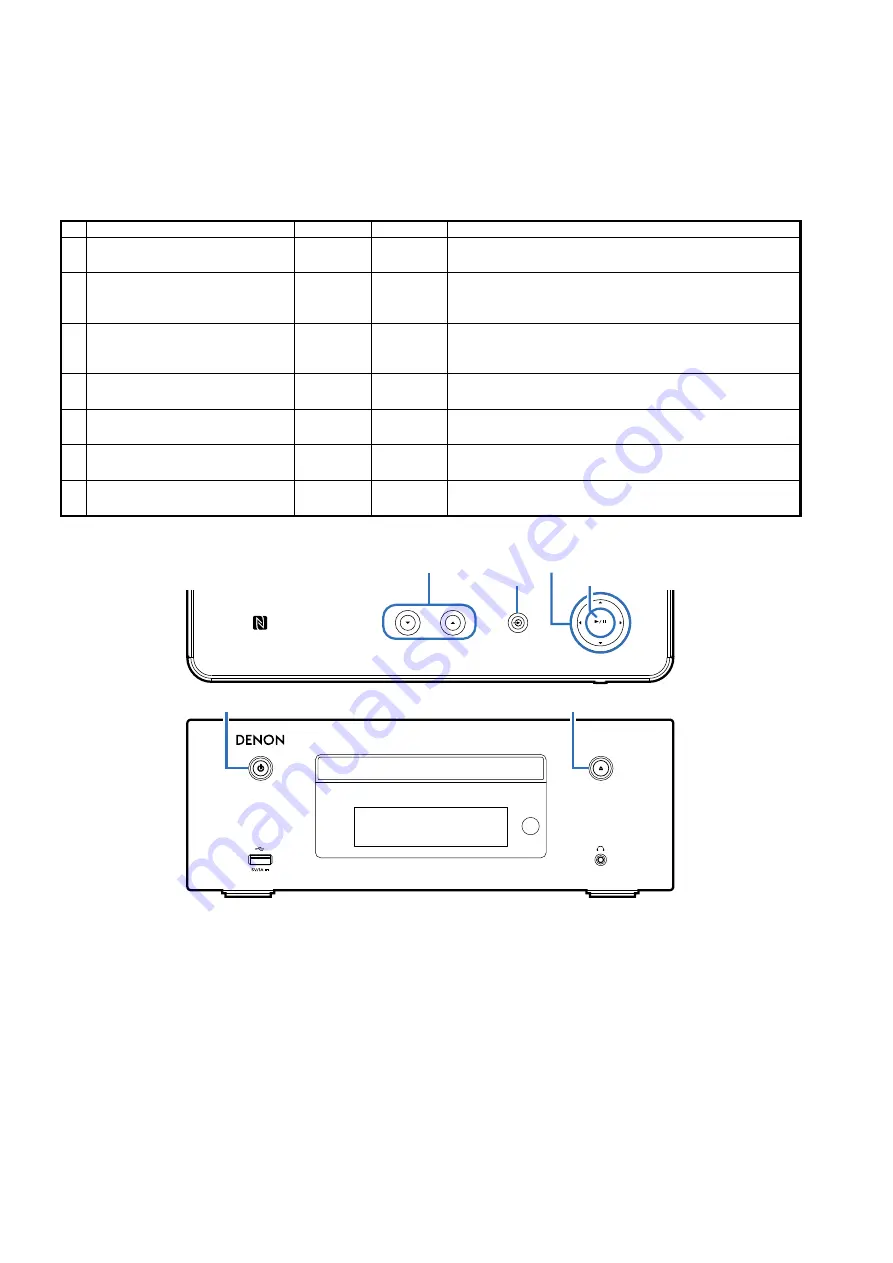
Special Mode Configuration Buttons
b
No. 1 :
In "
STANDBY
" status, press and hold the "
A
" and "
B
" buttons along with the power operation button for at least three
seconds.
b
No. 2 - 6 :
In "
STANDBY
" status, press and hold the "
A
" and "
B
" buttons along with the power operation button to turn on the
power.
b
No. 7 :
While holding down the "
A
" and "
B
" buttons, insert the AC plug, turn on the power and wait at least three seconds.
If the "
ON/STANDBY
" button is lit, the unit enters this mode.
No.
Mode
ButtonnA
ButtonnB
Contents
1 Version Display Mode
CURSOR
u
-
The firmware version is indicated in the display.
(See
)
2 Factory Initialization Mode
CURSOR
u
INPUT
SOURCE
Restores settings to the default settings.
b
Can erase the Recently Played list.
(See
)
3 User Initialization Mode
VOLUME
d
VOLUME
f
This is similar to factory initialization, except that the version
upgrade information and protection history are not cleared.
(See
)
4 CD Test mode
CURSOR
o
VOLUME
d
Servo adjustment, Leaser current, ON time
(See
)
5 Protection History Display Mode
CURSOR
o
INPUT
SOURCE
Displays the protection occurrence history.
(See
)
6 USB UPDATE
CURSOR
p
INPUT
SOURCE
Switches this unit to USB Update mode.
(See
)
7 Forced USB All Device Write Mode
CURSOR
u 1
/
3
/ENTER Mode used when this unit cannot be recovered.
Forcibly switches this unit to USB update mode. (See
)
ENTER
VOLUME
X
open/close
CURSOR
uiop
VOLUME
df
INPUT SOURCE
1
/
3
/ENTER
G
Top panel
H
G
Front panel
H
SPECIAL MODE
22
Содержание CEOL RCD-N9
Страница 34: ...Personal notes 34 ...
Страница 45: ...Personal notes 45 ...
Страница 77: ...TC7USB40MU NETWORK IC62 TC7USB40MU Block Diagram 77 ...


