Rear Input-Output Board
Removing the Rear I-O board
Before working inside your computer
.
NOTE:
A 5 mm socket wrench should be used to remove/install the caps screws located in rear I/O space.
2. Remove the:
a.
b.
c.
d.
e.
f.
CAUTION:
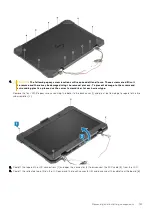
The following epoxy screw locations will require additional focus. These screws are difficult
to remove and there may be damage during the removal process. To prevent damage to the screws and
surrounding plastics, please use the correct screwdriver for each screw type.
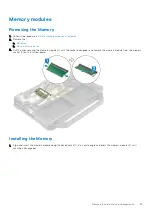
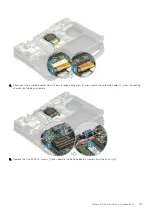
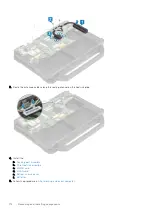
3. Peel off the inductive tape on the I/O board FPC connector [1] to disconnect it from the system board [2].
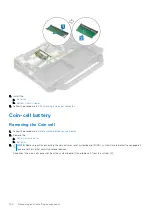
4. Remove the two epoxy cap screws on the serial port in the rear I/O space [3].
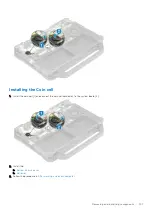
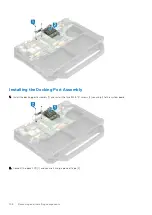
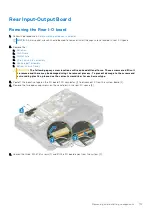
5. Loosen the three 'M2.5*5' screws [1] and lift the I/O board away from the system [2].
Removing and installing components
113
Содержание Latitude 5424 Rugged
Страница 19: ...130W Technology and components 19 ...
Страница 20: ...LED and Cable 20 Technology and components ...

