Camera Performance and Features
•
73
File Access via the CamExpert Tool
1.
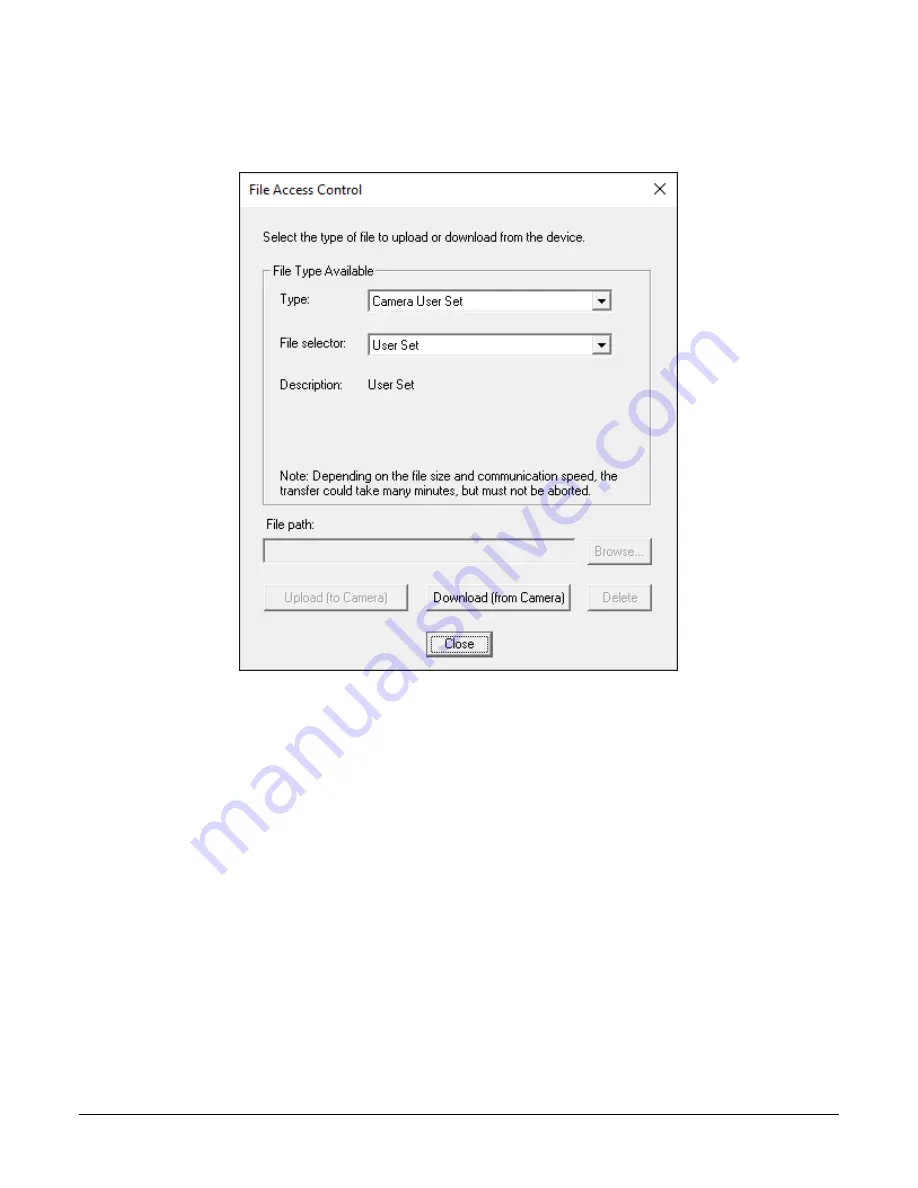
Click on the “Setting…” button to show the file Access Control dialog box.
Figure 31: File Access Control Tool
2.
From the Type drop menu, select the file type that will be uploaded to the camera or
downloaded from the camera.
3.
From the File Selector drop menu, select the file to be uploaded or downloaded.
4.
To upload a file, click the Browse button to open a typical Windows Explorer window.
a.
Select the specific file from the system drive or from a network location.
b.
Click the Upload button to execute the file transfer to the camera.
5.
Alternatively, click the Download button and then specify the location where the file should
be stored.
6.
Note that firmware changes require that the camera be powered down and then back up.
Additionally, CamExpert should be shut down and restarted following a reset.
7.
Caution: Do not interrupt the file transfer by powering down the camera or closing
CamExpert.
CLHS File Transfer Protocol
If you are not using CamExpert to perform file transfers, pseudo-code for the CLHS File Transfer
Protocol is as follows.
Upload File
1.
Select the file by setting the FileSelector feature
2.
Set the FileOpenMode to Read
Содержание Linea ML ML-FM-08K30H
Страница 16: ...16 Linea ML Multiline Monochrome HDR CMOS Cameras Figure 8 Linea ML FM 16K Camera Mechanical ...
Страница 17: ...Linea ML Multiline Monochrome HDR CMOS Cameras 17 Figure 9 Linea ML HM 16K Camera Mechanical ...
Страница 82: ...82 Camera Performance and Features Declaration of Conformity ...


