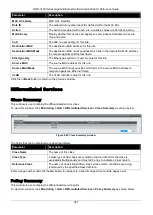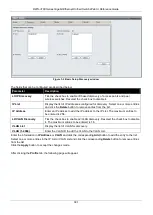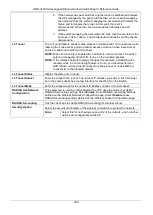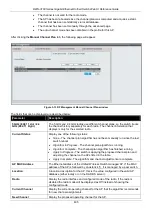
DWS-3160 Series Gigabit Ethernet Unified Switch Web UI Reference Guide
401
Standalone
Select this to have the AP acting as an individual access point in
the network. When
Standalone
is selected, the following options
appear at the bottom half of the page:
Expected SSID
- Enter the SSID that identifies the wireless
network on the standalone AP.
Expected Channel
– Use the drop-down menu to select the
channel that the standalone AP uses. If the AP is configured to
automatically select a channel, or if you do not want to specify a
channel, select
Any
.
Expected Security Mode
– Select the option to specify the type
of security the AP uses:
•
Any
- Any security mode.
•
Open
- No security.
•
WEP
- Static WEP or WEP 802.1X.
•
WPA/WAP2
- WPA and/or WPA2 (Personal or
Enterprise).
Expected Wired Network Mode
- If the standalone AP is
allowed on the wired network, select
Allowed
. If the AP is not
permitted on the wired network, select
Not Allowed
.
Rogue
Select this if you wish to be notified (through an SNMP trap, if
enabled) when this AP is detected in the network.
Location
Enter a location to help identify the AP.
Click the
Apply
button to accept the changes made.
Click the
Delete
button to remove the entry.
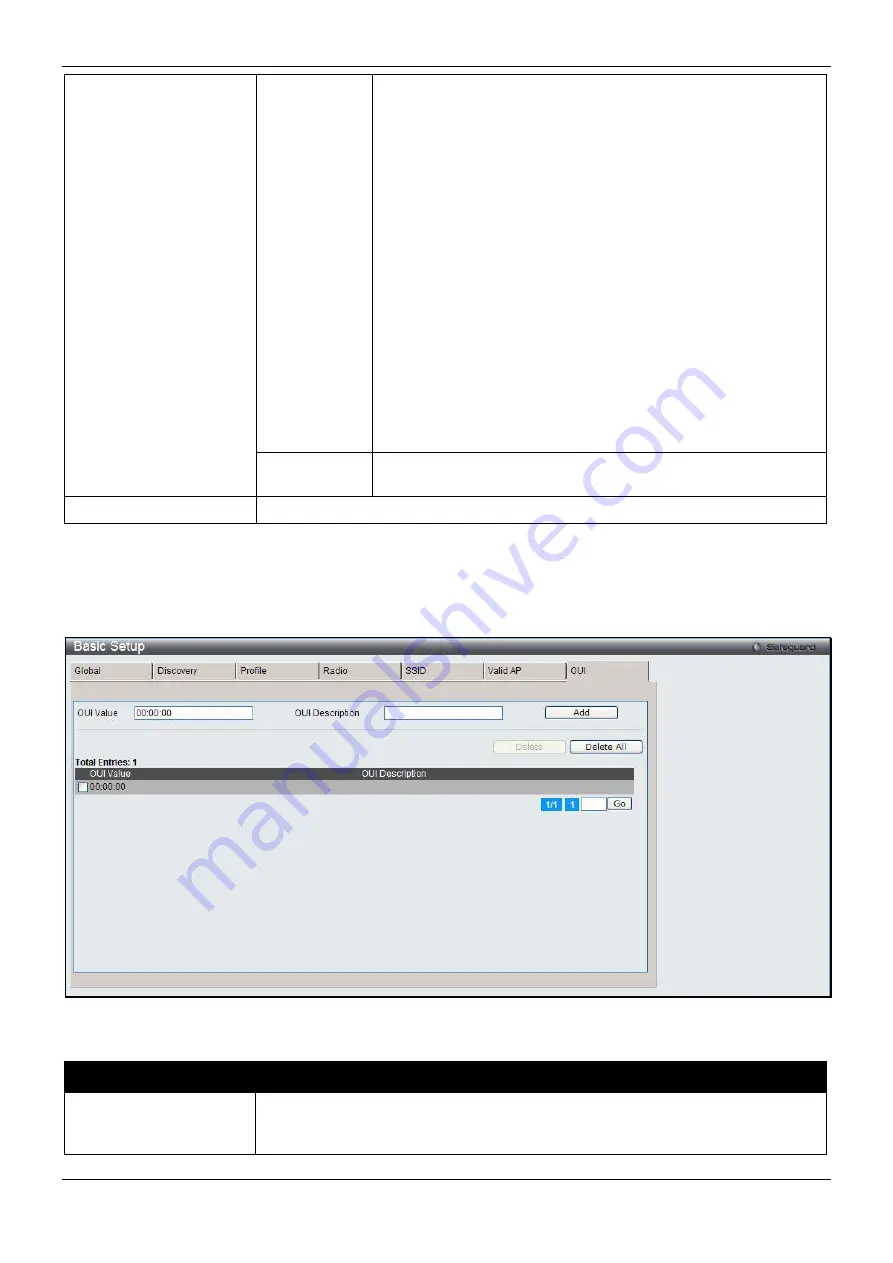
After clicking the
OUI
tab, the following page will appear:
Figure 3-9 Basic Setup OUI window
The fields that can be configured are described below:
Parameter
Description
OUI Value
Enter the OUI that represents the company ID in the format XX:XX:XX where XX is
a hexadecimal number between 00 and FF. The first three bytes of the MAC
address represents the company ID assignment.
Содержание DWS-3160-24TC
Страница 1: ...Fdo...
Страница 270: ...DWS 3160 Series Gigabit Ethernet Unified Switch Web UI Reference Guide 265...
Страница 316: ...DWS 3160 Series Gigabit Ethernet Unified Switch Web UI Reference Guide 311 Chapter 11 Save and Tools...
Страница 335: ...DWS 3160 Series Gigabit Ethernet Unified Switch Web UI Reference Guide 330...
Страница 472: ...DWS 3160 Series Gigabit Ethernet Unified Switch Web UI Reference Guide 467 Figure 2 13 System Rebooting window...

