40
•
UC-PHONE-T & UC-PHONE-T-PLUS
Supplemental Guide – DOC. 8413A
4.
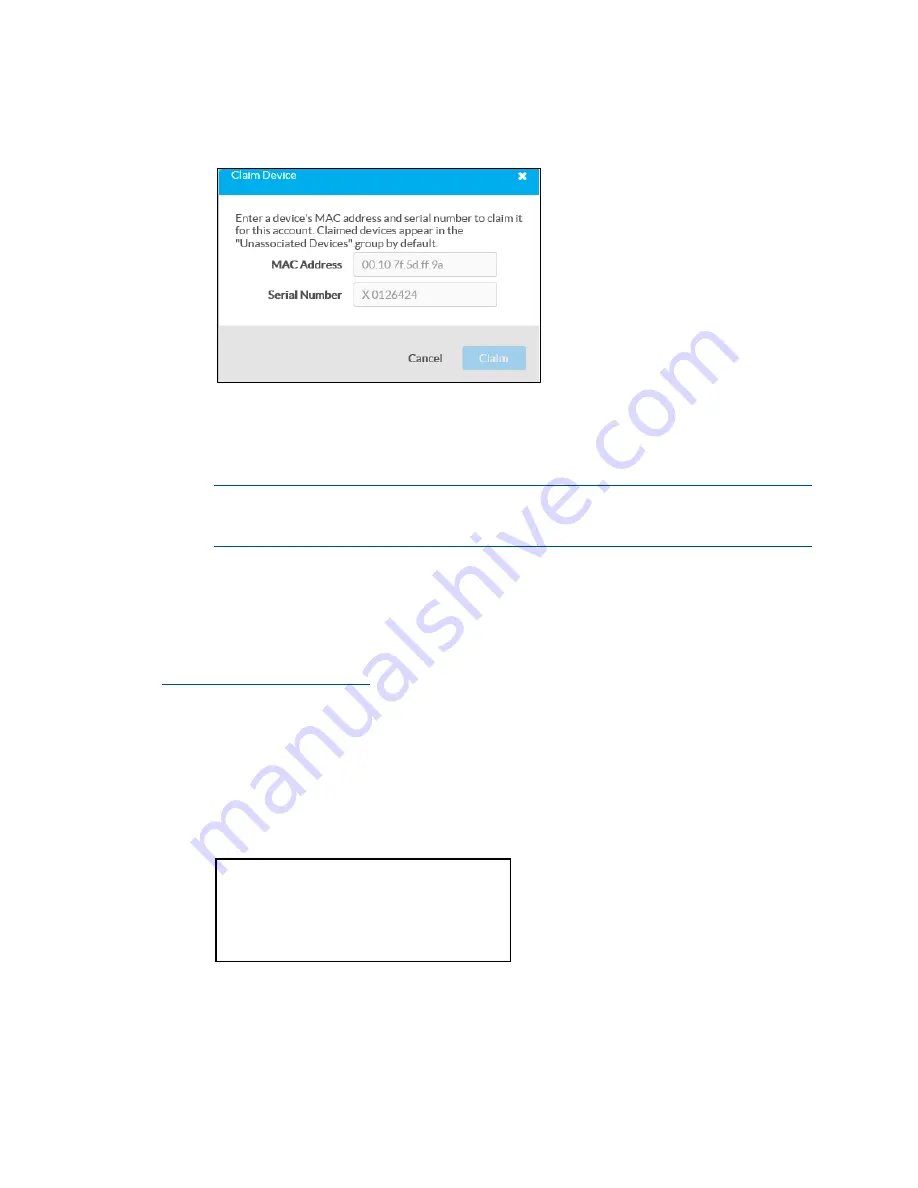
Click Claim Device. The Claim Device dialog box is displayed.
Claim Device Dialog Box
5.
Enter the MAC address and serial number recorded in step 1 in the MAC Address
and Serial Number fields, respectively.
6.
Click Claim. A message indicating a successful claiming displays.
NOTE:
If an error message displays stating the device does not exist, connect the
device to a network that has access to the Internet, wait 15 minutes, and then try
again.
7.
Click X to close the dialog box. The host name of the claimed device appears in
the device tree under the group Unassociated Devices.
The device can now be managed or assigned to a group. For information on creating
environments, managing devices, and managing users with the Crestron XiO Cloud
service, refer to the Crestron XiO Cloud Service User Guide Guide (Doc. 8214) at
Claim Multiple Devices
1.
Record all of the MAC addresses and respective serial numbers in a comma
delimited, CSV file, and then save it to a location that is accessible to the
computer used to access the Crestron XiO Cloud service. The CSV file should be
formatted as shown below:
CSV File Format
MAC Address,Serial Number
00.10.7e.8b.81.b6,17284712
00.10.7e.8b.8c.87,17284570
00.10.7e.96.83.93,1716JBG01207
00.10.7e.96.92.0a,1716JBG01550
00.10.7e.8b.87.c1,17284670
Содержание UC-PHONE-T
Страница 4: ...ii Contents Supplemental Guide DOC 8413A Meetings Screen 53 Voicemail 55 Microsoft Teams Rollout 56 ...
Страница 25: ...Supplemental Guide DOC 8413A UC PHONE T UC PHONE T PLUS 21 Network Advanced ...
Страница 61: ...Supplemental Guide DOC 8413A UC PHONE T UC PHONE T PLUS 57 This page is intentionally left blank ...


