Drive
Graph
Displays disk space for each hard drive. Storage capacity that is allocated to the same
volume appears in a matching color. A hatch pattern indicates a proposed configuration and
a solid block indicates an existing volume.
The “
Cap
” field (below each drive in the drive graph) shows the maximum capacity in
gigabytes for that hard drive.
Table 8
-
Toolbar
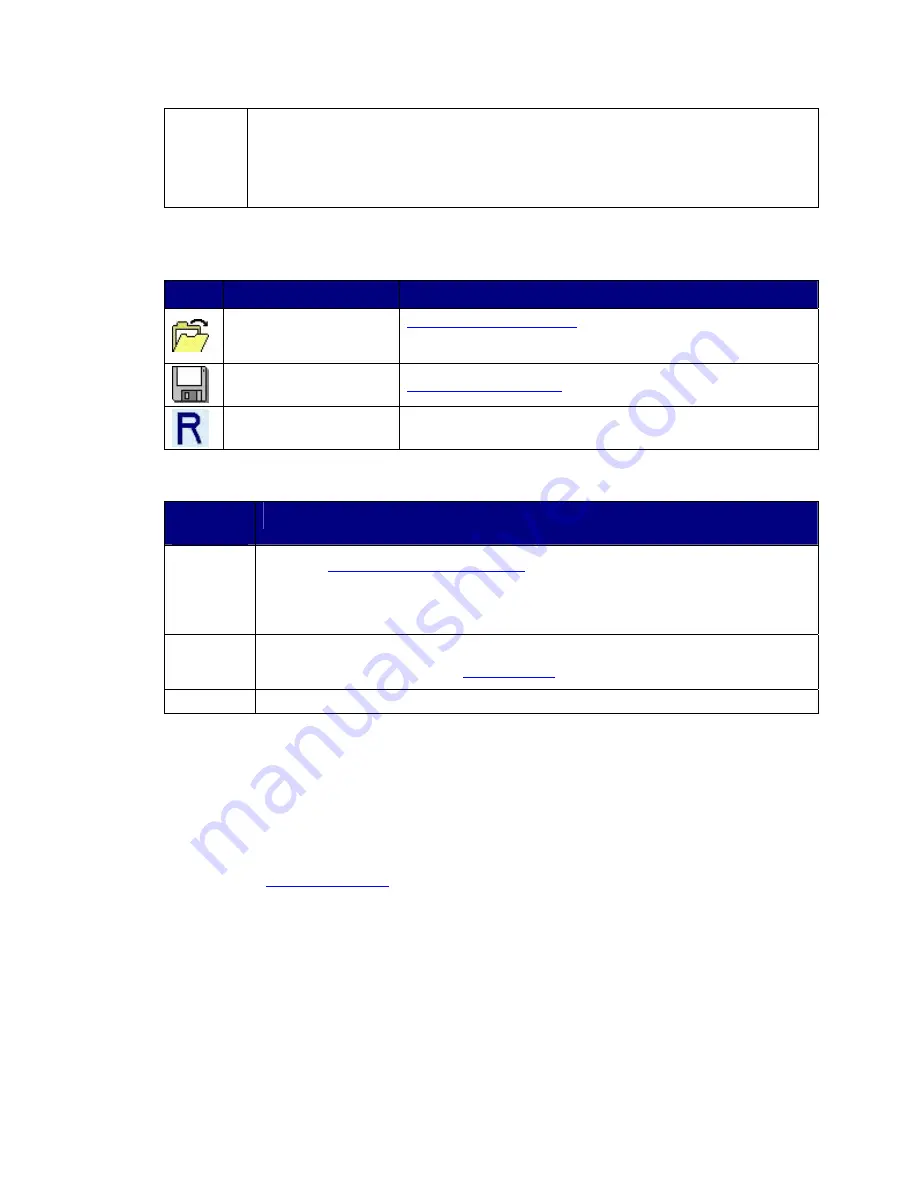
Buttons on the Basic Configuration Wizard
Button
Tooltip
Description
Read a configuration from
a file
Reads a saved configuration
into the Basic Configuration Wizard
so you can apply the configuration to the CoolMax CD-320.
Write configuration from
system to a file
Save a Configuration File
to a file on the host computer.
Restore configuration to
last commit
Cancels proposed changes.
Table 9
-
Command Buttons on the Basic Configuration Wizard
Button
Label
Description
To
Advanced
Mode
Opens the
Advanced Configuration Wizard
. This option is only available if the Advanced
Configuration mode is enabled for you system. If you are using a SATA host connection,
this option is only available if your SATA controller is PM-aware. For more information,
refer to Customizing the SteelVine Manager on page 82.
Apply
Submits configuration changes to the CoolMax CD-320, closes the Wizard, and displays
the updated configuration on the
Status Window
.
Cancel
Aborts the changes and closes the Wizard.
Configure Volumes
Note: Before reconfiguring the CoolMax CD-320, you must delete any previously defined
partitions. See
Partition a Volume
for details.
1.
Select
Configure Box
from the Edit menu or click the
Configure Box
toolbar button
to open the Basic Configuration Wizard.
Содержание CD-320
Страница 35: ...6 Click the Create a New Volume toolbar button Bright solid colors identify saved volumes ...
Страница 37: ...11 Click the Write Configuration for System to a File toolbar button to Save a Configuration File ...
Страница 42: ...4 Click Next to start the Partition Wizard 5 Select the Primary or Extended option and click Next ...
Страница 45: ...10 Repeat steps 1 through 9 to partition any remaining disks you configured in the SteelVine Manager GUI ...


