


4
NETWORK SETUP
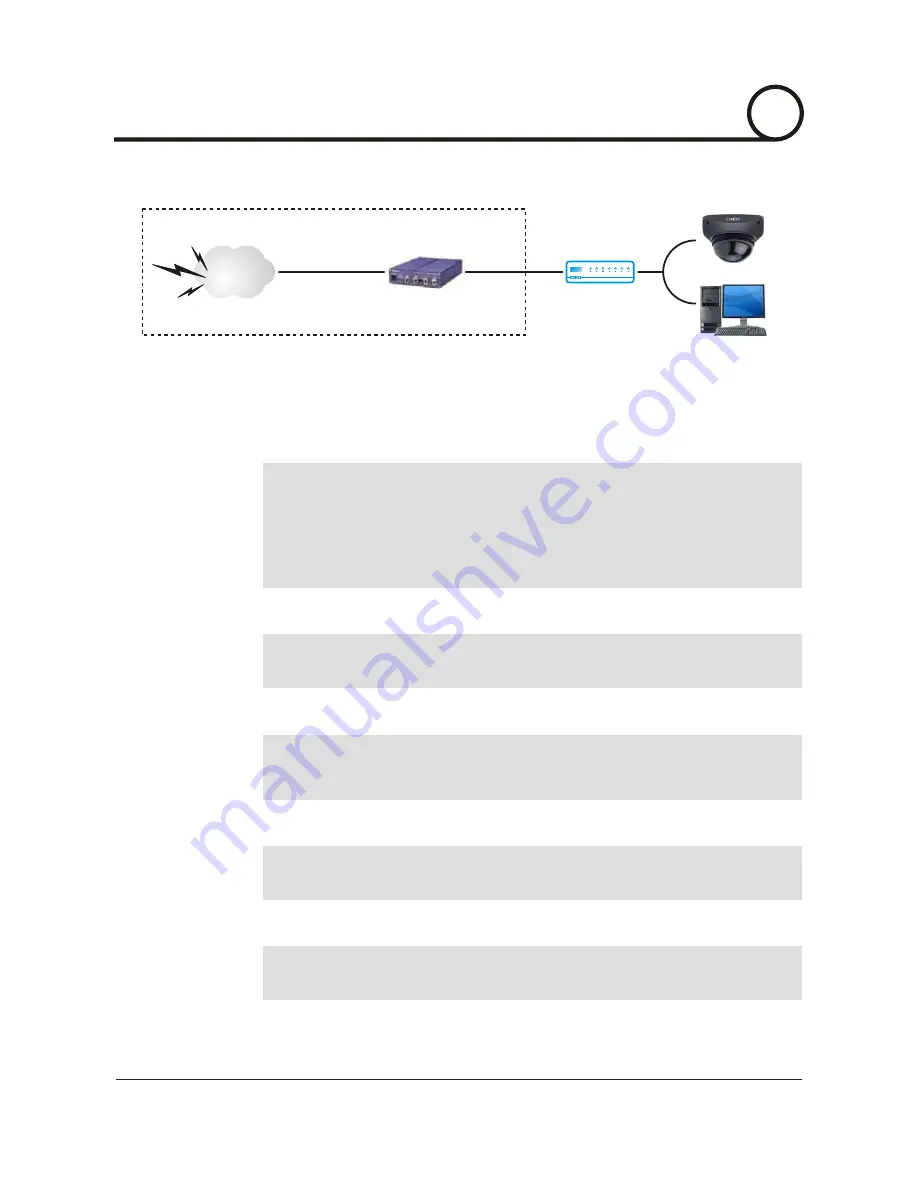
Case A : Dynamic IP or PPPoE + Personal Router [Most SOHO]
Configure your IP Dome Camera's TCP/IP properties as follows :
���
Network Type
���
Internet Address
STATIC(even though you have Dynamic IP, use STATIC on the IP Dome Camera).
A private IP address such as 192.168.0.200 [Example].
You need to assign the IP Dome Camera an IP address, just as you would assign a PC.
The IP address you assign must be unique to your network as well as match your network.
For information how to choose a unique IP and match your network please read the FAQ.
The IP address you assign the IP Dome Camera must be a private IP. For information on
how to choose a private IP please read the FAQ.
i
i
i
���
Subnet Mask
255.255.255.0 [Example].
You must use the same subnet mask as the one you noted under
Current TCP/IP
Settings.
"
"
i
Internet
Phone Line
or CATV
Cable/xDSL Modem
(ISP Provided)
Personal Router
w/Integrated Switch
���
Default Gateway
192.168.0.1 [Example].
This IP address must be the IP address of your router(private or LAN side).
Use the same Default Gateway you noted under Current TCP/IP Settings
"
".
i
i
���
Primary DNS Server
Use the 1st DNS Server from Assigned IP Address from My ISP
"
".
If you did not receive any IP addresses from your ISP, please contact them and acquire the
IP address of their DNS server.
i
���
DDNS Server
Use the DDNS server.
This is the same site you will register with later to accommodate dynamic IP from your
ISP.
i
18/52
CISEYE
Indoor IP Dome Camera
Users Manual


