Managing the Shares
Creating a Share
Cisco Small Business NSS2000 Series Administration Guide
100
6
then attempts to delete it and replace it with the new version. Not all applications
work this way. It is important to consider the applications used by your users to
determine how you want to set this field.
•
Select this field: By selecting this field, users with write permissions can
rename or delete files or folders within the assigned share even though they
are not the owners of the files or folders.
•
Deselect this field: Users cannot rename or delete a file or folder within the
assigned share unless they are the owners of the file or folder.
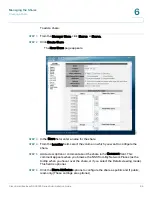
STEP 9
From the Protocol field, click the checkboxes to select the protocols that can be
used to access the share:
•
CIFS: Enable CIFS access to the share.
•
NFS: Enable NFS access to the share. (Note: To allow NFS access to the
share, the NSS must also be configured to allow NFS access.)
•
FTP: Enable FTP access to the share. (Note: To allow FTP access to the
share, the NSS must also be configured to allow FTP access.)
STEP 10
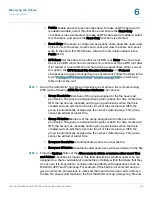
To assign users access to the share, move the users into one of the following
boxes. (The single angled bracket "<" or ">" moves the selection in the direction of
the bracket. The double angled bracket "<<" or ">>" moves the entire list in the
direction of the bracket.)
•
Read-Only Users: These users have read-only access to the share.
•
Read-Write Users: These users have full read-write access to the share.
NOTE:
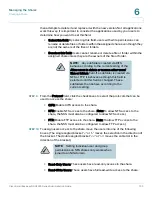
Any subfolders created via CIFS
behave according to the current setting of the
Allow users to delete or rename other users’
files or folders field. If a subfolder is created via
NFS or FTP, it behaves as though this field is
selected until this field is changed. These
subfolders then behave according to the
current setting.
NOTE:
Setting individual user and group
permissions on NFS shares only works when
joined to an NIS domain.


