3-4
Chapter 3 Installing and Configuring Cisco Unified Presence
How to Install and Configure Cisco Unified Presence
Configuring the Basic Installation
Before You Begin
•
Load your Cisco Unified Presence DVD and start the basic installation, as described in the previous
topic.
•
Cisco Unified Presence configuration is specific to your installation requirements, and some fields
are optional. For example, you may choose to configure static IP address values and DNS over
DHCP.
Procedure
Step 1
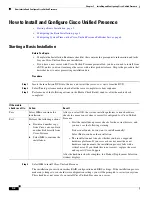
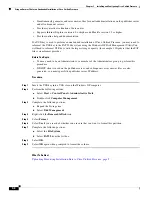
Complete the following steps using the up and down arrow keys in the Timezone Configuration window:
a.
Select the appropriate time zone for the server.
b.
Select
OK
.
Step 2
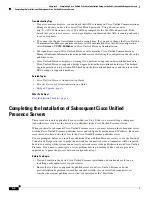
Perform one of the following actions in the Auto Negotiation Configuration window:
Step 3
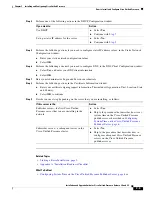
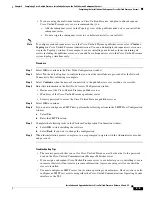
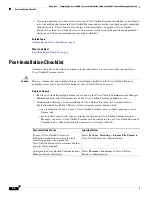
Configure the Maximum Transit Unit (MTU) value, as follows:
If you want to:
Action
Automatically set the speed and duplex settings of
the Ethernet network interface card (NIC) using
automatic negotiation
Select
Yes
.
Note
To use this option, your hub or Ethernet
switch must support automatic
negotiation.
Disable automatic negotiation
a.
Select
No
.
b.
Perform the actions following in the Duplex
Configuration window:
–
Manually select the appropriate NIC
Speed and Duplex settings.
–
Select
OK
to continue.
If you want to:
Action
Leave the MTU size unchanged from the default
OS setting
Select
No
.
Change the MTU size from the default OS setting Select
Yes
.
Note
If you need to change this value for
Cisco Unified Presence, you must match
it with the value on Cisco Unified
Communications Manager. Both values
must be identical; otherwise the
installation will fail.


