21
Instruction Manual
RGU-100B
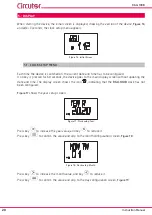
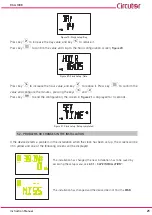
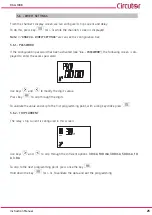
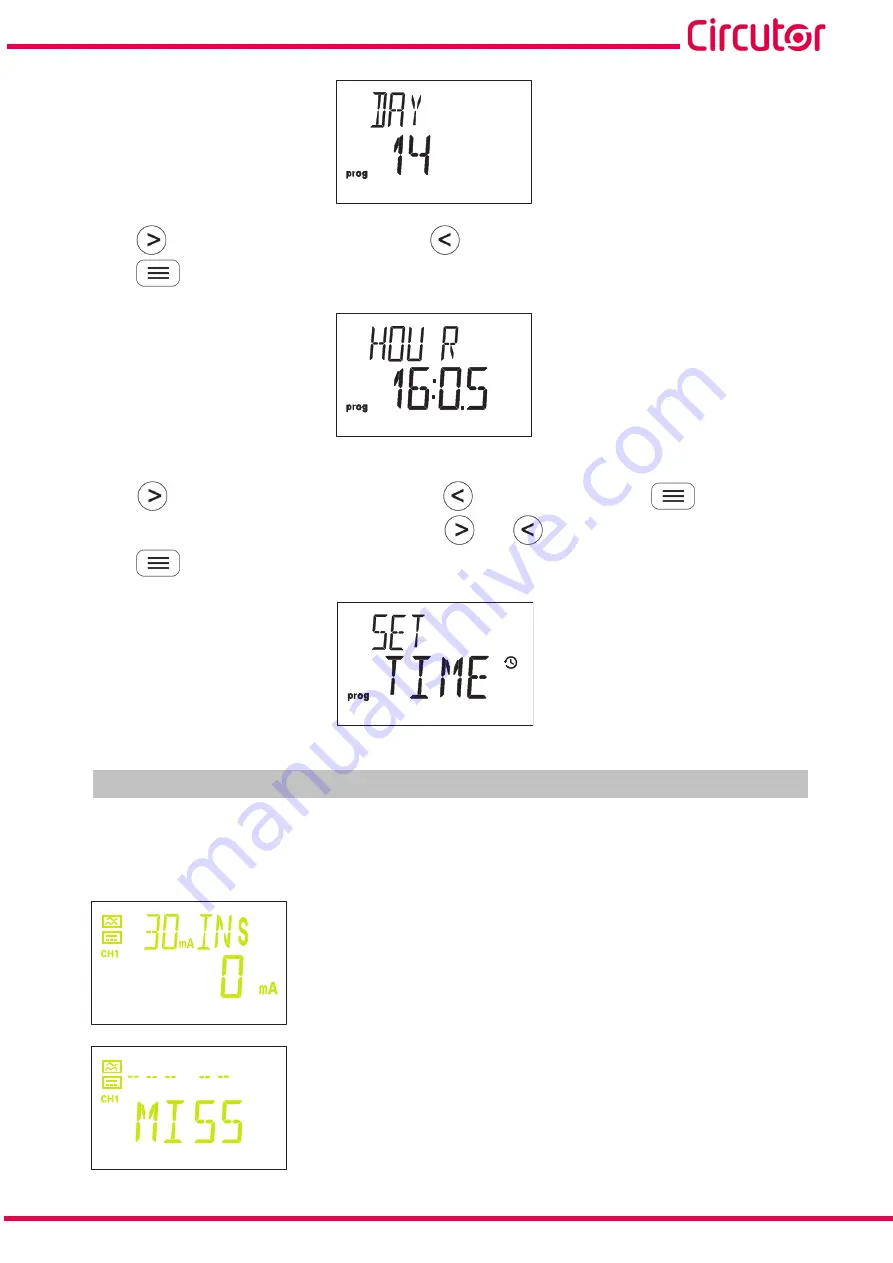
Figure 19: Clock setup: Day�
Press key
to increase the day value, and key
to reduce it.
Press key
to confirm the value and skip to the hour configuration screen,
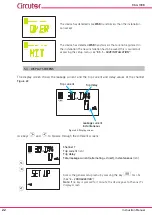
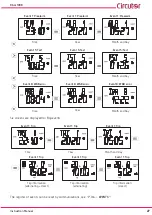
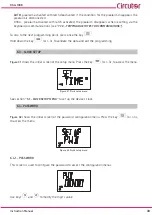
Figure 20: Clock setup: Time�
Press key
to increase the hour value, and key
to reduce it. Press key
to confirm the
value and configure the minutes, pressing the keys
and
.
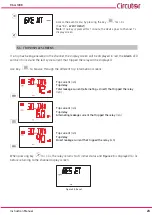
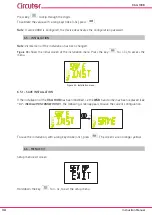
Press key
to end the configuration; the screen in
Figure 21: Clock setup: Setup completed�
5�2�- PROBLEMS OR CHANGES IN THE INSTALLATION
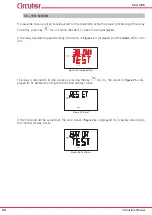
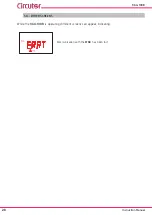
If the device detects a problem in the installation when the clock has been set up, the screens will be
lit in yellow and one of the following screens will be displayed:
The installation has changed, the new installation has to be saved by
accessing the setup menu, see
The installation has changed and the device does not find the
WGB�
Содержание RGU-100B
Страница 1: ...INSTRUCTION MANUAL Protection and monitoring relay RGU 100B M256B01 03 20A...
Страница 2: ...2 RGU 100B Instruction Manual...
Страница 47: ...47 Instruction Manual RGU 100B 11 CE CERTIFICATE...
Страница 48: ...48 RGU 100B Instruction Manual...
Страница 49: ...49 Instruction Manual RGU 100B...
Страница 53: ...53 Instruction Manual RGU 100B...


