95
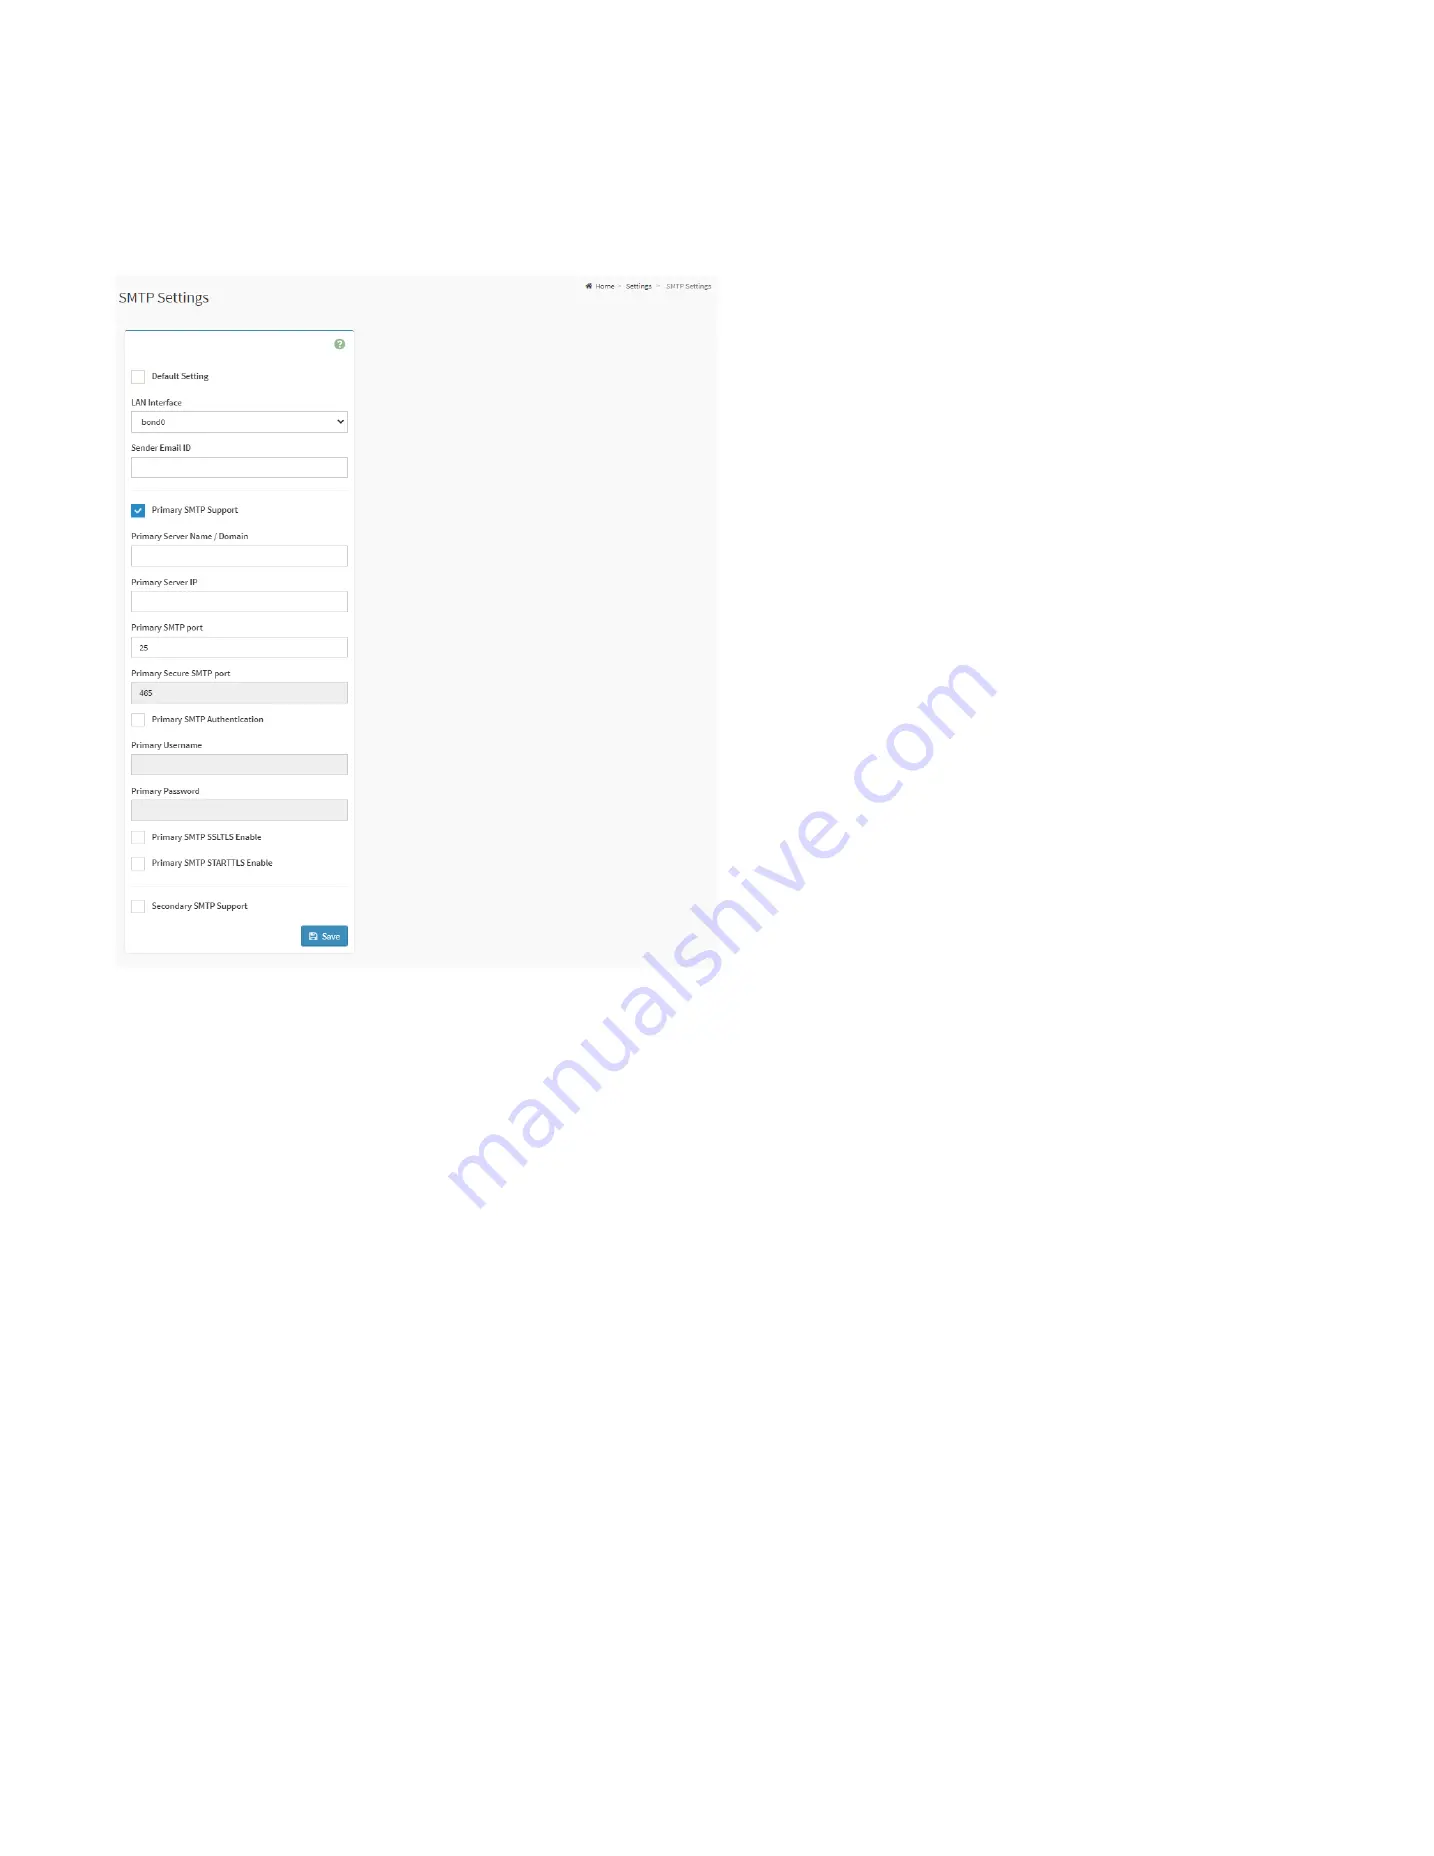
28.7.10. SMTP Settings
This is used to configure the SMTP settings of the device.
SMTP Settings Page
LAN Interface:
Displays the list of LAN channels available.
Sender Email ID:
Enter the valid Sender Email ID on the SMTP Server.
Primary SMTP Support:
Check the box to enable SMTP support for the BMC.
Primary Server Name:
Enter the Machine Name of the SMTP Server.
Primary SMTP IP:
Enter the IP address of the SMTP Server
Primary SMTP Port:
Specify the SMTP Port.
Primary Secure SMTP Port:
Specify the SMTP Secure Port.
Primary SMTP Authentication:
Check the box to enable SMTP Authentication.
Primary Username:
Enter the username to access SMTP Accounts.
Primary Password:
Enter the password for the SMTP User Account.
Primary SMTP SSLTLS Enable:
Check the box to enable SMTP SSLTLS protocol
Primary SMTP STARTTLS Enable:
Check the box to enable SMTP STARTTLS protocol.
Upload SMTP CA Certificate File:
This field will be present if enable
SMTP SSLTLS
Enable
or
STARTTLS Enable,
the field is used to upload CACERT key file.
Upload SMTP Certificate File:
This field will be present if enable
SMTP SSLTLS Enable
or
STARTTLS Enable,
the field is used to upload CERT key file.
Upload SMTP Private Key:
This field will be present if enable
SMTP SSLTLS Enable
or
STARTTLS Enable,
the field is used to upload SMTP key file.
Secondary SMTP Support:
Check the box to enable secondary SMTP support for the BMC.
Содержание ORION HF210-G5
Страница 1: ...ORION HF210 G5 User Manual...
Страница 13: ...12 8 4 Support and Certification Labels...
Страница 14: ...13 9 Chassis Layout The following illusration shows inside of the ORION HF210 G5 system...
Страница 15: ...14 10 Motherboard Layout The following picture shows the motherboard layout in the ORION HF210 G5 system...
Страница 19: ...18 11 2 Jumper Functionality...
Страница 20: ...19...
Страница 22: ...21 11 4 Block Diagram...
Страница 31: ...30 Step 3 Twist the card and remove from chassis...
Страница 32: ...31 Step 4 Put another PCIe card in and install into the slot Step 5 Rotate and close the PCIe release latch...
Страница 34: ...33 Step 3 Put another PCIe card in and install into the slot Step 4 Rotate and close the PCIe release latch...
Страница 37: ...36...
Страница 39: ...38 Step 3 Turn over the cage and unscrew 4 screws Step 4 Replace the SSD...
Страница 44: ...43 Step 9 Rotate and close the PCIe release latch...
Страница 57: ...56 Step 3 When main menu of BMC appears then click on the Settings Step 4 Select the Network Settings...
Страница 68: ...67 FRU File ID Product Extra...
Страница 71: ...70 28 7 Settings This group of pages allows you to access various configuration settings Settings Page...
Страница 104: ...103 28 7 14 Video Recording This page is used to configure video recording settings Video Recording Page...
Страница 121: ...120 Step 7 Click on ADVANCED Step 8 Click on Proceed to unsafe Step 9 Enter a Username admin and Password admin...
Страница 124: ...123 Step 14 Click on OK Step 15 Wait until the Processing Window completes...
Страница 125: ...124 Step 16 Click on Proceed Step 17 Click on OK to proceed the BIOS update...
Страница 126: ...125 Step 18 Wait until the BIOS update completes and then click on OK...