7. Playback
50
Chauvet® ShowXpress™ V6.22
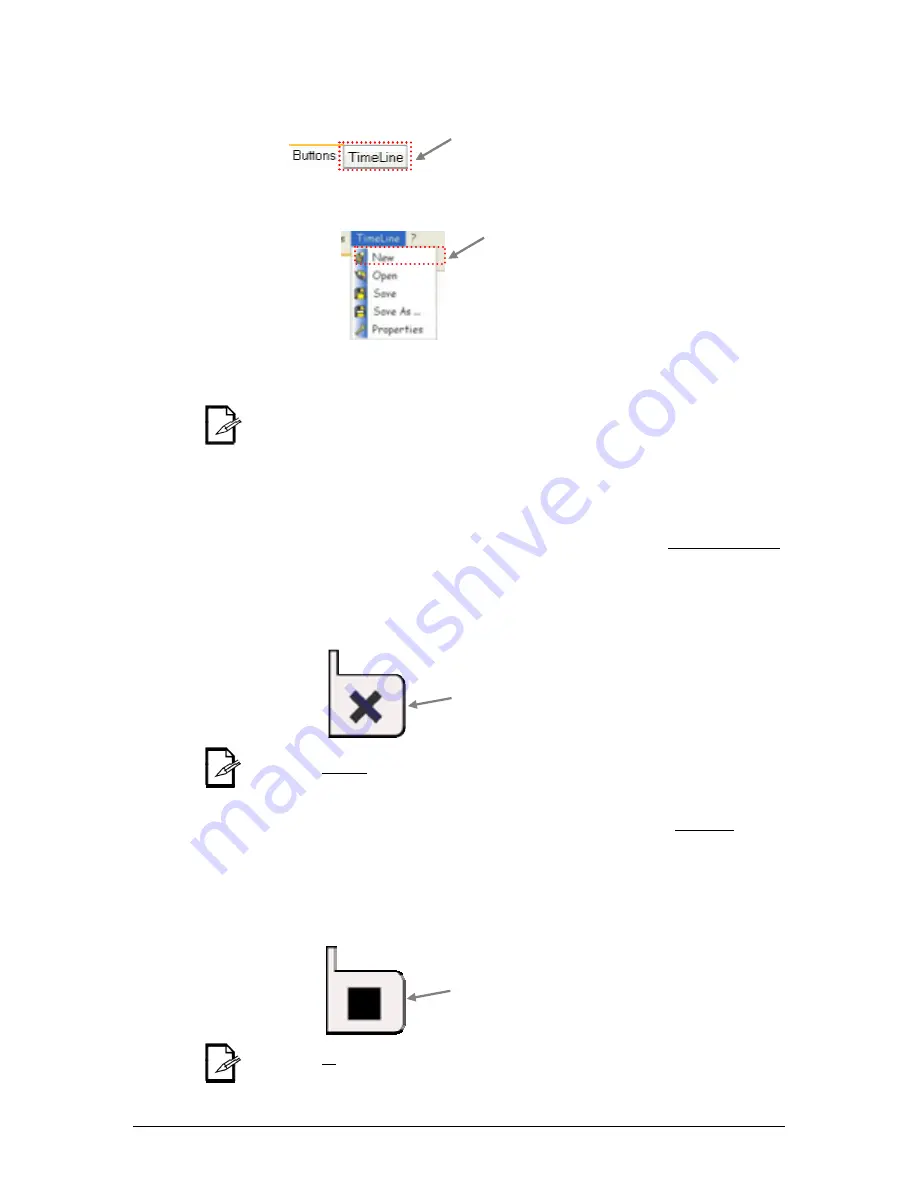
Creating a New Timeline
This feature is accessed through the
Live-Timeline
Screen. There is a second tab that
reveals this screen.
Please see the steps below for further details on this process.
1. In
the
Live Screen
title bar, select the Timeline drop-down menu and New.
2. A sub-window will appear, where the basic parameters for the new timeline to
follow, such as total time and total quantity of LightScene rows. Make the necessary
adjustments and press
OK
.
Up to 10 LightScene rows may be added to a single timeline.
3.
The new timeline appears with nothing added to it. Add all of the files that are to be
added to the timeline, one at a time.
See section on Adding files to timeline in the
previous sections.
Using the “OFF” tool
In the timeline, it is possible to stop a LightScene or multimedia file, on an individual row,
before it has completed. For this step, use the “OFF” tool.
1.
Right-click on the row to which you want to add the “OFF” tool. A sub-menu will
appear.
2. Select
“
Add OFF tool
”.
3.
After the tool has been added, it may be repositioned by left-clicking, holding, and
dragging with the mouse. Then, remove the mouse button to release the tool.
This will stop a single row.
Using the “STOP” tool
In the timeline, the show will play continuously. To define a stop position for all rows, a tool is
provided, called the “STOP” tool. This is added in the current timeline. For this step, use the
“STOP” tool.
1.
Right-click on the row to which you want to add the “STOP” tool. A sub-menu will
appear.
2. Select
“
Add STOP tool
”.
3.
After the tool has been added, it may be repositioned by left-clicking, holding, and
dragging with the mouse. Then, remove the mouse button to release the tool.
This will stop all rows.
OFF tool
STOP tool


