30
10
a
.
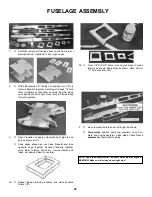
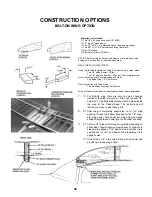
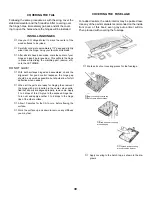
Temporarily install wing hold-down dowels in fuse.
Rubber band wing in place on fuse, making sure it is
centered. Viewing model from rear, see if stab sets level
with respect to wing.
Sand stab platform area as may be necessary to pro-
vide a good level fit for stab. Do not alter the die-cut
angle of the fuse sides.
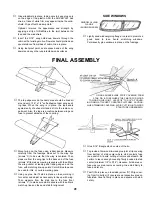
Center stab on fuse, measuring to obtain equal distance
from side to side, and from nose of fuse to rear corner
of each stab tip ( see dimension "C" in Final Assembly
section). Pin in place.
10
b
.
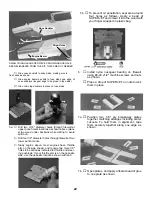
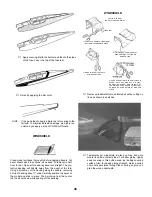
There are two "bumps" at ends of 1/4" balsa dorsal fin.
The bump at the short end must be cut off (the other
bump fits into fuse notch). Watch grain and very careful-
ly trim it off. Smooth this edge with a few light passes of
the sanding block.
10
c
.
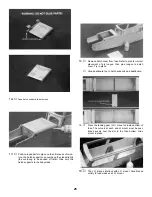
Trial fit fin in place. Glue dorsal fin to main fin but not to
fuse, as shown. Finish sanding.
11.
Flat sand fuse and round off corners, except in the fol-
lowing areas: top of cabin, top of tail mounting area, and
window openings — repeat: do not sand these areas,
except very lightly to remove burrs!
12.
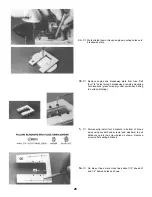
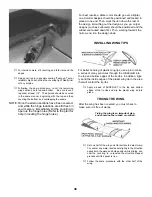
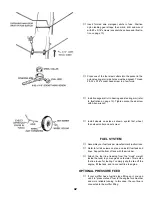
To protect the engine and tank areas from becoming oil
soaked, they need to be "fuel-proofed". Either polyur-
ethane enamel, SUPER JET, or epoxy, is good for this.
Poly urethane is available in colors so you can match
close to your color scheme.
Apply your fuel-proofer to entire engine area and break-
away plate, inside tank compartment, and bottom of
hatchcover. Open up screw holes with toothpick while
paint is wet. Let dry thoroughly.
Содержание Eagle 2
Страница 28: ...27 ...


