pCOWeb
+030220966 – rel. 1.1 – 12.12.2017
66
FileZilla Server: A FREEWARE FTP SERVER
APPENDIX E
Various FTP servers are available on the Internet. Below is a description of the FileZilla Server freeware (version 0.9.23beta) downloadable at the link:
http://filezilla-project.org
.
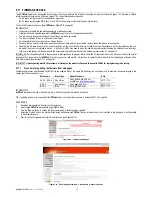
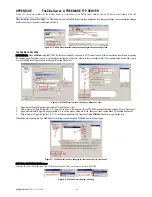
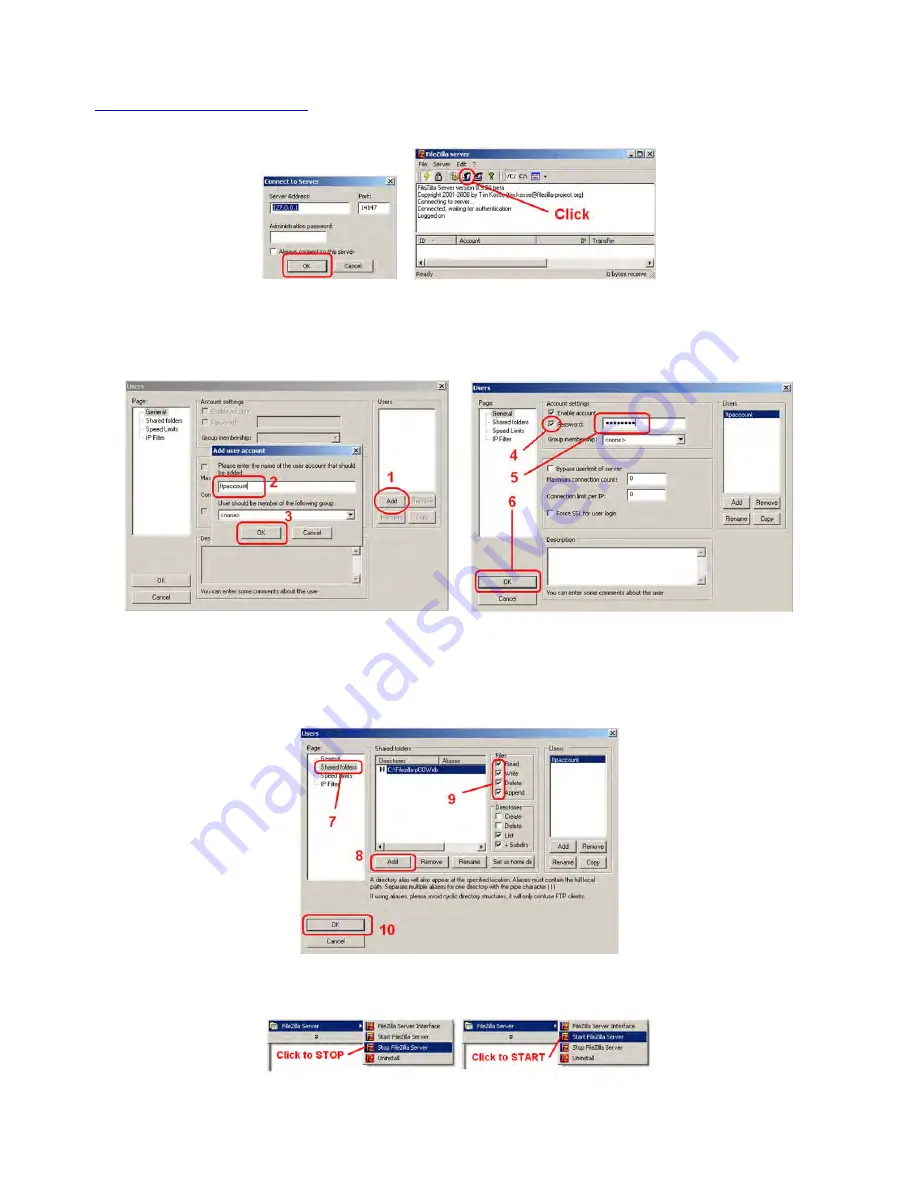
When installation has been completed, run FileZilla Server and the FileZilla Server Interface application for making the settings: the authentication dialogue
box for connection to the server is displayed: select Ok.
Figure E.a - FileZilla Server Interface: authentication dialogue box and opening screen
CONFIGURING THE USERS
INFORMATION:
When
pCOWeb
, using the FTP PUSH function a pagina 23, connects to a FTP server to send a file, authentication is performed by sending
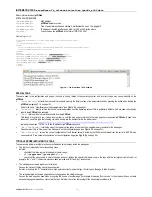
the Username and Password; the user must already be configured in the server, otherwise the connection will fail. The example below shows how to set a
user on FileZilla Server; the procedure is the same for setting other users.
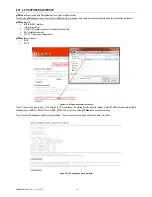
Figure E.b - FileZilla Server Interface: creating the “ftpaccount” user
1.
Open the user configuration page (see Figure E.a, click the Users icon);
2.
With reference to Figure E.b (points 1, 2, 3), type the Username of the new user (for the FTP PUSH example illustrated on page 23, enter “ftpaccount”);
3.
Again with reference to Figure E.b sopra (points 4, 5, 6), set the access Password for the “ftpaccount” user created above (for example “password”).
4.
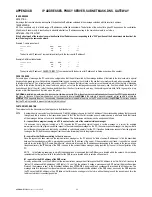
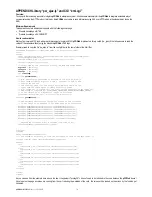
With reference to Figure E.c (points 7, 8, 9, 10), set the shared directory for “ftpaccount” that
pCOWeb
will be able to copy the files into.
The settings are now complete. The FileZilla Server Interface can now be closed; FileZilla Server will keep running.
Figure E.c - FileZilla Server Interface: choosing the shared directory for “ftpaccount”
STOPPING / RESTARTING FileZilla Server
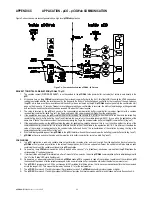
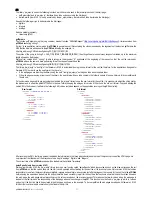
If needing to stop or restart the server, from the Windows Programs menu, procedures as shown in
Figure E.d
.
Figure E.d - FileZilla Server: stopping / rebooting


