pCOWeb
+030220966 – rel. 1.1 – 12.12.2017
41
9
BASIC CONFIGURATION AND AUXILIARY FUNCTIONS
pCOWeb
features a number of HTML pages for setting the functions. These pages are accessible from a PC.
Some settings will be active as soon as they are confirmed, while others, where indicated, require the
pCOWeb
to be rebooted.
9.1
BACKING UP THE CONFIGURATION OF THE
pCOWeb
All the settings are saved in special text or binary file in the /usr/local/root/flash/etc/sysconfig directory; to run a backup, simply connect to
pCOWeb
via FTP
or SCP (see 0 on page 18) and copy all the files to a PC.
IMPORTANT: This directory only contains the parameter settings. To completely backup all the
pCOWeb
custom settings, the custom HTML pages, the
contents of the Plugin directories, the log file directory and in general the entire contents of the /usr/local/root/flash/http/ directory and any other directories
created manually must be copied.
NOTE1: To completely back up the
pCOWeb
configuration after copying the files to the new
pCOWeb
a reboot is required
NOTE2: To copy a back up from a
pCOWeb
to another one is necessary that both
pCOWeb
have the same firmware version
In addition, a function is available that deletes all the changes made by the user (settings or files added) and returns
pCOWeb
to its default state (see 9.3 on
page 44).
9.2
ACCESSING THE CONFIGURATION PAGES
To access the configuration pages:
1.
connect to
pCOWeb
using a PC (section 3.1 on page 11);
2.
start a web browser, opening the main page (
Figure 3.g
on page 14);
the main page may have been customized and consequently will be different from
Figure 3.g
.
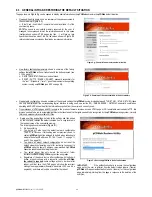
3.
If the page appears as shown in
Figure 3.g
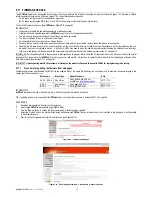
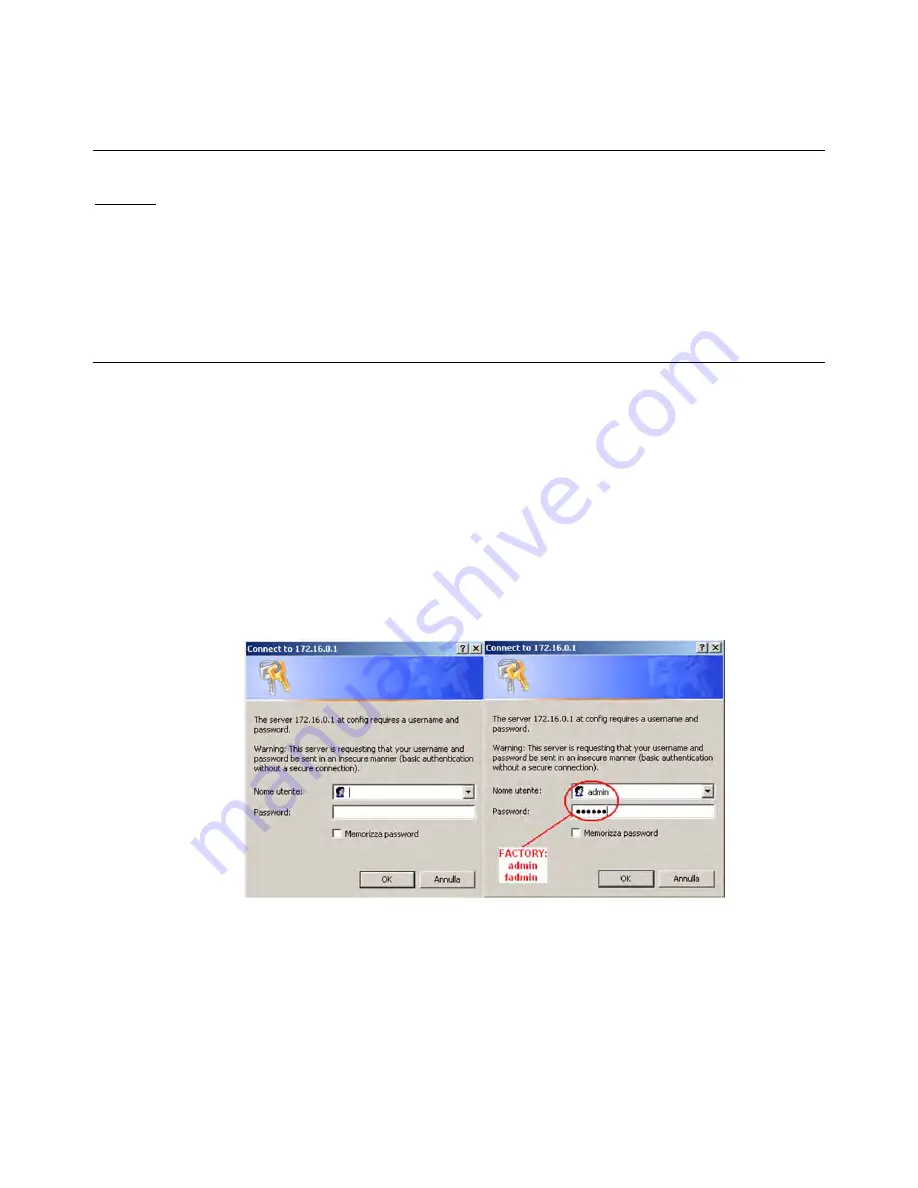
, click the “Go to Administrator area” link. An authentication dialogue box similar to the one shown in
Figure
9.a
will be opened. Continue as described in paragraph 9.2.1 on page 42.
NOTE:
The authentication dialogue box is enabled by default, however it may have been disabled by the user (for the disabling procedure see paragraph
9.2.1 on page 42); in this case the dialogue box will not open; continue as described in paragraph 9.2.2 on page 42.
4.
If, on the other hand, the main page is different because it has been customized, the “Go to Administrator area” link may not be available.
In this case, open the copy of the main page available in the read-only memory, typing the following address in the browser:
http://<
pCOWeb
IP address>/defindex.html
The IP address entered refers to the
pCOWeb
being configured: when using the button at
pCOWeb
starting (procedure described in paragraph 3.1 on page
11), the IP address will be 172.16.0.1.
In the more general situation of connection via the network, there may be more than one
pCOWeb
connected; consequently, the IP address of the
pCOWeb
in question needs to be known; if necessary, contact the network administrator. If the connection fails, see paragraph 3.2 on page 14. If there are no
problems, an authentication dialogue box similar to the one shown in
Figure 9.a
will be opened. Continue as described in paragraph 9.2.1 on page 42.
Figure 9.a - Authentication dialogue box for accessing the Administrator area
NOTE
The authentication dialogue box is enabled by default, however it may have been disabled by the user (for the disabling procedure see 9.2.1 on
page 42); in this case the dialogue box will not open; continue as described in paragraph 9.2.2 on page 42.

