pCOWeb
+030220966 – rel. 1.1 – 12.12.2017
12
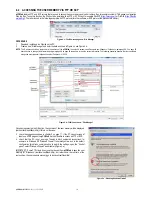
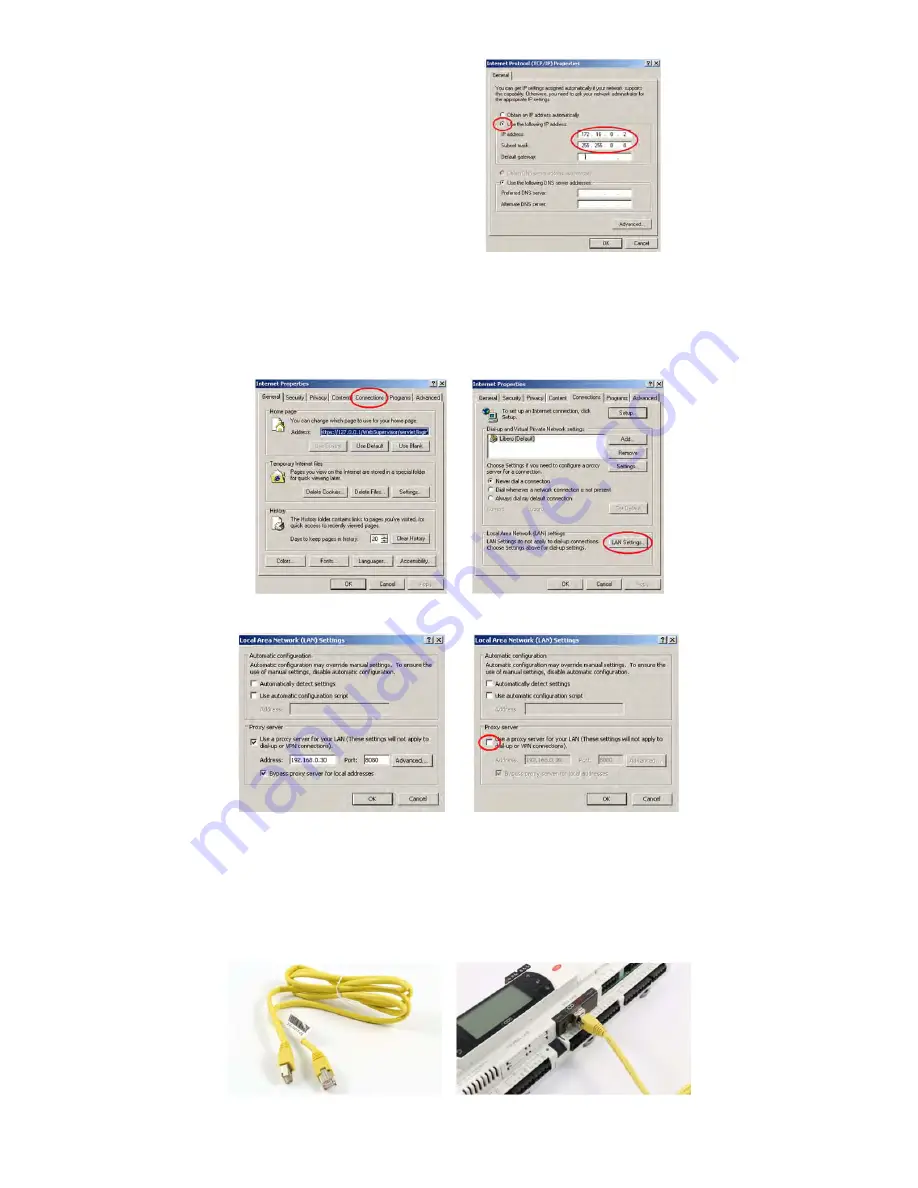
Click the OK button to close all the windows.
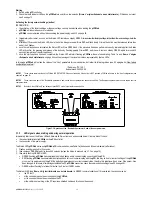
Figure 3.b - Assigning an IP address to the PC
C – PROXY
INFORMATION: The following procedure tells the personal computer to not use the network device called the “proxy” for communication: in fact, the PC is not
connected to the network and if the “proxy” is not disabled communication would not be possible.
1.
Open the Windows “Control panel”.
2.
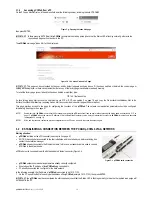
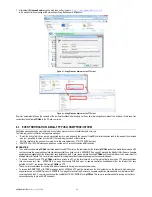
Double click “Internet options”; the window shown in (left) will be displayed.
3.
Click “Connections”. Another window ( - right) will be displayed.
Figure 3.c - Setting the proxy – steps 2, 3, 4
4.
Click “LAN settings…”
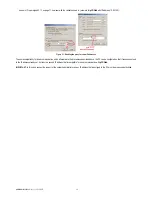
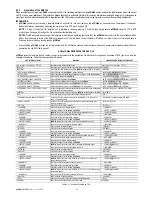
Figure 3.d - Setting the proxy – steps 5, 6, 7
5.
Note down the settings.
6.
Disable the proxy server.
7.
Close the windows using the OK button.
3.1.2
Connection, starting pCOWeb and activating the default network settings (Button)
Connection
1.
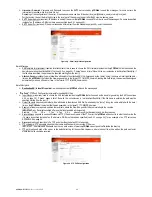
Connect
pCOWeb
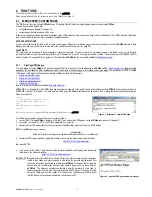
to the Ethernet connector on the PC using a shielded cable ().
Figure 3.e – pCOWeb connection


