Chapter 2
2-6
2.2.8 Auto Gradation Adjustment
0019-0673
1) Open the feeder.
2) Clean the copyboard glass of the host machine.
3) Set A4 or LTR paper on the cassette. (Refer to the cassette settings.)
4) Close the feeder.
5) Specify the full adjustment in additional function mode.
[Additional Func] > [Adjustment/Cleaning] > [Auto Gradation Correction] > [Full Correction]
6) When 'Test Print1' is displayed, press [OK].
Test Print 1 is output. (It takes approx, 3min.)
7) Follow the instruction on a control panel and set the test print 1 on the copyboard glass.
8) Close the feeder.
9) Press [OK].
Test Print 1 is read.
10) When 'Test Print 2' is displayed, press [OK].
Test Print 2 is displayed.
11) Follow the instruction on a control panel and set the test print 2 on the copyboard glass.
12) Close the feeder.
13) Press [OK].
Test Print 2 is read.
14) When the auto adjustment window is displayed, remove the test print 2 from the copyboard glass.
15) Exit [Additional Func].
2.2.9 Operation when moving the host machine
0019-0700
If moving the host machine to another location by a truck etc. after installation for some reasons, follow the procedure below.
2.3 Checking the Connection to the Network
2.3.1 Setting Up the Network
0019-0679
1) Turn OFF the main power switch.
2) Connect the network cable with the host machine to turn ON the main power switch.
3) Inform the system administrator at the installation site that the host machine installation is complete and request the network settings of the host machine.
4) When the network settings are complete, turn OFF and then ON the main power to enable the settings.
2.3.2 Procedure for Ping Operation
0019-0680
1) Select the PING command in additional function mode.
[Additional Func] > [System Management] > [Network Settings] > [TCP/IP Settings] > [IPv4 Settings] > [PING Command]
2) Using the control panel keypad, enter the PING command and press [OK].
Enter the IP address of the connected PC in PING command.
The message to indicate presence/absence of reply from the host is displayed.
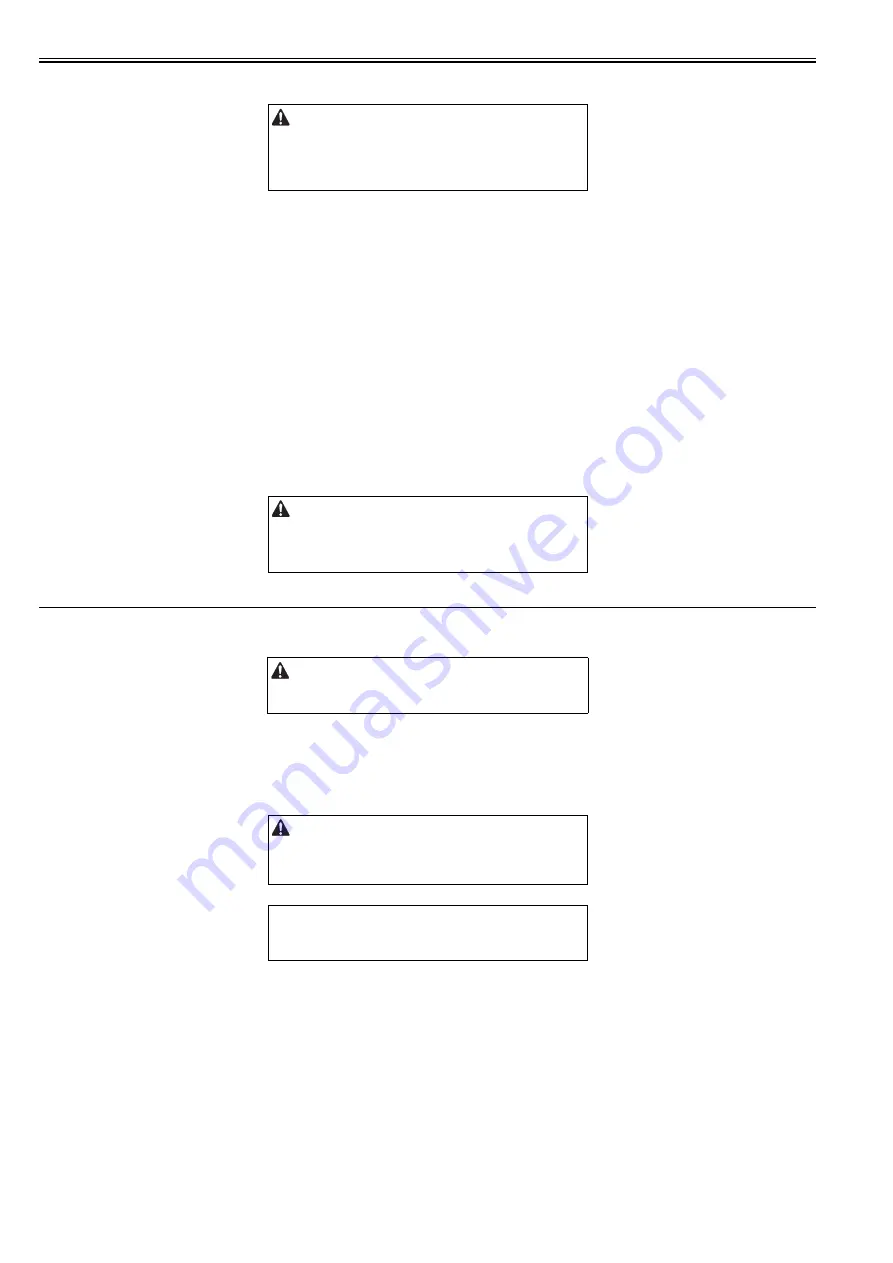
Make sure to set a test print correctly. If a test print cannot be read correctly,
the adjustments of gradation, density and color cannot be performed
appropriately.
Points to note when moving the host machine
Be careful not to push the host machine hard. It may fall down
(especially, on the carpeted floor).
Perform this item only when connecting to the network.
Make the following setting only in the case of a user network environment
is TCP/IP.
MEMO:
Check to see that the Ping setting is normally made with the Ping function.
Содержание iR C1020 Series
Страница 1: ...Sep 8 2008 Service Manual iR C1020 Series iR C1021i ...
Страница 2: ......
Страница 6: ......
Страница 18: ...Contents ...
Страница 19: ...Chapter 1 Introduction ...
Страница 20: ......
Страница 22: ......
Страница 57: ...Chapter 2 Installation ...
Страница 58: ......
Страница 60: ......
Страница 73: ...Chapter 3 Basic Operation ...
Страница 74: ......
Страница 76: ......
Страница 81: ...Chapter 4 Main Controller ...
Страница 82: ......
Страница 84: ......
Страница 97: ...Chapter 5 Original Exposure System ...
Страница 98: ......
Страница 100: ......
Страница 112: ......
Страница 113: ...Chapter 6 Original Feeding System ...
Страница 114: ......
Страница 116: ......
Страница 132: ......
Страница 133: ...Chapter 7 Laser Exposure ...
Страница 134: ......
Страница 136: ......
Страница 143: ...Chapter 8 Image Formation ...
Страница 144: ......
Страница 146: ......
Страница 180: ......
Страница 181: ...Chapter 9 Pickup and Feed System ...
Страница 182: ......
Страница 213: ...Chapter 9 9 29 F 9 79 1 2 3 ...
Страница 214: ......
Страница 215: ...Chapter 10 Fixing System ...
Страница 216: ......
Страница 218: ......
Страница 233: ...Chapter 11 External and Controls ...
Страница 234: ......
Страница 263: ...Chapter 12 e maintenance imageWARE Remote ...
Страница 264: ......
Страница 266: ......
Страница 275: ...Chapter 12 12 9 F 12 27 ...
Страница 280: ......
Страница 281: ...Chapter 13 Maintenance and Inspection ...
Страница 282: ......
Страница 284: ......
Страница 286: ......
Страница 287: ...Chapter 14 Measurement and Adjustments ...
Страница 288: ......
Страница 290: ......
Страница 293: ...Chapter 15 Correcting Faulty Images ...
Страница 294: ......
Страница 296: ......
Страница 304: ...Chapter 15 15 8 15 3 2 2 Fans 0019 5064 F 15 11 T 15 3 Notation Name FM1 main unit fan FM2 duplex fan FM2 FM1 ...
Страница 313: ...Chapter 15 15 17 F 15 19 21 22 28 29 30 31 24 14 15 16 23 26 25 32 27 20 19 18 17 2 13 6 10 33 1 8 4 3 12 11 5 7 9 ...
Страница 317: ...Chapter 16 Error Code ...
Страница 318: ......
Страница 320: ......
Страница 331: ...Chapter 16 16 11 ...
Страница 332: ......
Страница 333: ...Chapter 17 Special Management Mode ...
Страница 334: ......
Страница 336: ......
Страница 343: ...Chapter 17 17 7 ...
Страница 344: ......
Страница 345: ...Chapter 18 Service Mode ...
Страница 346: ......
Страница 348: ......
Страница 388: ......
Страница 389: ...Chapter 19 Upgrading ...
Страница 390: ......
Страница 392: ......
Страница 396: ...Chapter 19 19 4 3 Click Next F 19 4 4 Select a USB connected device and click Next F 19 5 ...
Страница 397: ...Chapter 19 19 5 5 Click Start F 19 6 6 Click Yes F 19 7 Download will be started F 19 8 ...
Страница 399: ...Chapter 19 19 7 ...
Страница 400: ......
Страница 401: ...Chapter 20 Service Tools ...
Страница 402: ......
Страница 404: ......
Страница 407: ...Sep 8 2008 ...
Страница 408: ......


