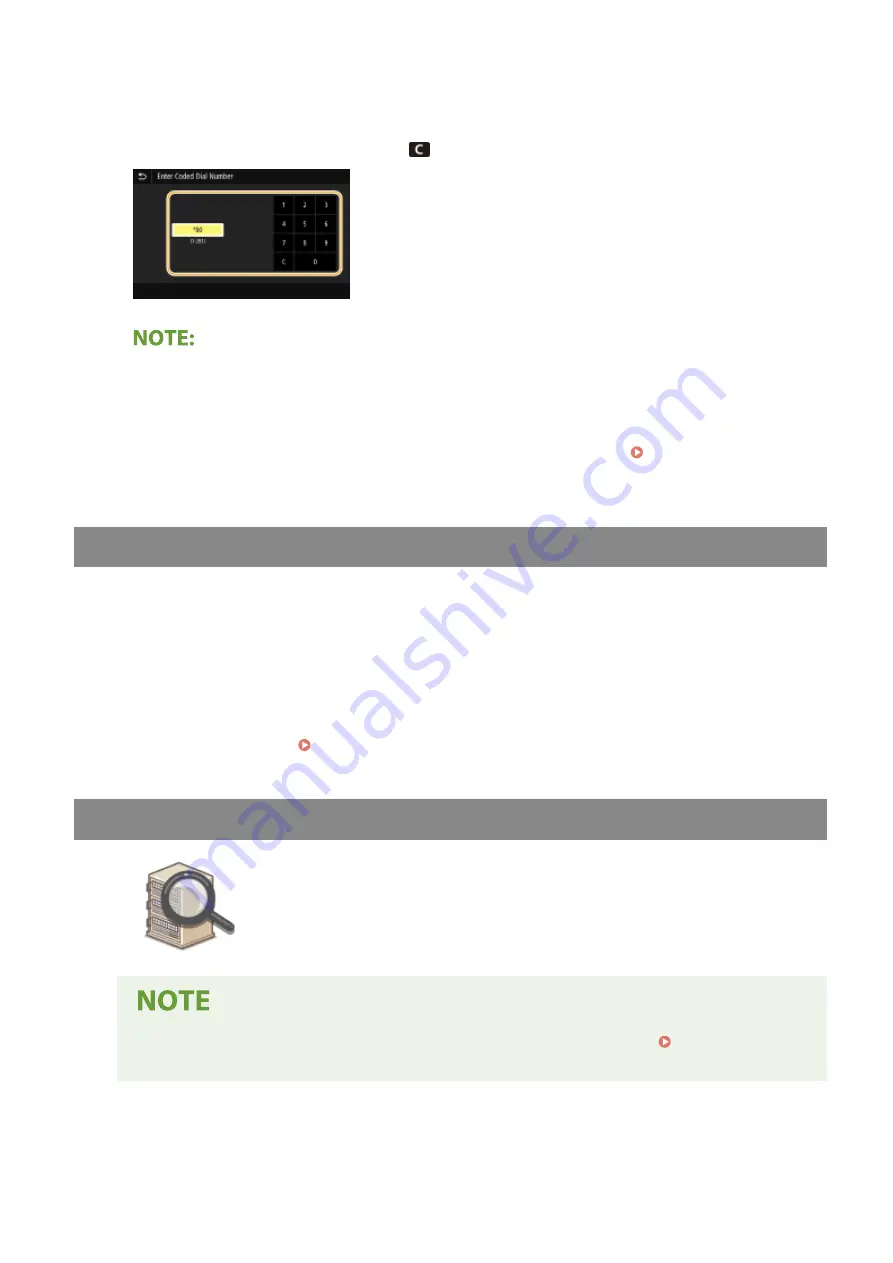
3
Enter a three-digit number.
●
If you have entered an incorrect value, use
to clear it.
If a confirmation screen appears
●
When <Confirm When Coded Dial TX> is set to <On>, a screen is displayed that shows the destination and
the name for the number. (For Group Dial, the destination name and the number of destinations are
shown.) Check the contents and if everything is correct, select <OK>. To specify a different destination,
select <Cancel> and then re-enter the three-digit coded dial number. Displaying Destinations in
Address Book(P. 415)
Entering Destinations Directly (E-mail Sending)
For a destination that is not registered in the Address Book, specify it by entering an e-mail address.
1
Select <Use Keyboard> in the <Specify Destination> tab.
2
Enter the e-mail address, and select <Apply>.
●
On how to enter text, see Entering Text(P. 124) .
Specifying Destinations in an LDAP Server
If your office has an LDAP server installed, you can specify a destination using user
information in the server. Access the LDAP server via the machine to search for the
appropriate user information and specify it as destination.
●
You need to specify the settings for connecting to an LDAP server beforehand. Registering LDAP
Servers(P. 62)
1
Select <LDAP Server> in the <Specify Destination> tab.
Scanning
295
Содержание imageRUNNER C3025i
Страница 1: ...imageRUNNER C3025i C3025 User s Guide USRMA 1888 00 2017 06 en Copyright CANON INC 2017...
Страница 57: ...3 Follow the on screen instructions to install the drivers LINKS Printing from a Computer P 261 Setting Up 48...
Страница 84: ...Menu Preferences Network Device Settings Management On Setting Up 75...
Страница 116: ...LINKS Loading Paper in the Paper Drawer P 135 Optional Equipment P 742 Basic Operations 107...
Страница 118: ...Stop key Press to cancel printing and other operations LINKS Basic Operation P 121 Basic Operations 109...
Страница 160: ...Basic Operations 151...
Страница 179: ...5 Select Apply LINKS Basic Operation P 121 Basic Operations 170...
Страница 201: ...Start Use this button to start copying Copying 192...
Страница 215: ...LINKS Basic Copy Operations P 193 Copying 206...
Страница 228: ...Sending and Receiving Faxes via the Internet Using Internet Fax I Fax P 250 Faxing 219...
Страница 245: ...3 Select Start Sending The faxes are sent LINKS Basic Operations for Sending Faxes P 221 Faxing 236...
Страница 318: ...LINKS Basic Operations for Scanning Originals P 286 Sending I Faxes P 251 Adjusting Density P 307 Scanning 309...
Страница 330: ...LINKS Checking Status and Log for Scanned Originals P 303 Scanning 321...
Страница 333: ...LINKS Using ScanGear MF P 325 Scanning 324...
Страница 361: ...6 Click Fax Fax sending starts Linking with Mobile Devices 352...
Страница 367: ...Updating the Firmware 444 Initializing Settings 446 Managing the Machine 358...
Страница 423: ...Registering Destinations from Remote UI P 437 Specifying E Mail Settings P 319 Managing the Machine 414...
Страница 444: ...5 Click Edit 6 Specify the required settings 7 Click OK Managing the Machine 435...
Страница 463: ...Menu Preferences Display Settings Millimeter Inch Entry Switch Select Millimeter or Inch Setting Menu List 454...
Страница 567: ...Only When Error Occurs Setting Menu List 558...
Страница 612: ...The used waste toner container will be collected by your local authorized Canon dealer Maintenance 603...
Страница 633: ...5 Select Apply Maintenance 624...
Страница 712: ...Third Party Software P 704 Feature Highlights P 705 Basic Windows Operations P 764 Notice P 771 Appendix 703...
Страница 713: ...Third Party Software 19YU 0CA For information related to third party software click the following icon s Appendix 704...
Страница 772: ...Appendix 763...
Страница 802: ...18 MD4 RSA Data Security Inc MD4 Message Digest Algorithm...


