Specifying the Document Size
3-8
Sp
ecifying
t
h
e Sca
n
Set
tin
gs
3
IMPORTANT
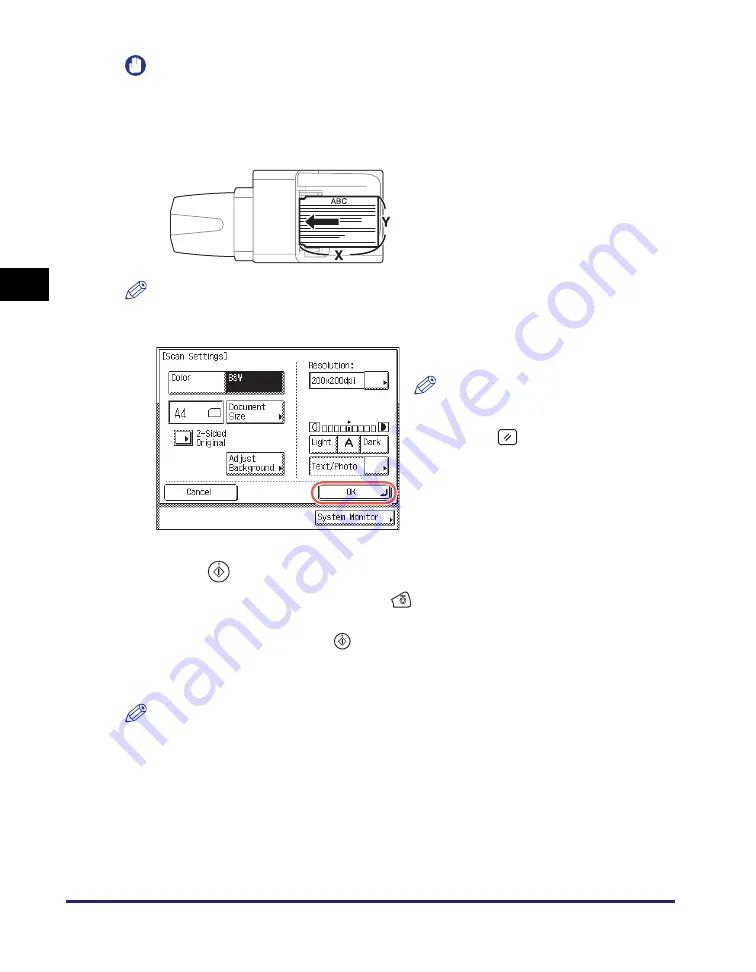
If you are sending faxes and there are no sizes on the screen matching the size of the
original, select the size whose width (Y) matched the width of the original. Even if the
length (X) of the size selected on the screen is shorter than that of the original, the
machine scans all the contents of the original (original of up to 630 mm in length) for
sending.
NOTE
To select the paper size in inches, press [Inch-size].
6
Press
(Start) to start scanning your originals.
To cancel scanning, press [Cancel] or
(Stop).
If the original is placed on the platen glass, follow the instructions that appear on the
touch panel display
➞
press
(Start) once for each original. When scanning is
complete, press [Done].
The scanned data is sent to the specified destination when scanning is complete.
NOTE
The specified settings return to their defaults after documents are sent. If you want to
keep the settings as the default, see “Registering Frequently Used Scan Settings as
Default (Standard Send Settings),” on p. 7-5.
5
Press [OK].
NOTE
To cancel the specified settings, press
[Cancel] on the Scan Settings screen
or press
(Reset).
Содержание imageRUNNER 1750i
Страница 2: ...imageRUNNER 1750i 1740i 1730i Sending and Facsimile Guide ...
Страница 27: ...Before Using Send and Fax Functions 1 14 Introduction to Send and Fax Functions 1 ...
Страница 85: ...Canceling Sending Documents 2 58 Sending Documents 2 ...
Страница 105: ...Specifying the File Format 3 20 Specifying the Scan Settings 3 ...
Страница 135: ...Address Book 4 30 Specifying Destinations Easily and Quickly 4 4 Press Reset to return to the top screen ...
Страница 173: ...LDAP Server 4 68 Specifying Destinations Easily and Quickly 4 ...
Страница 183: ...Canceling Receiving Fax Documents 5 10 Receiving Documents 5 ...
Страница 251: ...Reception Related Items 7 40 Customizing the Machine s Settings 7 ...


