Basic Sending Methods
2-17
Se
ndin
g
Docume
nt
s
2
NOTE
•
If the Enter Network Password screen is displayed, enter your user name and network
password
➞
press [OK].
•
For instructions on how to enter characters, see Chapter 2, “Basic Operations,” in the
Reference Guide
.
●
If you want to check or change the specified destination:
❑
Press [Details]
➞
check or change the destination’s information
➞
press [OK].
For help, see step 4 in “Sending an E-Mail Message,” on p. 2-2.
●
If you want to delete the specified destination:
❑
Press [Erase].
For help, see step 4 in “Sending an E-Mail Message,” on p. 2-2.
❑
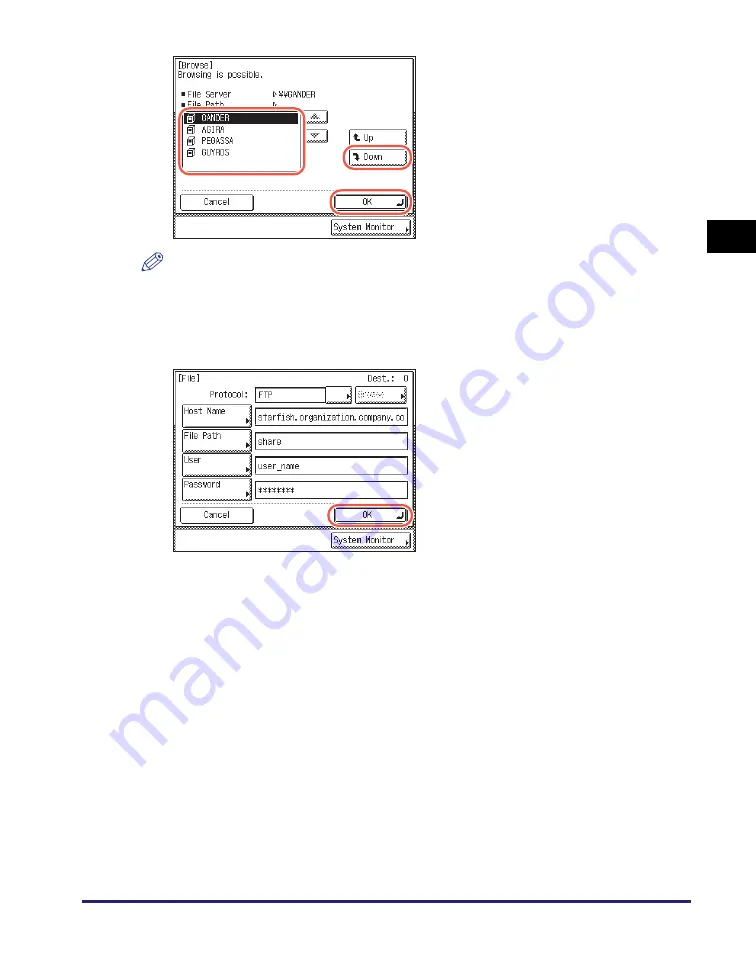
Select the desired file server
➞
press
[Down] or [OK].
If you want to send scanned documents
in a specific folder in the selected file
server, press [Down]
➞
select the
desired folder
➞
press [OK].
If not, press [OK].
5
Confirm your settings
➞
press
[OK].
The specified file server destination
appears on the top screen.
Содержание imageRUNNER 1750i
Страница 2: ...imageRUNNER 1750i 1740i 1730i Sending and Facsimile Guide ...
Страница 27: ...Before Using Send and Fax Functions 1 14 Introduction to Send and Fax Functions 1 ...
Страница 85: ...Canceling Sending Documents 2 58 Sending Documents 2 ...
Страница 105: ...Specifying the File Format 3 20 Specifying the Scan Settings 3 ...
Страница 135: ...Address Book 4 30 Specifying Destinations Easily and Quickly 4 4 Press Reset to return to the top screen ...
Страница 173: ...LDAP Server 4 68 Specifying Destinations Easily and Quickly 4 ...
Страница 183: ...Canceling Receiving Fax Documents 5 10 Receiving Documents 5 ...
Страница 251: ...Reception Related Items 7 40 Customizing the Machine s Settings 7 ...


