


COPYRIGHT © 1999 CANON INC. CANON CLC1120/1130/1150 REV.0 MAR. 1999 PRINTED IN JAPAN (IMPRIME AU JAPON)
6-81
CHAPTER 6 IMAGE FORMATION SYSTEM
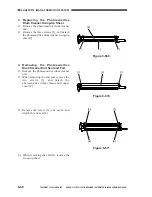
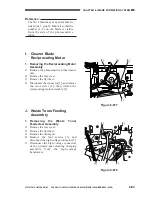
5) Remove the screw [5] (one each), and
remove the end felt [6].
Figure 6-672
G. Pre-Cleaning Sensor
Assembly No. 2 Scoop-Up
Sheet Assembly
1. Replacing the No. 2 Scoop-Up
Sheet Assembly
1) Remove the pre-cleaning sensor
assembly.
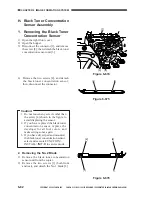
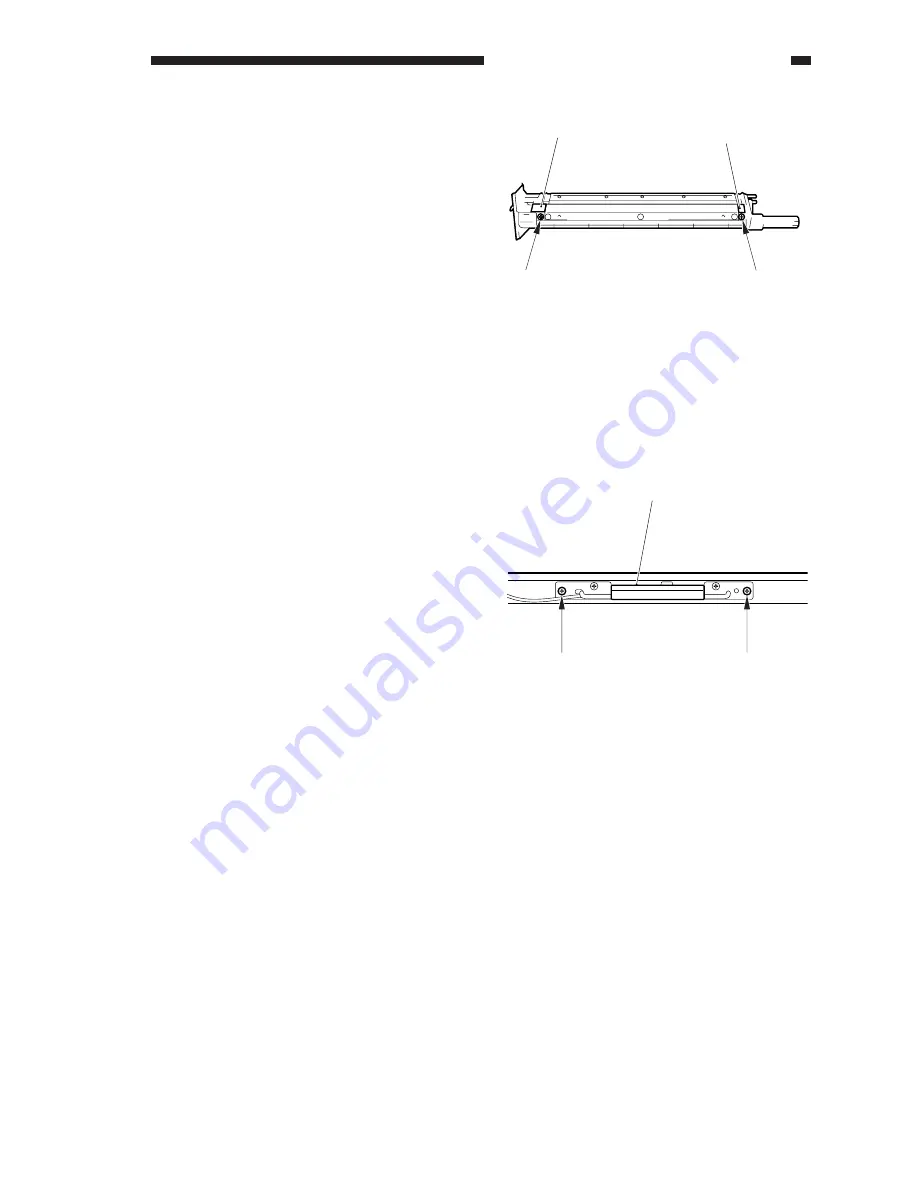
2) Remove the screw [1], and detach the pre-
cleaning sensor [2].
3) Mount the pre-cleaning sensor to the new
No. 2 scoop-up sheet plate.
4) Mount the pre-cleaning sensor assembly
to the copier.
Figure 6-673
2. Points to Note When Handling the
Pre-Cleaning Sensor Assembly
If you have removed or replaced the pre-
cleaning sensor assembly, be sure to perform
the following:
1) Dry wipe the window of the pre-cleaning
sensor, and mount it.
2) Turn on the power switch so that the copier
will be in standby state.
3) Select and execute FUNCTION>SENS-
ADJ>
CLN-OFST
.
4) Record the value of ADJUST>SENS-
ADJ>CLN-TH, CLN-TMP on the service
label behind the right front door.
[5]
[5]
[6]
[6]
[2]
[1]
[1]
Содержание CLC 1120
Страница 6: ......
Страница 20: ......
Страница 22: ......
Страница 48: ......
Страница 94: ......
Страница 96: ......
Страница 114: ......
Страница 134: ......
Страница 136: ......
Страница 152: ......
Страница 242: ......
Страница 346: ......
Страница 374: ......
Страница 376: ......
Страница 412: ......
Страница 452: ......
Страница 454: ......
Страница 517: ......
Страница 531: ...13 4 COPYRIGHT 1999 CANON INC CANON CLC1120 1130 1150 REV 0 MAR 1999 PRINTED IN JAPAN IMPRIME AU JAPON ...
Страница 881: ......
Страница 893: ......
Страница 895: ......
Страница 899: ......
Страница 901: ...0499S1 5 1 PRINTED IN JAPAN IMPRIME AU JAPON This publication is printed on 70 reprocessed paper ...


