
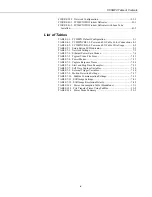


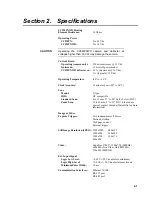


Section 3. Getting Started
3-2
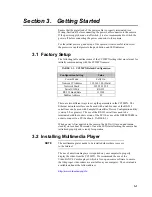
Prior to installing the camera in the field, download and install the appropriate
VLC media player to the PC that will be interfacing with the CC5MPX.
3.3 ActiveX Controls in Internet Explorer
Currently the CC5MPX is only fully supported using the Windows Internet
Explorer browser.
The web interface for the CC5MPX will require the use of ActiveX controls
when using Internet Explorer. These add-ons allow Windows to interact with
objects in the web interface through Internet Explorer.
When connecting to the CC5MPX via the web interface for the first time, you
should be prompted to run the ActiveX add-ons. This typically occurs the first
time you access a webpage. The prompt is in the form of a “pop-up” in
Internet Explorer and should be allowed.
3.4 Setup Using Ethernet
It may be beneficial to speak with someone in your IT department if you are
not familiar with configuring devices for operation on a network.
If the standard assigned static IP address is compatible with your current
network, you may simply plug the camera into the network and its IP address
will be 192.168.1.90. If this IP address is not compatible with your network,
then you will have to change the setting by connecting the camera directly to
your computer’s Ethernet port.
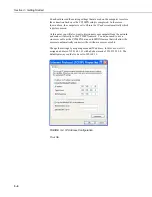
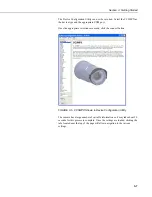
The easiest way to connect to the CC5MPX for changing its default IP settings
is to manually configure your computer’s Ethernet IP address to be compatible
with the factory default address assigned to the CC5MPX.
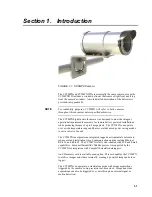
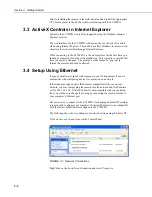
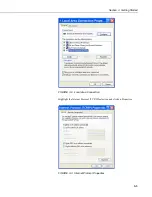
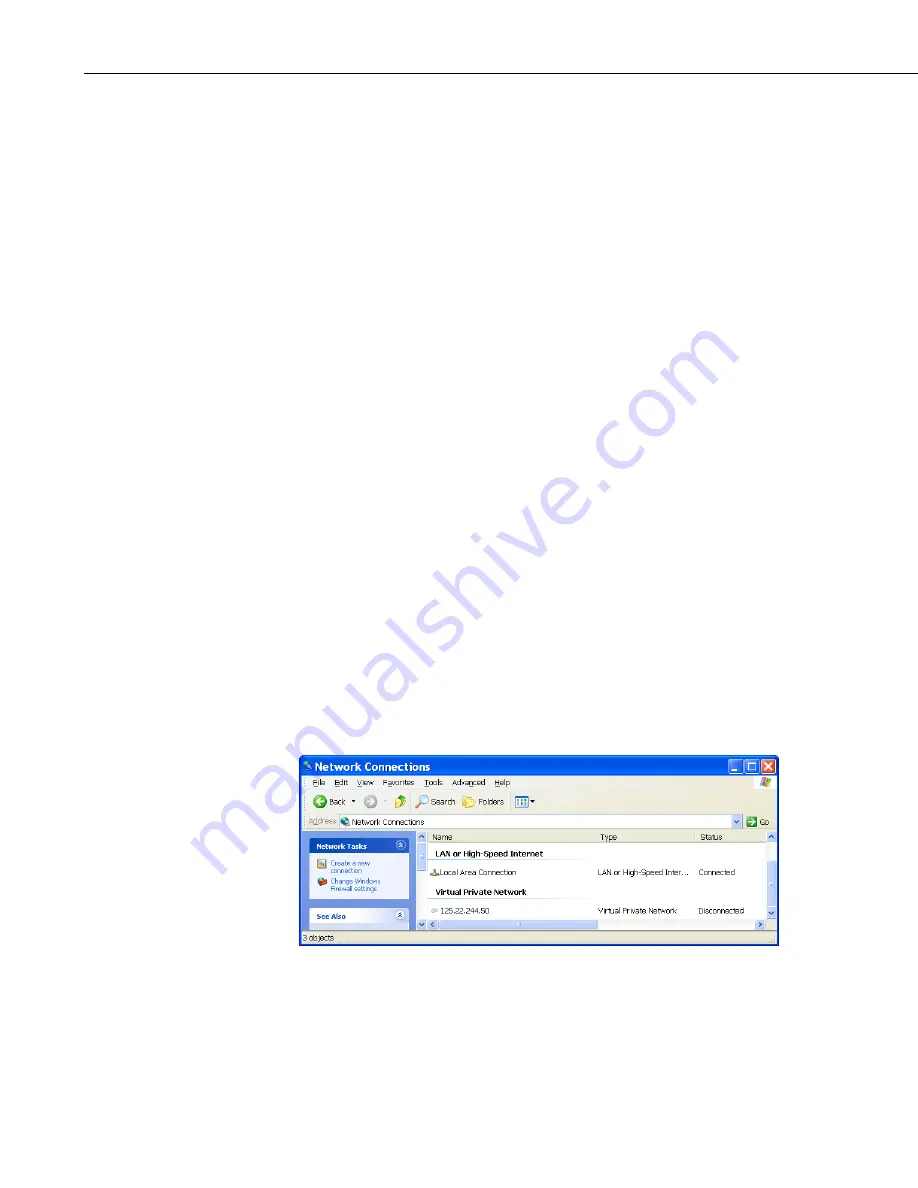
The following shows how to change your network setting using Windows XP:
Click on
Network Connections
via the Control Panel.
FIGURE 3-1. Network Connections
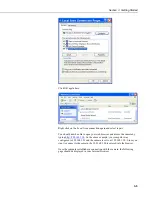
Right click on the Local Area Connection and select
Properties
.
Содержание CC5MPX 6HULHV
Страница 2: ......
Страница 10: ...CC5MPX Table of Contents vi ...
Страница 12: ...Section 1 Introduction 1 2 ...
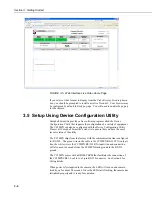
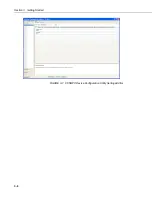
Страница 22: ...Section 3 Getting Started 3 8 FIGURE 3 7 CC5MPX Device Configuration Utility Settings Editor ...
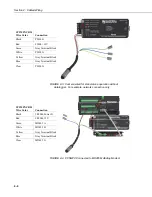
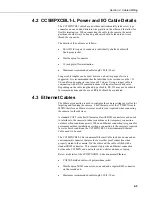
Страница 28: ...Section 4 Cables Wiring 4 6 ...
Страница 36: ...Section 6 Camera Configuration 6 2 ...
Страница 69: ...Section 7 Camera Operation Using Web Browser Interface 7 33 FIGURE 7 30 External Trigger Setup Page ...
Страница 72: ...Section 7 Camera Operation Using Web Browser Interface 7 36 FIGURE 7 31 Motion Detection Page ...
Страница 84: ...Section 10 RS 485 Communications 10 2 ...
Страница 86: ...Section 11 PakBus Communications 11 2 ...
Страница 88: ...Section 12 Device Configuration Utility 12 2 FIGURE 12 2 Device Configuration Utility Screen ...
Страница 90: ...Section 13 Image Quality 13 2 ...
Страница 98: ...Section 15 Power Calculations and Timings 15 4 ...
Страница 104: ...Section 17 Remote Image Retrieval 17 4 ...
Страница 110: ...Section 19 Maintenance 19 4 FIGURE 19 5 Desiccant Location Location of Desiccant ...
Страница 116: ...Section 21 System Limitations 21 2 ...
Страница 122: ...Section 23 Quick Notes 23 4 ...
Страница 128: ...Appendix B CC5MPXWD Window Defroster Description B 2 FIGURE B 2 CC5MPXWD Window Defroster with Lens Tube Installed ...
Страница 129: ......


