35
Record & Disk Management
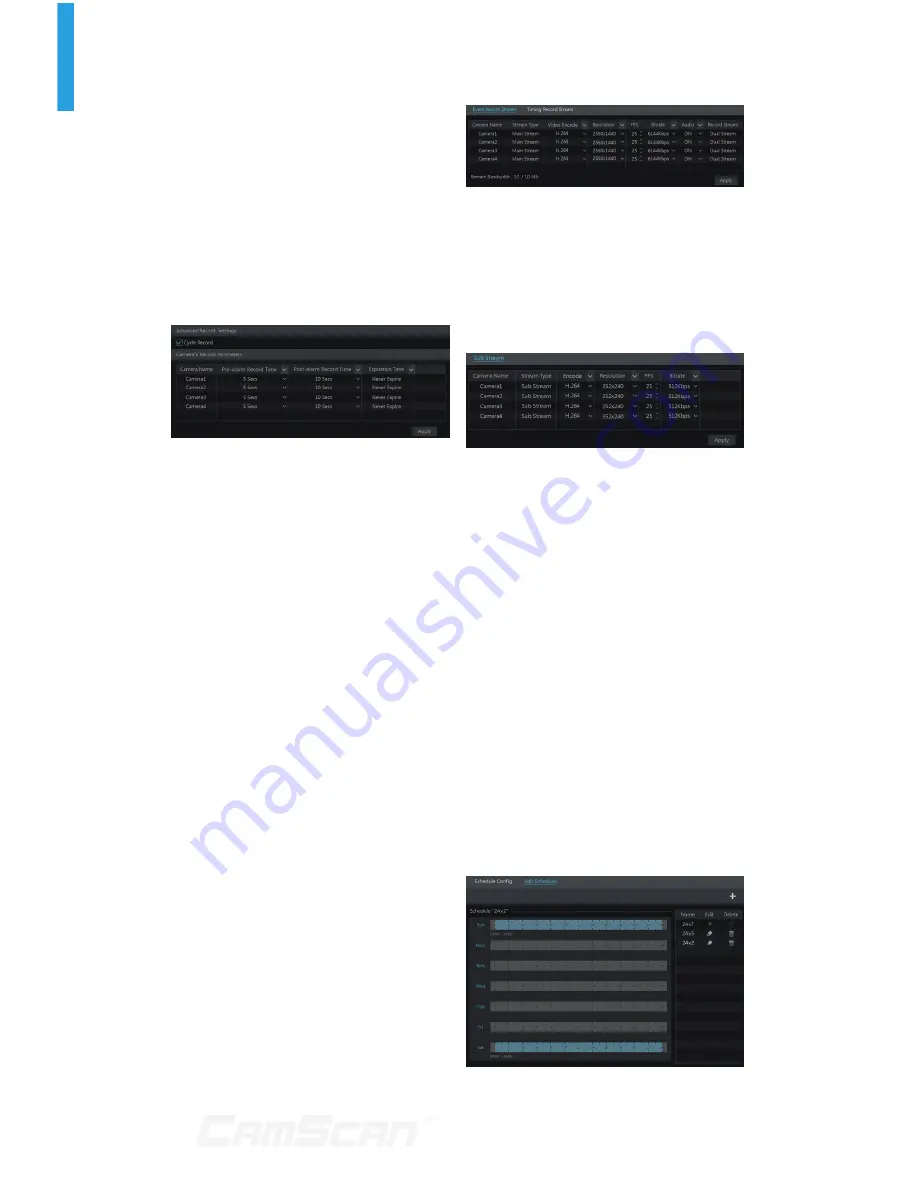
7.1.2 Advanced Configuration
Click Start
Settings
Record
Advanced to go to the following
interface. Enable or disable cycle record
(cycle record: the earliest record data
will be replaced by the latest when
the disks are full). Set the pre-alarm
record time, post-alarm record time and
expiration time of each camera and then
click “Apply” to save the settings.
Pre-alarm Record Time:
set the time
to record before the actual recording
begins.
Post-alarm Record Time:
set the time
to record after the actual recording is
finished.
Expiration Time:
set the expiration
time for recorded video. If the set date
is overdue, the recorded data will be
deleted automatically.
7.2 Encode Parameters
Setting
Click Start
Settings
Record
Encode Parameters to go to the
interface as shown below. Set the video
encode, resolution, FPS, bitrate and
audio of main stream for each camera
in “Event
Record Stream” and “Timing Record
Stream” interfaces. Click “Apply” to save
the settings. You can set the record
stream of each camera one by one or
batch set them for all cameras.
Click Start
Settings
Record
Stream Settings to go to “Sub Stream”
interface. Set the video encode,
resolution, FPS and bitrate of sub-
stream for each camera in the interface
and then click “Apply” to save the
settings.
7.3 Schedule Setting
7.3.1 Add Schedule
Click Start
Settings
Record
Record Schedule
Edit Schedules to
go to the interface as shown below.
“24x7”, “24x5” and “24x2” are the default
schedules; you cannot edit or delete
“24x7” while “24x5” and “24x2” can be
edited and deleted. Click the schedule
name to display the detailed schedule
information on the left side of the
interface. The seven rows stand for
the seven days in a week and each row
stands for 24 hours in a day. Blue stands
for the selected time and gray stands
for unselected time.
7 Record & Disk Management
Содержание CS-DR8900
Страница 68: ...68...


