43
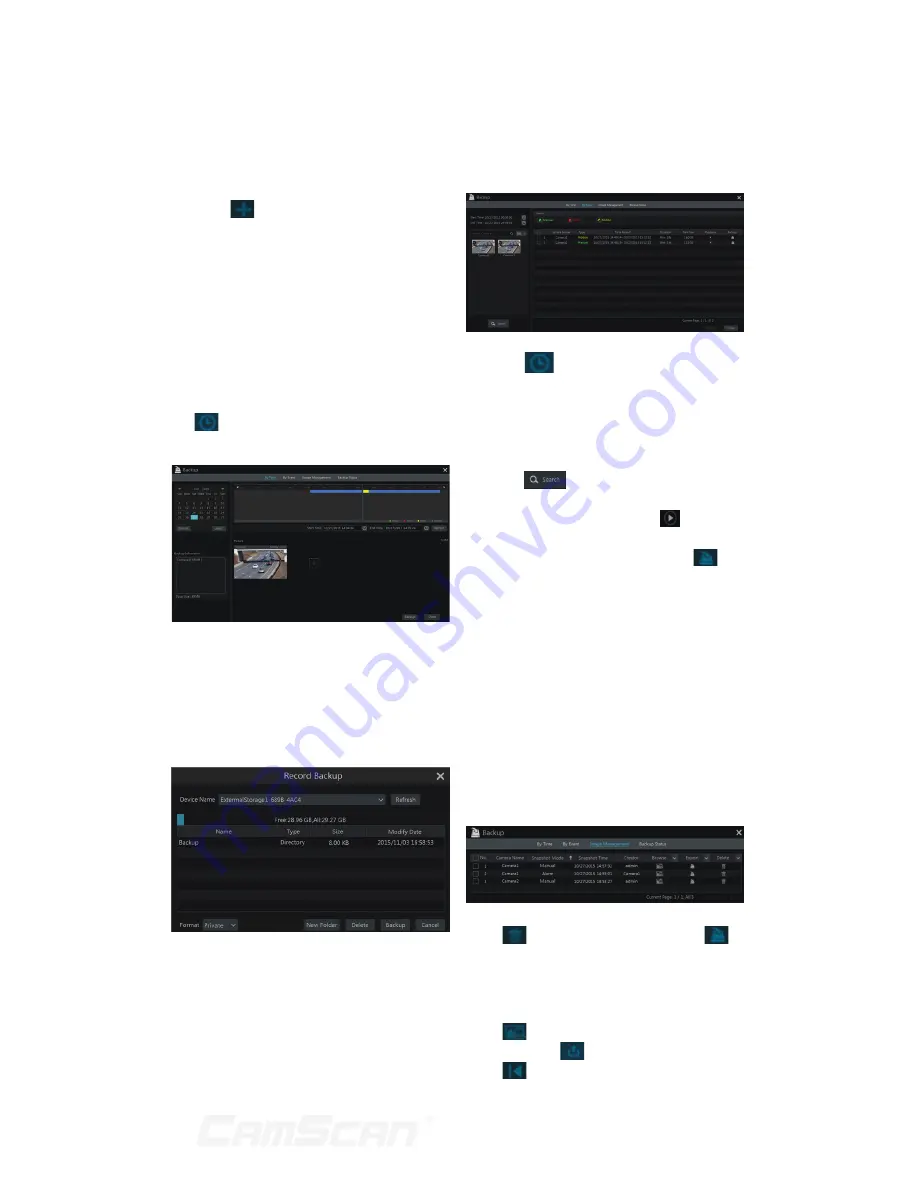
8.4.1 Backup by Time
1. Click Start
Backup
By Time to
go to the “By Time” tab.
2. Click
in the tab to pop up the add
camera window. Check the cameras
in the window and then click “Add”
button. Click “Modify” on the top
right corner of the camera window to
change the camera and click “Clear”
to remove the camera.
3. Set the date on the top left of the
interface. Drag the time scale to
set the backup time period or click
under the time scale to set the
backup start time and end time.
4. Click “Backup” button to pop up the
“Record Backup” window as shown
below. Select the device name,
backup format and path and then
click “Backup” button to start the
backup.
n
Note:
If you back up the record in
private format, the system will back
up a RPAS player to USB device
automatically. The private format
record can be played by RPAS player
only.
8.4.2 Backup by Event
1. Click Start
Backup
By Event to
go to “By Event” tab.
2. Click
to set the start time
and end time on the left top of the
interface.
3. Check the event types and cameras.
4. Click
to search the record.
The searched record data will be
displayed in the list. Click
in the
list to play the record in the small
popup playback window. Click
to
back up the record. Check one record
data or above in the list and then
click “Backup” button to back up the
record data.
8.4.3 Image Management
Click Start
Backup
Image
Management to go to “Image
Management” tab. The system
will display all the snapped images
automatically in the list.
Click
to delete the image. Click
to pop up the “Export” window. Select
the device name and save path in the
window and then click “Save” button.
Click
to pop up the “View Image”
window. Click
to export the image.
Click
to view the previous image;
8 Playback & Backup
Содержание CS-DR8900
Страница 68: ...68...


