55
external IP address of the DVR. Input the
external IP address plus port in the IE
address bar to access the DVR such as
http://183.17.254.19:81.
11.1.6 NAT Configuration
Click Start
Settings
Network
NAT to go to the interface for NAT
configuration. Check “Enable” and then
select the NAT server address (nat.
autonat.com by default). Click “Apply” to
save the settings.
11.1.7 View Network Status
Click Start
Settings
Network
Network Status to view the network
status or click on the tool bar at the
bottom of the live preview interface to
view network status conveniently.
11.2 Basic
Configuration
11.2.1 Common Configuration
Click Start
Settings
System
Basic
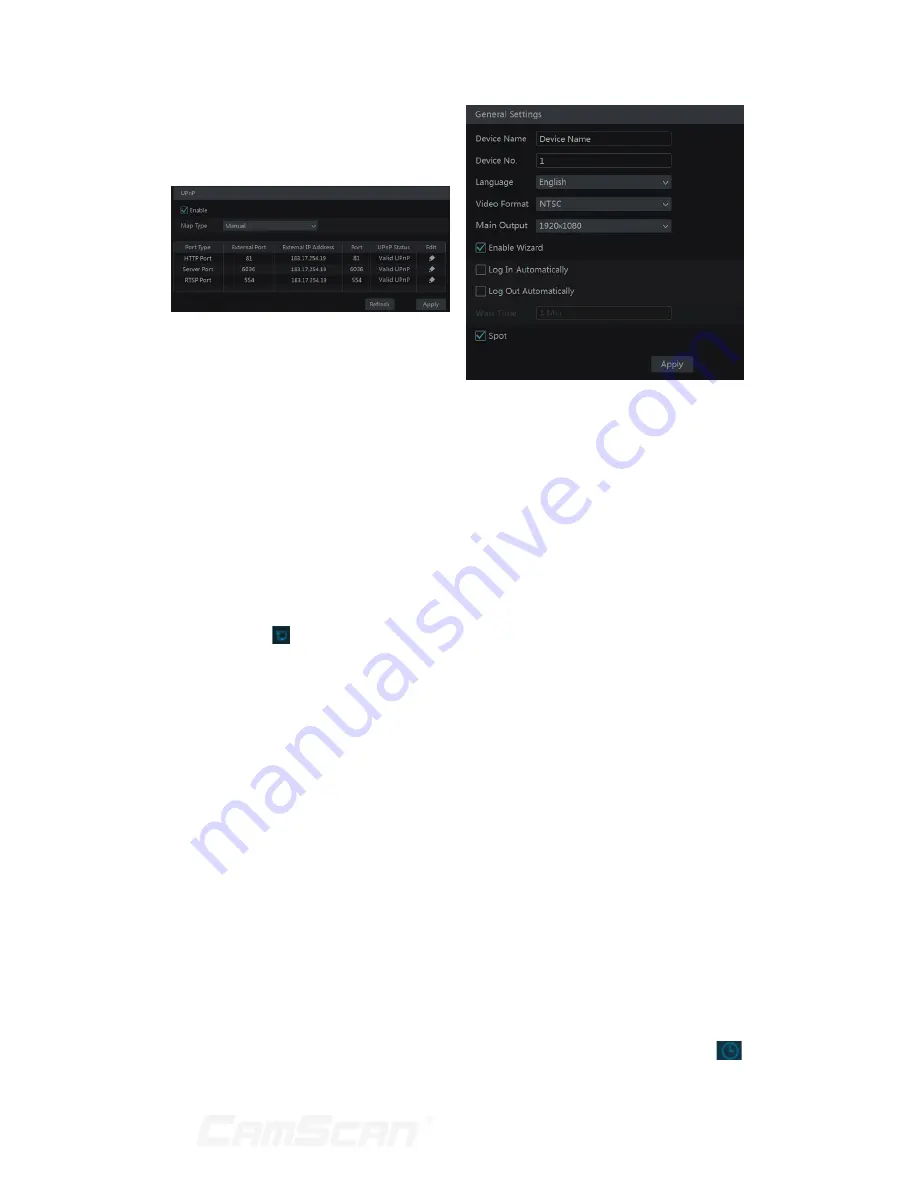
General Settings to go to the
following interface. Set the device name,
device No., language, video format and
main output resolution. Enable or disable
wizard, “Log In Automatically” and “Log
Out Automatically” (if checked, you can
set the wait time). Click “Apply” to save
the settings.
Device Name: The name of the device.
It may display on the client end or CMS
that help user to recognize the device
remotely.
Video Format: Two modes: PAL and
NTSC. Select the video format according
to the camera. Spot: If the DVR supports
spot output, you should enable spot
output. Connect the spot output device
to the DVR and then set the spot output
(see 5.2.4 Spot View for details).
11.2.2 Date and Time
Configuration
Click Start
Settings
System
Basic
Date and Time to go to the
interface as shown below. Set the
system time, date format, time format
and time zone of the DVR. The default
time zone is GMT+08 Beijing, Hong Kong,
Shanghai, Taipei. If the selected time
zone includes DST, the DST of the time
zone will be checked by default. Click
“Apply” to save the settings.
You can manually set the system
time or synchronize system time with
network through NTP.
Manual: select “Manual” in the
“Synchronous” option and then click
11 Device Management
Содержание CS-DR8900
Страница 68: ...68...


