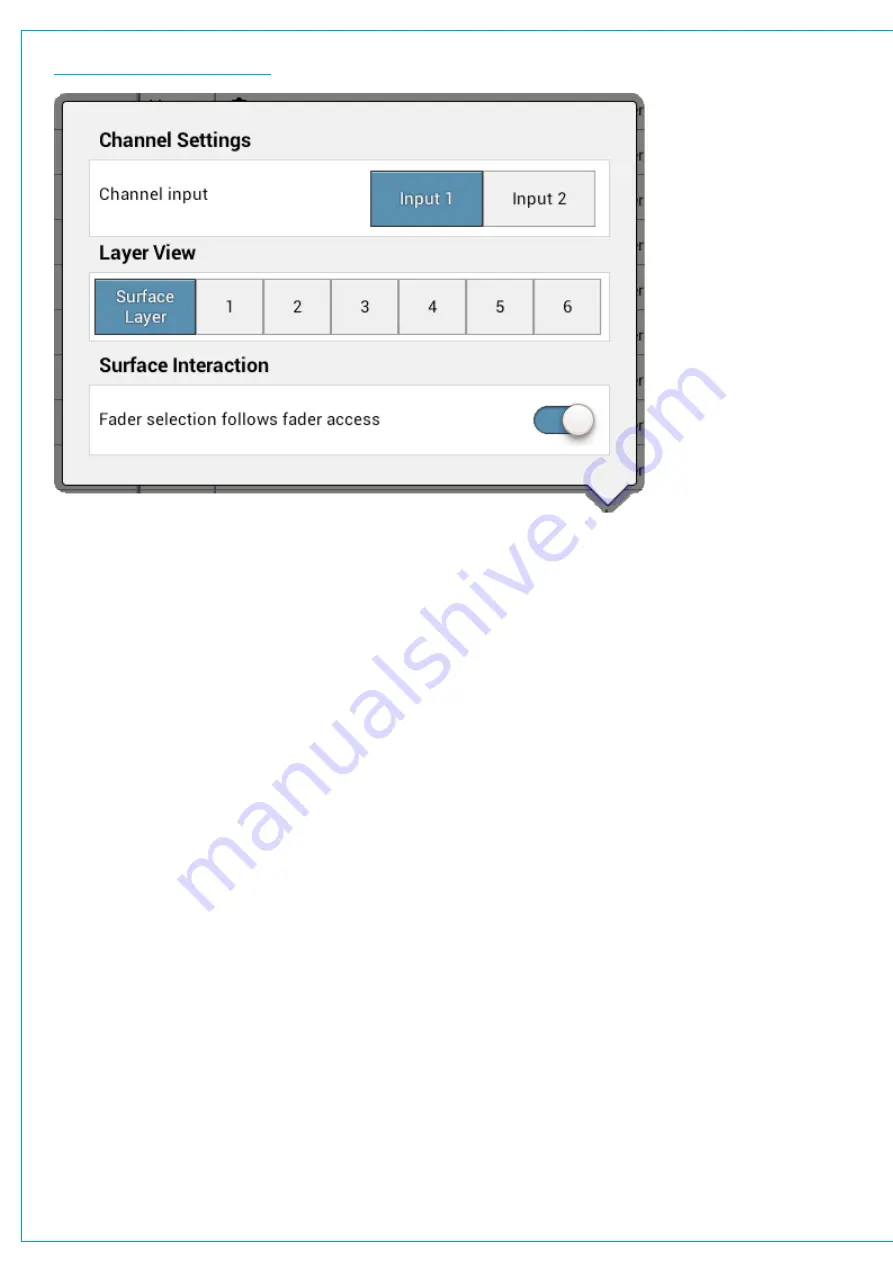
FIGURE 3 -
SETTINGS POP-UP
Viewing and Sorting
Ports are displayed within sortable tables. The sorting options vary between port types:
•
Fixed format and modular I/O boxes can be sorted by number (native label), port label or description (if available).
To keep I/O boxes together in the viewing table, sort by ‘number’ as this includes the box’s HID which will be the
same for all ports in that I/O box.
•
Hydra patchbays can be sorted by patchbay name or patch-point number.
•
Desk connections can only be sorted by resource number e.g. main 1 to 4.
In order to keep the individual legs of a 5.1 path together within the display you can add a suffix to each leg, for example
L, R, C LFE, Ls, Rs. See
“General Settings” on page 59
for more information.
Making a Patch
To patch a source to a destination:
1. Select a source type from the source window header.
2. Select a destination type from the destination window header.
3. Tap to select a source.
4. Tap to select a destination.
5. Tap
CONNECT
.
Moving a Destination
Once a patch has been made, the destination can easily be changed:
1. Select a destination.
2. Tap
MOVE
in the window footer.
3. Select an alternative destination, (at this point you can select a new destination type).
4. Tap
MOVE
once more.
Содержание SUMMA
Страница 1: ...calrec com Putting Sound in the Picture Networked Audio Production System SUMMA USER MANUAL V3 2...
Страница 11: ...V3 0 196 V3 1 197 V3 1 1 197 V3 2 197 CALREC Putting Sound in the Picture 11...
Страница 12: ...12 SUMMA Networked Audio Production System CONTENTS...
Страница 13: ...PRODUCT INFORMATION calrec com Putting Sound in the Picture SUMMA...
Страница 20: ...20 SUMMA Networked Audio Production System PRODUCT INFORMATION...
Страница 21: ...SYSTEM OVERVIEW calrec com Putting Sound in the Picture SUMMA...
Страница 33: ...CALREC Putting Sound in the Picture 33...
Страница 38: ...38 SUMMA Networked Audio Production System SYSTEM OVERVIEW...
Страница 52: ...52 SUMMA Networked Audio Production System SYSTEM OVERVIEW...
Страница 53: ...SETTING UP calrec com Putting Sound in the Picture SUMMA...
Страница 55: ...FIGURE 1 SYNCHRONISATION OPTIONS CALREC Putting Sound in the Picture 55...
Страница 74: ...74 SUMMA Networked Audio Production System SETTING UP...
Страница 75: ...GETTING SIGNALS IN AND OUT calrec com Putting Sound in the Picture SUMMA...
Страница 78: ...FIGURE 3 FADER LAYOUT SETTINGS 78 SUMMA Networked Audio Production System GETTING SIGNALS IN AND OUT...
Страница 93: ...FIGURE 4 SOURCE AND DESTINATION POP UP MEMORY LOAD CALREC Putting Sound in the Picture 93...
Страница 98: ...FIGURE 1 THE DIRECT OUTPUT WINDOW 98 SUMMA Networked Audio Production System GETTING SIGNALS IN AND OUT...
Страница 105: ...MONITORING calrec com Putting Sound in the Picture SUMMA...
Страница 107: ...FIGURE 2 EXAMPLE LOUDSPEAKERS SETUP CALREC Putting Sound in the Picture 107...
Страница 110: ...FIGURE 1 THE MONITORING POP UP 110 SUMMA Networked Audio Production System MONITORING...
Страница 113: ...METERING calrec com Putting Sound in the Picture SUMMA...
Страница 121: ...calrec com Putting Sound in the Picture SUMMA PROCESSING...
Страница 153: ...COMMUNICATIONS calrec com Putting Sound in the Picture SUMMA...
Страница 161: ...FIGURE 4 MIX MINUS CONTRIBUTION POP UP CALREC Putting Sound in the Picture 161...
Страница 163: ...ROUTING calrec com Putting Sound in the Picture SUMMA...
Страница 165: ...FIGURE 1 CONFIGURING BUSES AND OUTPUTS CALREC Putting Sound in the Picture 165...
Страница 171: ...EXTERNAL INTERFACING calrec com Putting Sound in the Picture SUMMA...
Страница 179: ...FIGURE 2 LAN CONFIGURATION WINDOW CALREC Putting Sound in the Picture 179...
Страница 180: ...180 SUMMA Networked Audio Production System EXTERNAL INTERFACING...
Страница 181: ...CONSOLE FACILITIES calrec com Putting Sound in the Picture SUMMA...
Страница 187: ...TERMINOLOGY calrec com Putting Sound in the Picture SUMMA...
Страница 195: ...FEATURES BY SOFTWARE VERSION calrec com Putting Sound in the Picture SUMMA...


