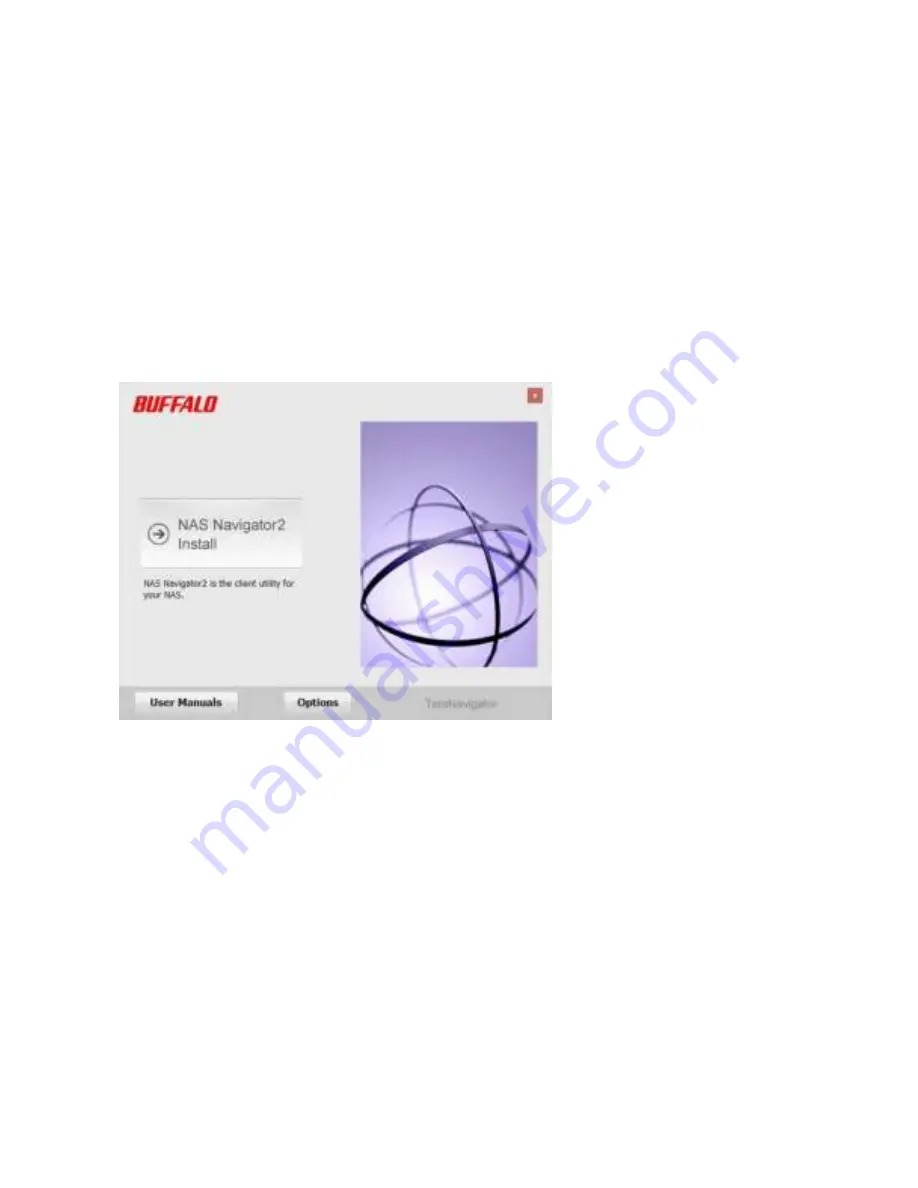
8
“TeraNavi” folder. TeraNavigator will launch.
Notes:
• If using Windows 2000 or 2000 Server, make sure that write-protection on the USB device is disabled before con-
necting it. To disable write-protection, slide the switch on the USB device toward the USB connector.
• If “Do you want to allow the following program to make changes to this computer ?” is displayed by Windows 8.1,
8 or Windows 7, click
Yes
. If “A program needs your permission to continue” is displayed by Windows Vista, click
Continue
.
• With Mac OS, double-click the disk image “WS5000R2-XXX.dmg” (where “XXX” is the software version from the
USB device and double-click
TeraNavigator
.
• Disable your antivirus software firewall before continuing. You may not be able to install the software if antivi-
rus software or a software firewall are enabled. After you’ve finished setup, re-enable your firewall and antivirus
software.
3
Click
Begin Installation
. The wizard will guide you through installing NAS Navigator2.
4
Click
Finish
. NAS Navigator2 will open.
5
Right-click on your TeraStation’s icon, then select
Properties
. On a Mac, click the TeraStation’s icon while holding
down the control key, then select
Configure
.
Содержание TeraStation WSS 5000R2
Страница 1: ...TeraStation WSS 5000R2 User Manual www buffalotech com 35020333 01 2014 01...
Страница 5: ...5 Chapter 1 Installation Diagrams WS5600DR2 WS5400DR2 WS5200DR2...
Страница 17: ...17...
Страница 25: ...25 4 Click Next 5 Enter the volume size that you want to create and click Next...
Страница 30: ...30 8 Push the unlock button of the failed hard drive and swing the lock mechanism out...
Страница 31: ...31 9 Pull out the hard drive cartridge and remove it from the TeraStation...
Страница 33: ...33 11Swing the lock back down until it clicks into place...
Страница 40: ...40 4 Click Next 5 Select Custom and click Next...
Страница 41: ...41 6 Click Add Items 7 Select the backup source folders or drives and click OK...
Страница 42: ...42 8 Click Next 9 Specify the schedule to run the backup and click Next...
Страница 45: ...45 5 Select the date when backing up the data and click OK 6 Select the recovery targets and click Next...
Страница 49: ...49 4 Enter the computer name choose domain or workgroup and click OK...
Страница 51: ...51 4 Click Proceed 5 Enter a new password twice...
Страница 54: ...54 4 Enter the desired settings then click Add...
Страница 55: ...55 5 Click Advanced 6 Click Find Now 7 Select the users to be registered to the group then click OK...
Страница 56: ...56 8 Click OK 9 Click Close...
Страница 58: ...58 4 Click Next 5 Enter the path of an existing folder or a new folder then click Next...
Страница 60: ...60 7 Check Customize permissions then click Custom 8 Choose Everyone and check Allow for Change...
Страница 61: ...61 9 In the Security tab click Edit Add...


