28
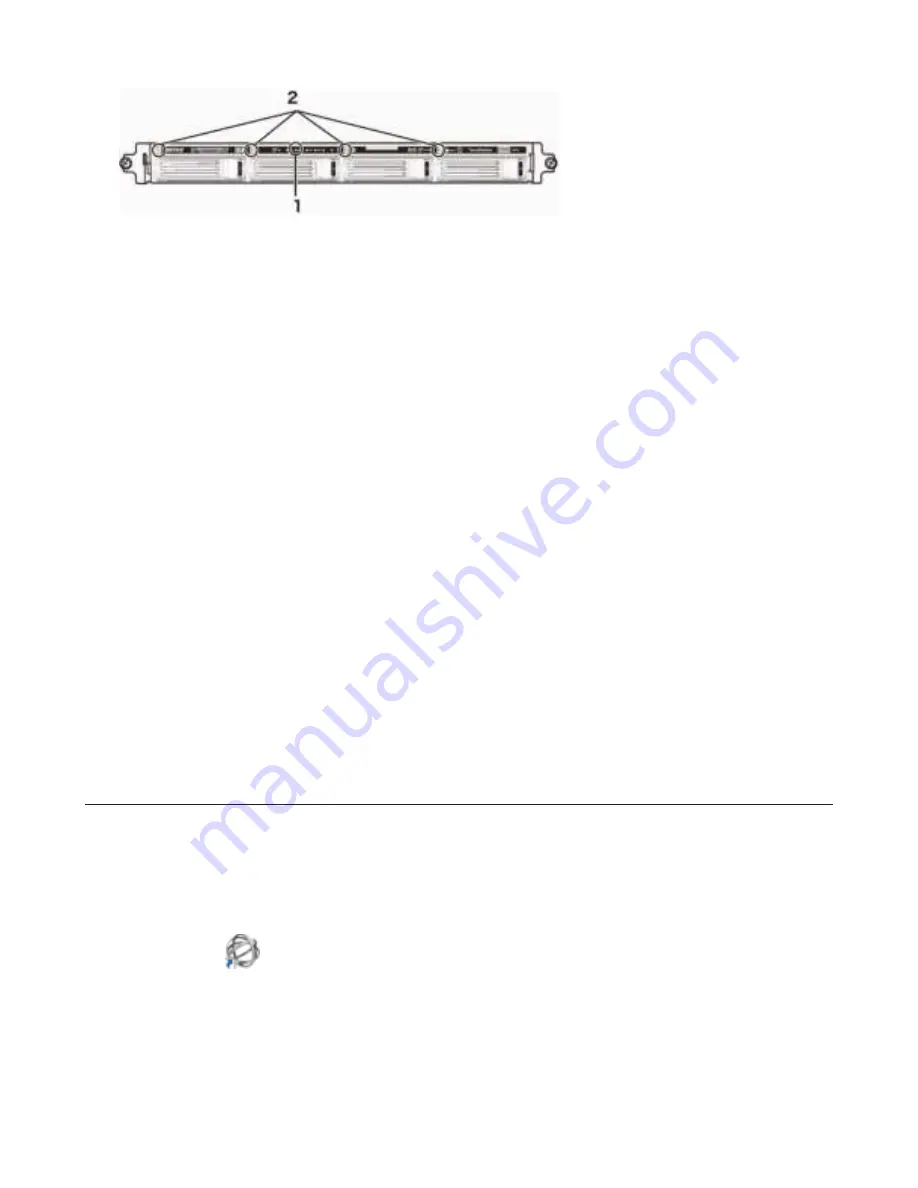
1
Error LED
Red if a drive has failed.
2
Status LEDs
Green: Normal operation.
Glowing red: If a drive’s status LED is glowing red, the drive has malfunctioned. Dismount the drive in Buffalo Dashboard
before unplugging it from the TeraStation.
Notes:
• Do not unplug a drive whose status LED is not lit red. If you remove the drive without properly dismounting it,
data may be lost or the TeraStation may malfunction.
• When changing drives, the replacement drive should be a Buffalo OP-HDS series drive of the same size.
• The TeraStation is fragile. Handle it with care. Do not drop or bump the TeraStation.
• Use caution when handling the unit in order to avoid personal injury.
• Never disassemble any parts while you are replacing a hard drive unless instructed to do so in this manual. Any
malfunction or damage caused by disassembling the TeraStation will void your warranty.
• To avoid damaging the TeraStation with static electricity, ground yourself by touching something made of metal
before handling any sensitive electronic parts.
• Do not change the order of the hard drives in the TeraStation. For example, pulling out drive 1 and replacing it
with drive 2 may cause data to be corrupted or lost.
• In a RAID 1 configuration, the boot drive (C:) consists of the first and second hard drives from the top. Do not
replace both of these hard drives at the same time.
• If a hard drive is replaced while saving a file, the file can be corrupted. Be sure that the saving operation is com-
pleted before replacing the hard drive.
Hard Drive Replacement Examples
Note:
If you used Disk Management to mirror the boot drive, the TeraStation will not boot when the drive fails.
Follow the procedure below.
Hard Drive Replacement in Case of Disk Failure Other Than Drive 1 or Drive 2
1
Double-click the
icon.
2
Right-click on your TeraStation’s icon, then click
Open Remote Desktop
. For Mac OS, click the TeraStation’s icon while
holding down the control key, then click
Open Remote Desktop
.
Содержание TeraStation WSS 5000R2
Страница 1: ...TeraStation WSS 5000R2 User Manual www buffalotech com 35020333 01 2014 01...
Страница 5: ...5 Chapter 1 Installation Diagrams WS5600DR2 WS5400DR2 WS5200DR2...
Страница 17: ...17...
Страница 25: ...25 4 Click Next 5 Enter the volume size that you want to create and click Next...
Страница 30: ...30 8 Push the unlock button of the failed hard drive and swing the lock mechanism out...
Страница 31: ...31 9 Pull out the hard drive cartridge and remove it from the TeraStation...
Страница 33: ...33 11Swing the lock back down until it clicks into place...
Страница 40: ...40 4 Click Next 5 Select Custom and click Next...
Страница 41: ...41 6 Click Add Items 7 Select the backup source folders or drives and click OK...
Страница 42: ...42 8 Click Next 9 Specify the schedule to run the backup and click Next...
Страница 45: ...45 5 Select the date when backing up the data and click OK 6 Select the recovery targets and click Next...
Страница 49: ...49 4 Enter the computer name choose domain or workgroup and click OK...
Страница 51: ...51 4 Click Proceed 5 Enter a new password twice...
Страница 54: ...54 4 Enter the desired settings then click Add...
Страница 55: ...55 5 Click Advanced 6 Click Find Now 7 Select the users to be registered to the group then click OK...
Страница 56: ...56 8 Click OK 9 Click Close...
Страница 58: ...58 4 Click Next 5 Enter the path of an existing folder or a new folder then click Next...
Страница 60: ...60 7 Check Customize permissions then click Custom 8 Choose Everyone and check Allow for Change...
Страница 61: ...61 9 In the Security tab click Edit Add...


