MY DESIGN CENTER
163
4
c
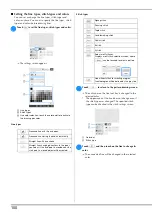
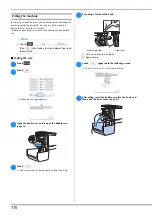
When scanning is finished, specify the necessary
settings in the scan image confirmation screen.
Change the settings to adjust the image so it can easily
be converted to the desired pattern.
d
Move
to frame the image for the pattern.
e
Touch .
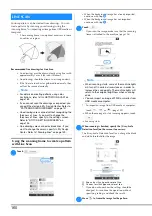
The screen for confirming the converted image
appears.
f
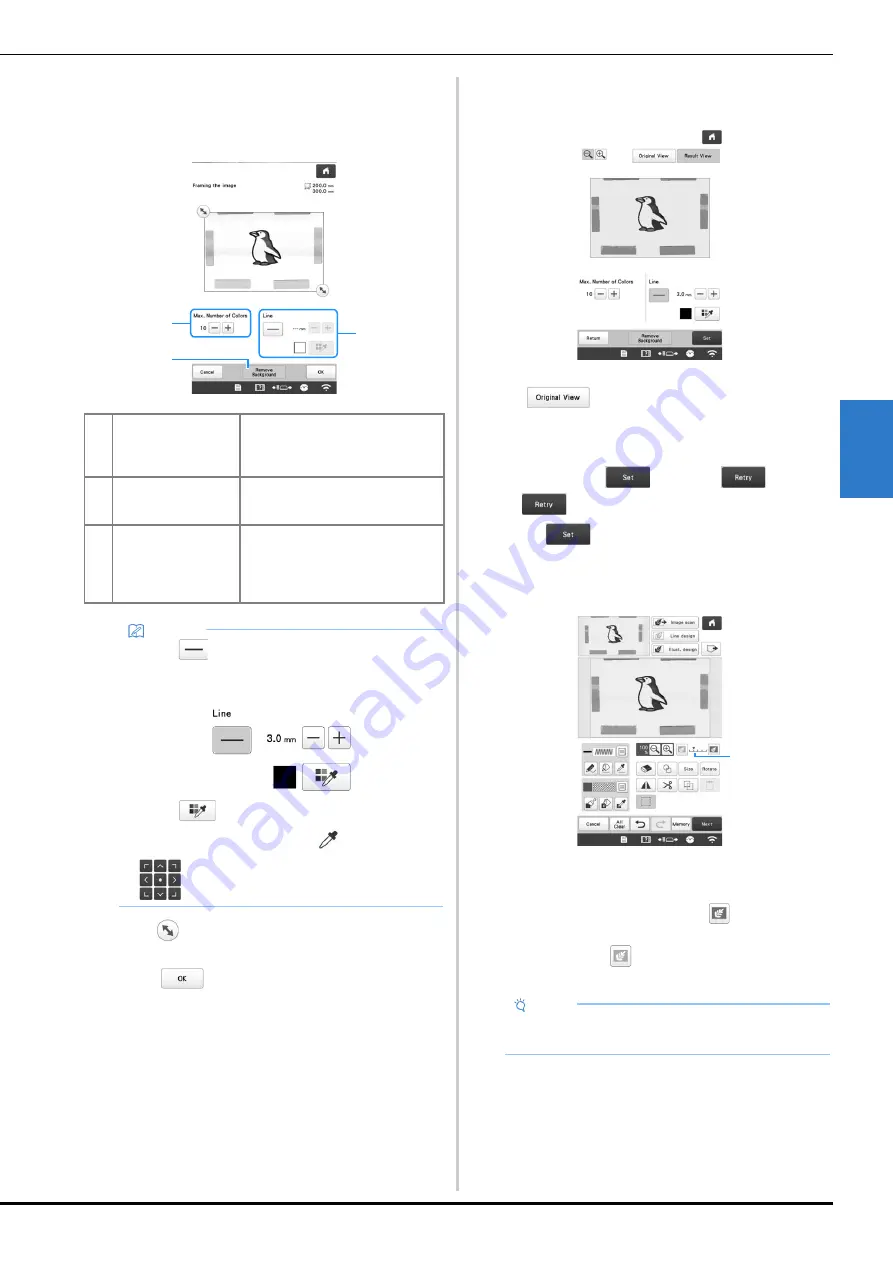
In the screen for confirming the converted image,
adjust the image as necessary as in step
c
.
*
To display the image before being converted, touch
. Compare the images before and after
being converted, and then change the settings if
necessary.
After changes to the settings described above have
been applied,
changes to
. Touch
to check that the image is as desired.
g
Touch .
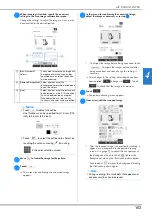
The pattern drawing screen appears.
h
If necessary, edit the scanned image.
*
After the scanned image is converted to stitching, it
appears as a background in the pattern drawing
screen. Use gauge
1
to adjust the transparency of
the background. Each touch of
lightens the
background, making the illustration pattern darker.
Each touch of
darkens the background, making
the illustration pattern lighter.
1
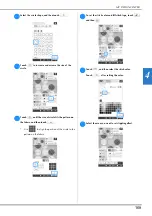
[Max. Number of
Colors]
The number of colors in an image will
be reduced less than the number
specified here, and then the outline
will be extracted.
2
[Remove Background] Select whether or not the
background color will be included as
one of the colors.
3
[Line]
Select whether or not the outline will
be detected as a line. A thick outline
can also be detected as a region.
When detected as a line, the line
thickness and color can be specified.
Memo
• Touch
to detect the outline.
Line thickness can be specified from 1.0 mm (1/16
inch) to 5.0 mm (3/16 inch).
• Touch
to select the outline color. Select by
touching the color, or moving
icon using
in the color selection screen.
3
2
1
Note
• During scanning, the small dots that appear and
unnecessary lines can be erased.
1


