Scanning
38
2
d
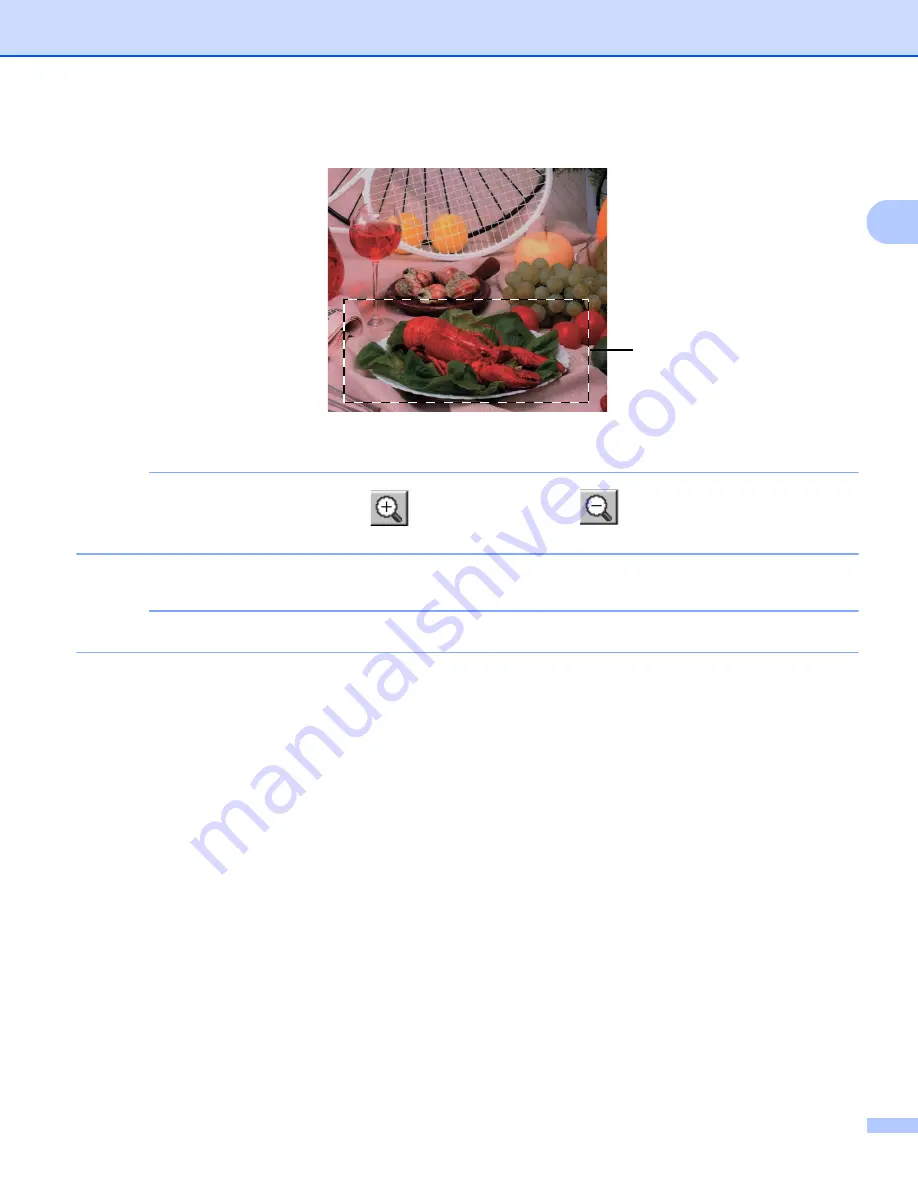
Press and hold down the left mouse button and drag it over the portion you want to scan.
1 Scanning area
NOTE
You can enlarge the image using the
icon, and then use the
icon to restore the image to its
original size.
e
Load your document again.
NOTE
Skip this step if you loaded the document on the scanner glass in step
f
Click
Start
.
When scanning has finished, click
Cancel
to return to the graphics application window.
This time only the chosen area of the document appears in your application window.
g
In your application window, use the options available to refine the image.
1
Содержание DCP-1519
Страница 7: ...vi Scan to Image 148 Scan to File 149 A Index 150 ...
Страница 28: ...Printing 21 1 Support 1 Click Support in the Printing Preferences dialog box ...
Страница 96: ...Brother PC FAX Software For MFC models 89 5 e Enter the name of the file and then click Save ...
Страница 101: ...Section II Apple Macintosh II Printing and Faxing 95 Scanning 111 ControlCenter2 123 Remote Setup For MFC models 143 ...
Страница 115: ...Printing and Faxing 108 6 For OS X v10 7 x to v10 8 x For more page setup options click Show Details ...
Страница 124: ...Scanning 117 7 d Click Start When scanning has finished the image appears in your graphics application 1 2 3 4 ...
Страница 142: ...ControlCenter2 135 8 NOTE Webmail services are not supported by Scan to E mail ...
Страница 152: ...Section III Using the Scan key III Scanning 146 ...


