EDITING PATTERNS
226
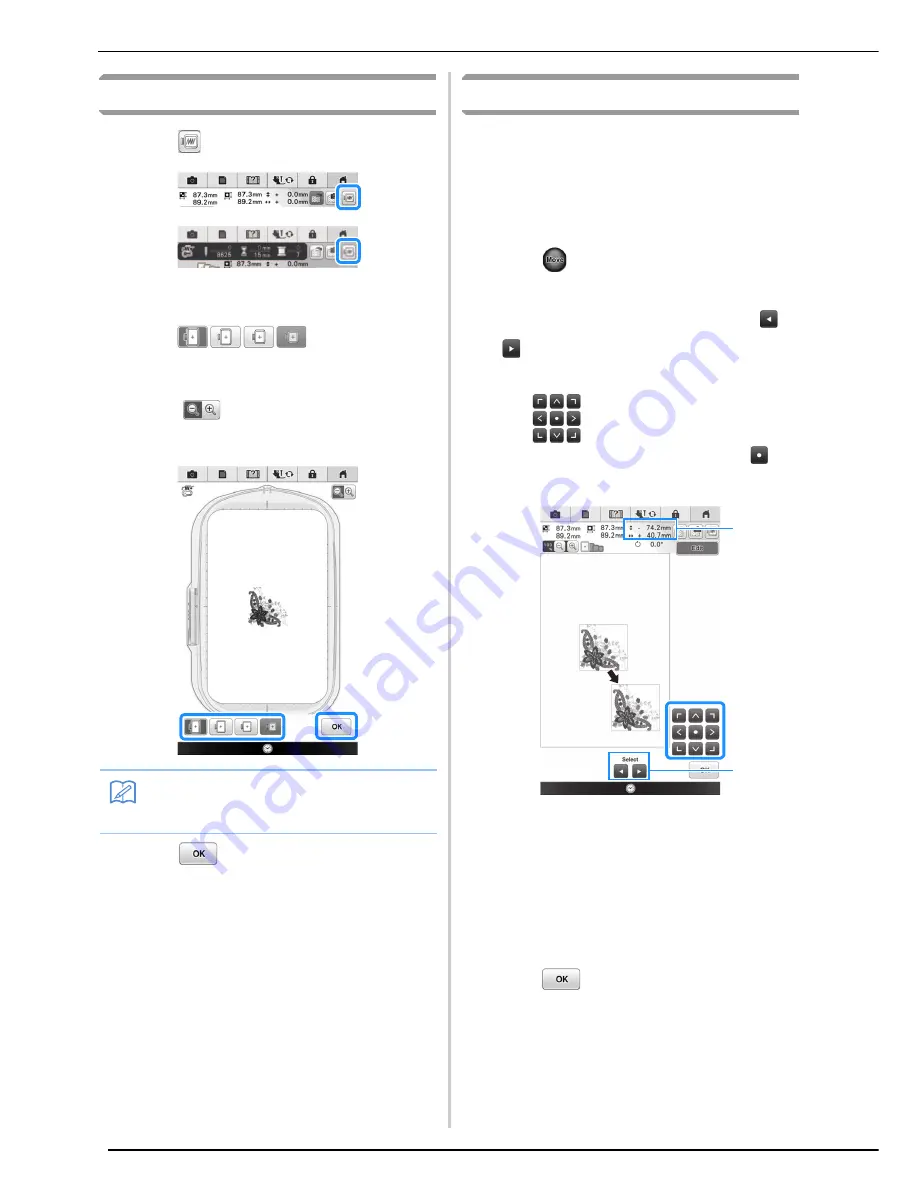
Previewing the Pattern
a
Press .
→
An image of the pattern as it will be embroidered
appears.
b
Press
to select the frame
used in the preview.
*
Frames displayed in dark gray cannot be selected.
*
Press
to enlarge the image of the pattern.
*
The pattern can be sewn as it appears in the
following display.
c
Press .
Moving the Pattern
The pattern can be moved to the desired position
by dragging on the screen using your finger, the
touch pen or connected mouse without displaying
the editing window. If you need some fine
adjustment, move the pattern from the editing
window.
a
Press
to display the pattern move
window.
b
Select the desired pattern by pressing
, if there are several patterns on the
screen.
c
Use
to move the pattern in the
direction shown by the arrow. Press
to
center the pattern.
a
Distance from the center
b
Pattern select key
The pattern can also be moved by dragging it.
If a USB mouse is connected, move the mouse to
position the pointer on the desired pattern, and
then select and drag the pattern. The pattern can
also be dragged by selecting it directly in the
screen with your finger or the touch pen.
d
Press .
Memo
• You can begin sewing from this screen by
pressing the “Start/Stop” button.
a
b
Содержание 82-W20
Страница 2: ......
Страница 30: ...NAMES OF MACHINE PARTS AND THEIR FUNCTIONS 28 ...
Страница 82: ...NEEDLE CALIBRATION USING THE BUILT IN CAMERA 80 ...
Страница 170: ...SEWING THE STITCHES 168 ...
Страница 190: ...COMBINING STITCH PATTERNS 188 Press Press ...
Страница 198: ...USING THE MEMORY FUNCTION 196 ...
Страница 210: ...USING STORED CUSTOM STITCHES 208 ...
Страница 264: ...ATTACHING THE EMBROIDERY FRAME 262 b Pull the embroidery frame toward you ...
Страница 286: ...ADJUSTMENTS DURING THE EMBROIDERY PROCESS 284 ...
Страница 338: ...RESUME FEATURE 336 ...
Страница 362: ...ILLUSTRATION SCAN 360 ...
Страница 418: ......
Страница 419: ......


