


8. GUI – Installation
Image 8-49
3. Click on the on/off button on top to activate the selected Blend
fi
le.
8.6
Laser illumination
What can be done?
Within a certain power mode, the light output of the light source can be reduced by reducing the laser power.
Alternatively, you can enable CLO mode (Constant light output) for a constant light output over a longer period of time.
About CLO mode
All light sources naturally decrease their intensity over time. In order to prevent a decreasing output in a multi-projector setup, you
can activate CLO mode to make sure that the light output remains constant.
CLO mode will ensure that the projector regulates its illumination power to maintain the same level of output light during the lifetime
of the light source. This requires that the light source power is not set to 100% from the start, but to a lower value. The lower this
value is set, the longer the projector will be able to maintain the output level.
How to reduce the power
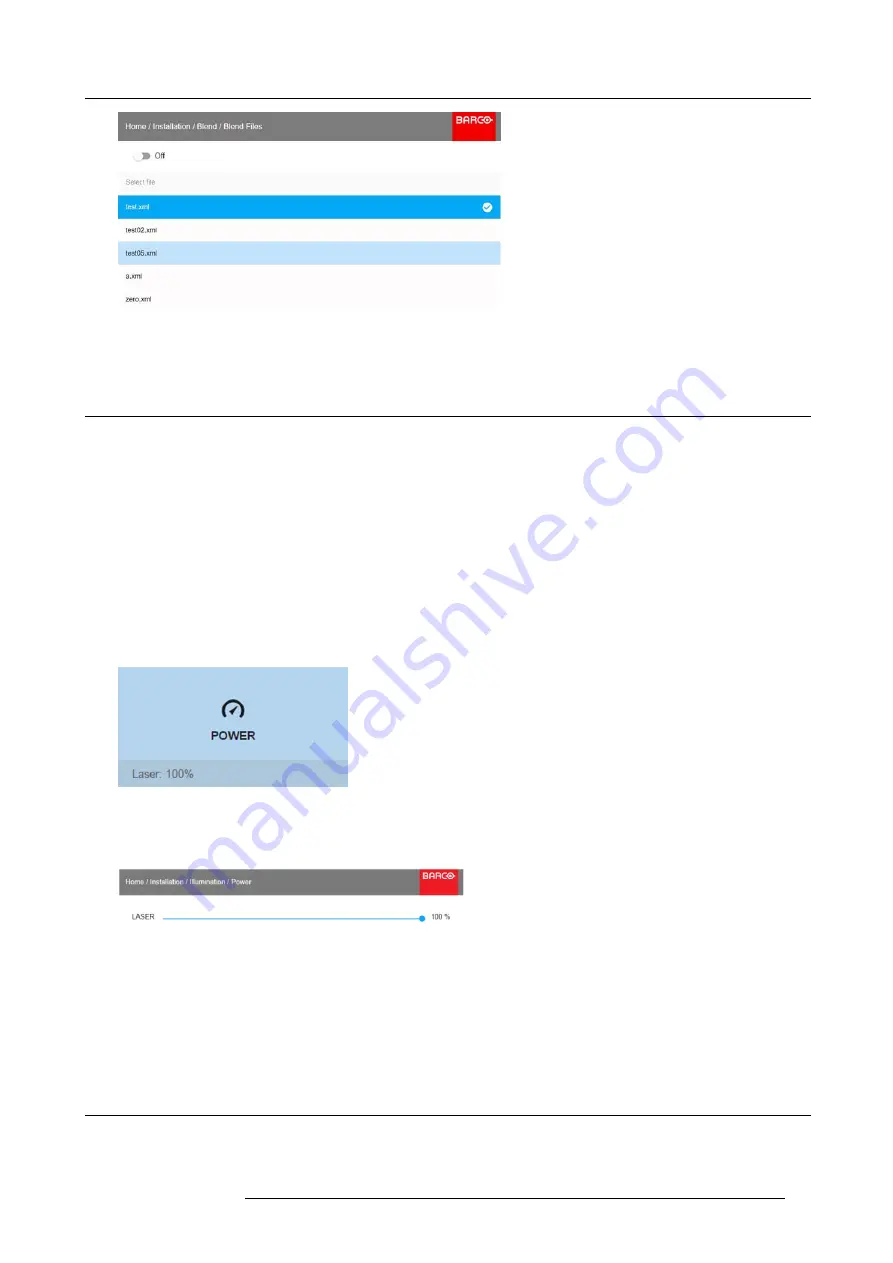
1. In the main menu, select
Installation
→
Illumination
→
Power
.
Image 8-50
Illumination menu, Power
The actual power setting is indicated at the bottom of the
Power
button.
2. Use the Slider to change the power value.
Image 8-51
Laser power adjustment
3. If you want CLO mode to be active, click
Enable
underneath
Constant light output
.
8.7
3D projection
3D setup
The projector is capable of displaying 3D images and movies in active stereoscopic 3D.
R5906151 XDL 17/04/2018
73
Содержание XDL-4K75
Страница 1: ...XDL User Manual R5906151 00 17 04 2018...
Страница 4: ......
Страница 16: ...1 Safety 12 R5906151 XDL 17 04 2018...
Страница 22: ...2 Pulse Remote Control Unit 18 R5906151 XDL 17 04 2018...
Страница 42: ...4 Getting Started Take note that the update process can take a long time to complete 38 R5906151 XDL 17 04 2018...
Страница 46: ...5 Graphic User Interface GUI 42 R5906151 XDL 17 04 2018...
Страница 58: ...7 GUI Image 54 R5906151 XDL 17 04 2018...
Страница 82: ...8 GUI Installation 78 R5906151 XDL 17 04 2018...
Страница 96: ...9 GUI System Settings 92 R5906151 XDL 17 04 2018...
Страница 98: ...10 Status menu 94 R5906151 XDL 17 04 2018...
Страница 104: ...11 Maintenance procedures 100 R5906151 XDL 17 04 2018...


