


6. GUI – Source
Image 6-6
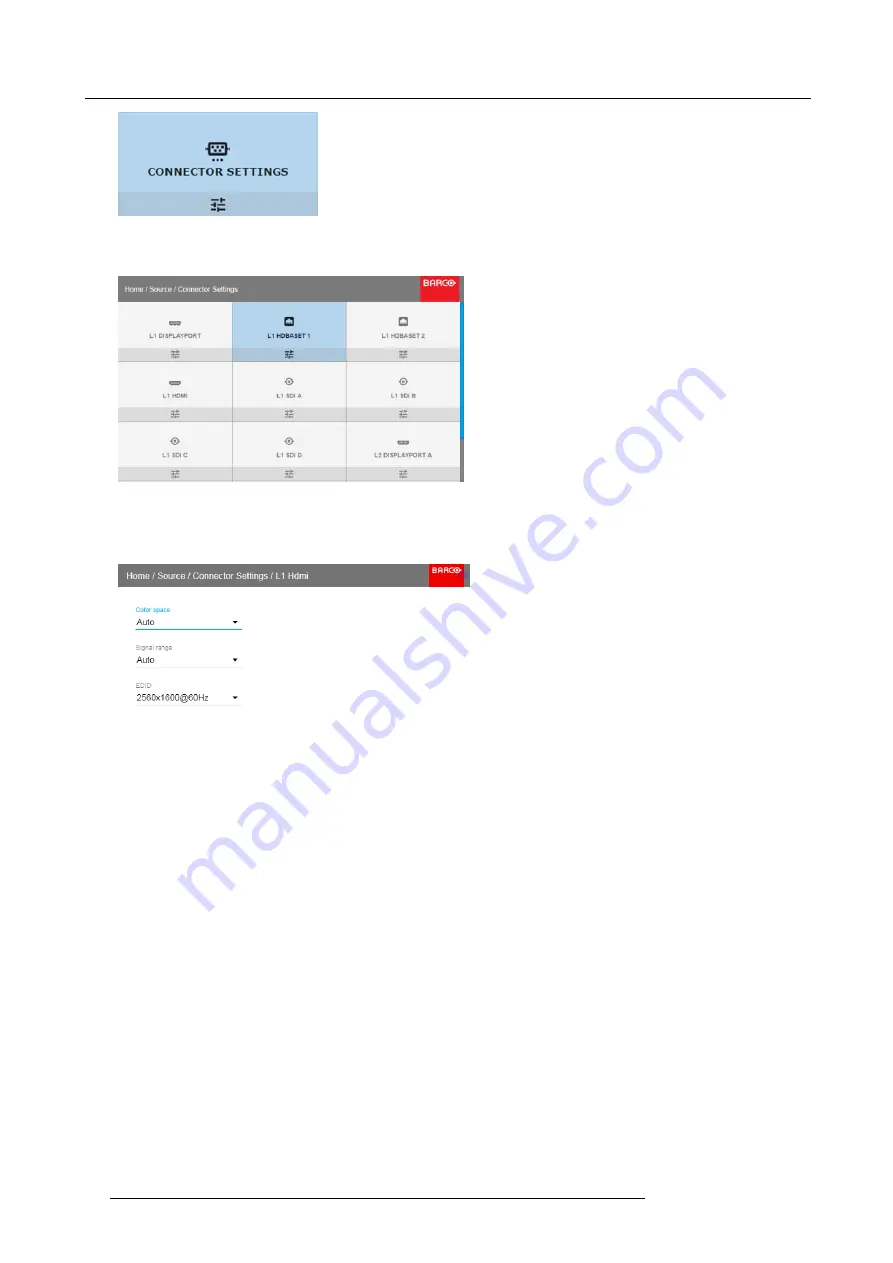
Source menu, Connector Settings
The available input connectors are displayed.
Image 6-7
Select source
4. Select the desired connector.
The
Connector Settings
menu for this connector will be displayed.
Image 6-8
Example of connector settings for an HDMI connector
5. You can change the following:
-
To force a limit on the color space, select one of the available
color spaces
.
-
To force a limit on the used signal range, select one of the available
signal ranges
.
-
To set a video timing other than the one native for the connector, select one of the options under
EDID
.
Note:
You cannot change the EDID for SDI connectors.
46
R5906151 XDL 17/04/2018
Содержание XDL-4K75
Страница 1: ...XDL User Manual R5906151 00 17 04 2018...
Страница 4: ......
Страница 16: ...1 Safety 12 R5906151 XDL 17 04 2018...
Страница 22: ...2 Pulse Remote Control Unit 18 R5906151 XDL 17 04 2018...
Страница 42: ...4 Getting Started Take note that the update process can take a long time to complete 38 R5906151 XDL 17 04 2018...
Страница 46: ...5 Graphic User Interface GUI 42 R5906151 XDL 17 04 2018...
Страница 58: ...7 GUI Image 54 R5906151 XDL 17 04 2018...
Страница 82: ...8 GUI Installation 78 R5906151 XDL 17 04 2018...
Страница 96: ...9 GUI System Settings 92 R5906151 XDL 17 04 2018...
Страница 98: ...10 Status menu 94 R5906151 XDL 17 04 2018...
Страница 104: ...11 Maintenance procedures 100 R5906151 XDL 17 04 2018...


